Tuesday, January 19, 2016

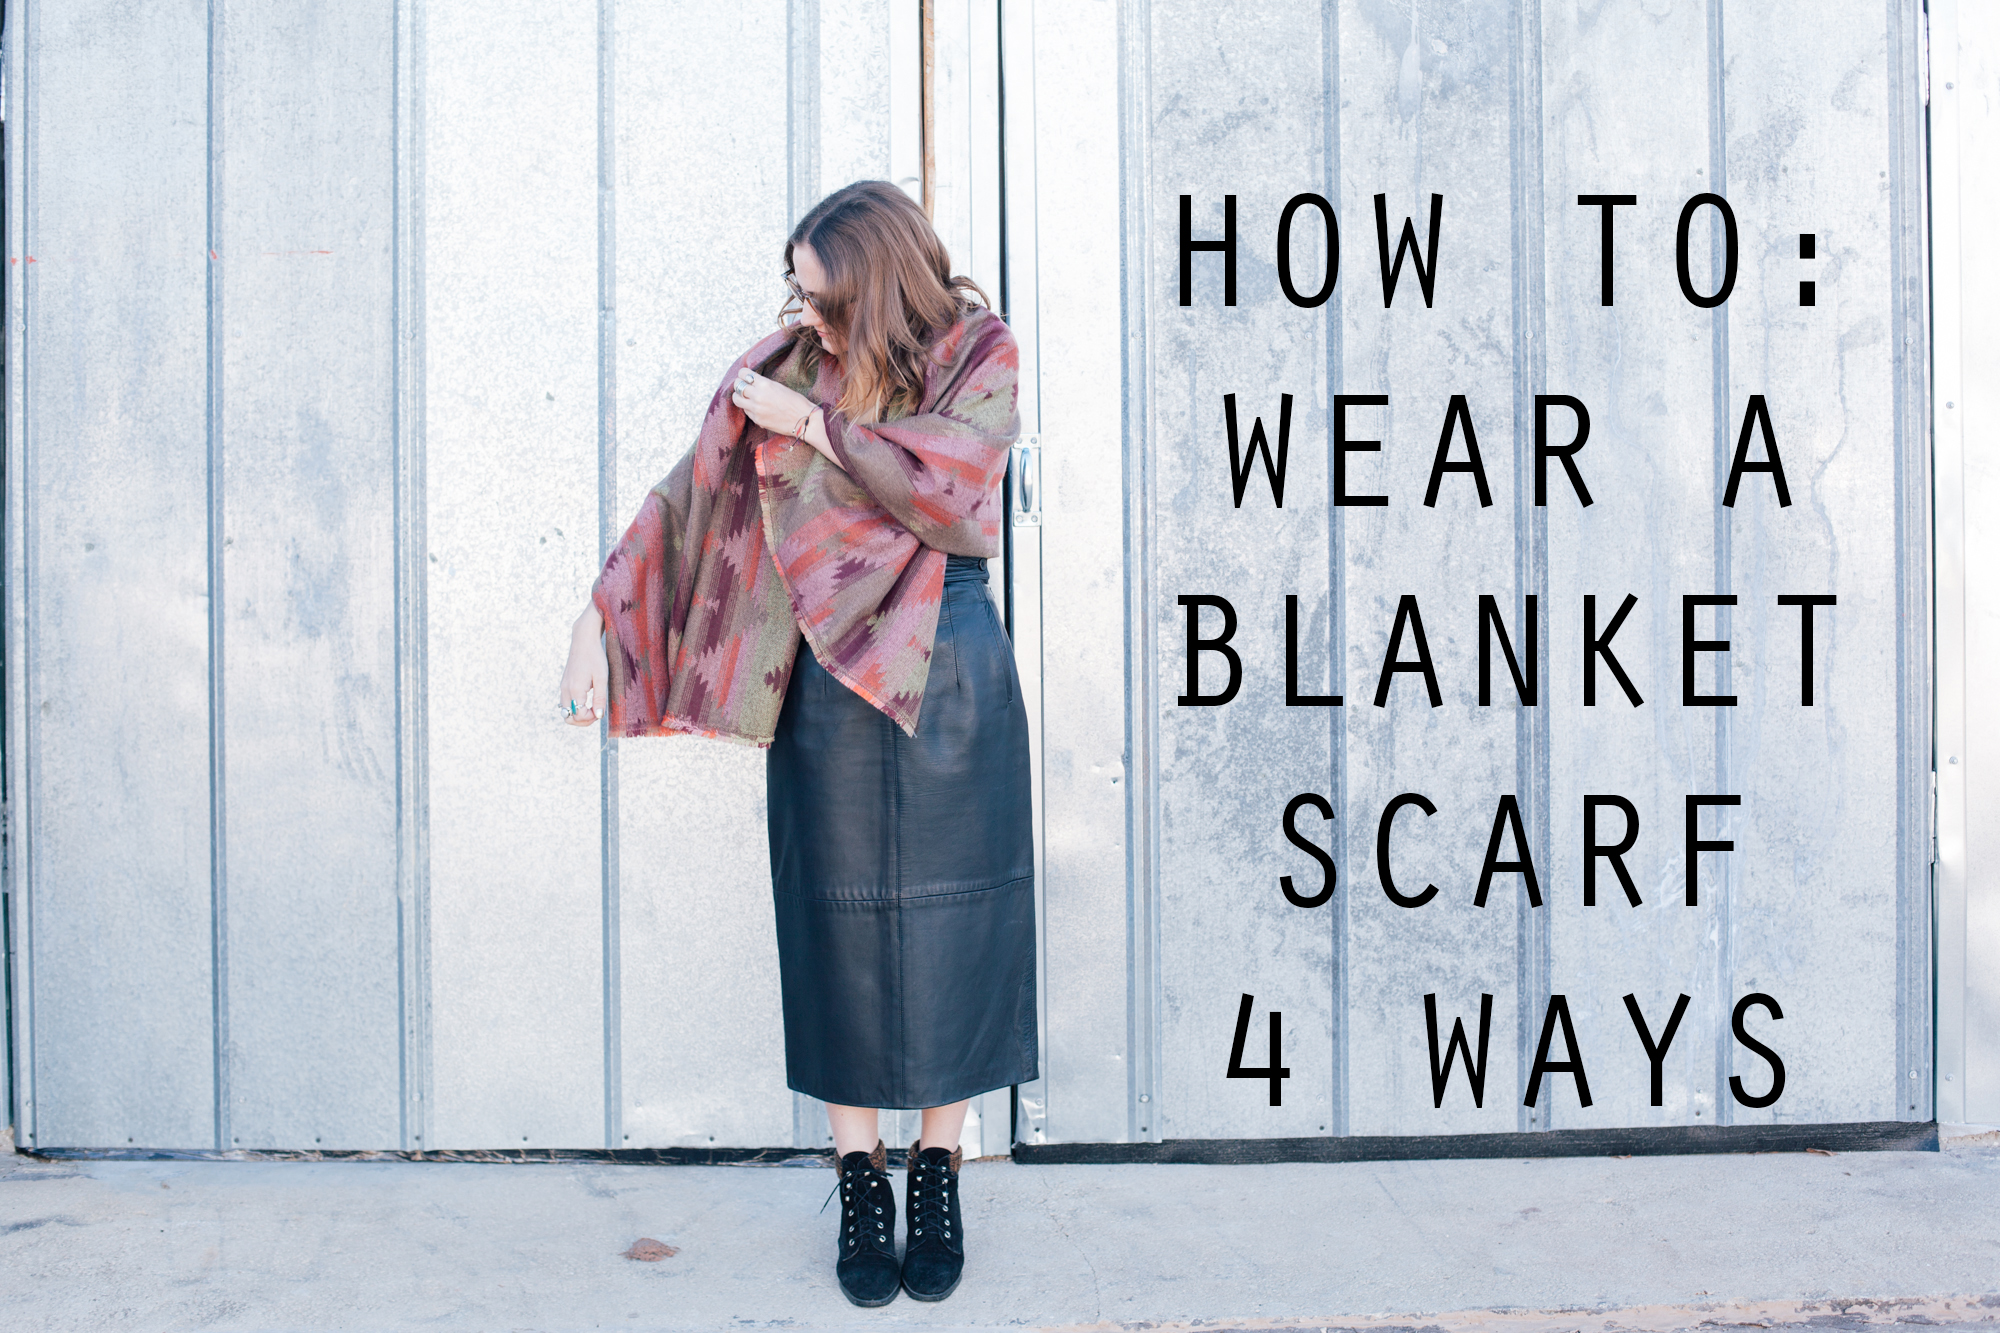
How To: Wear A Blanket Scarf 4 Ways

Scarf4Ways_0
Photos by Chelsea Laine Francis
Styled by Chelsea Laine Francis and myself

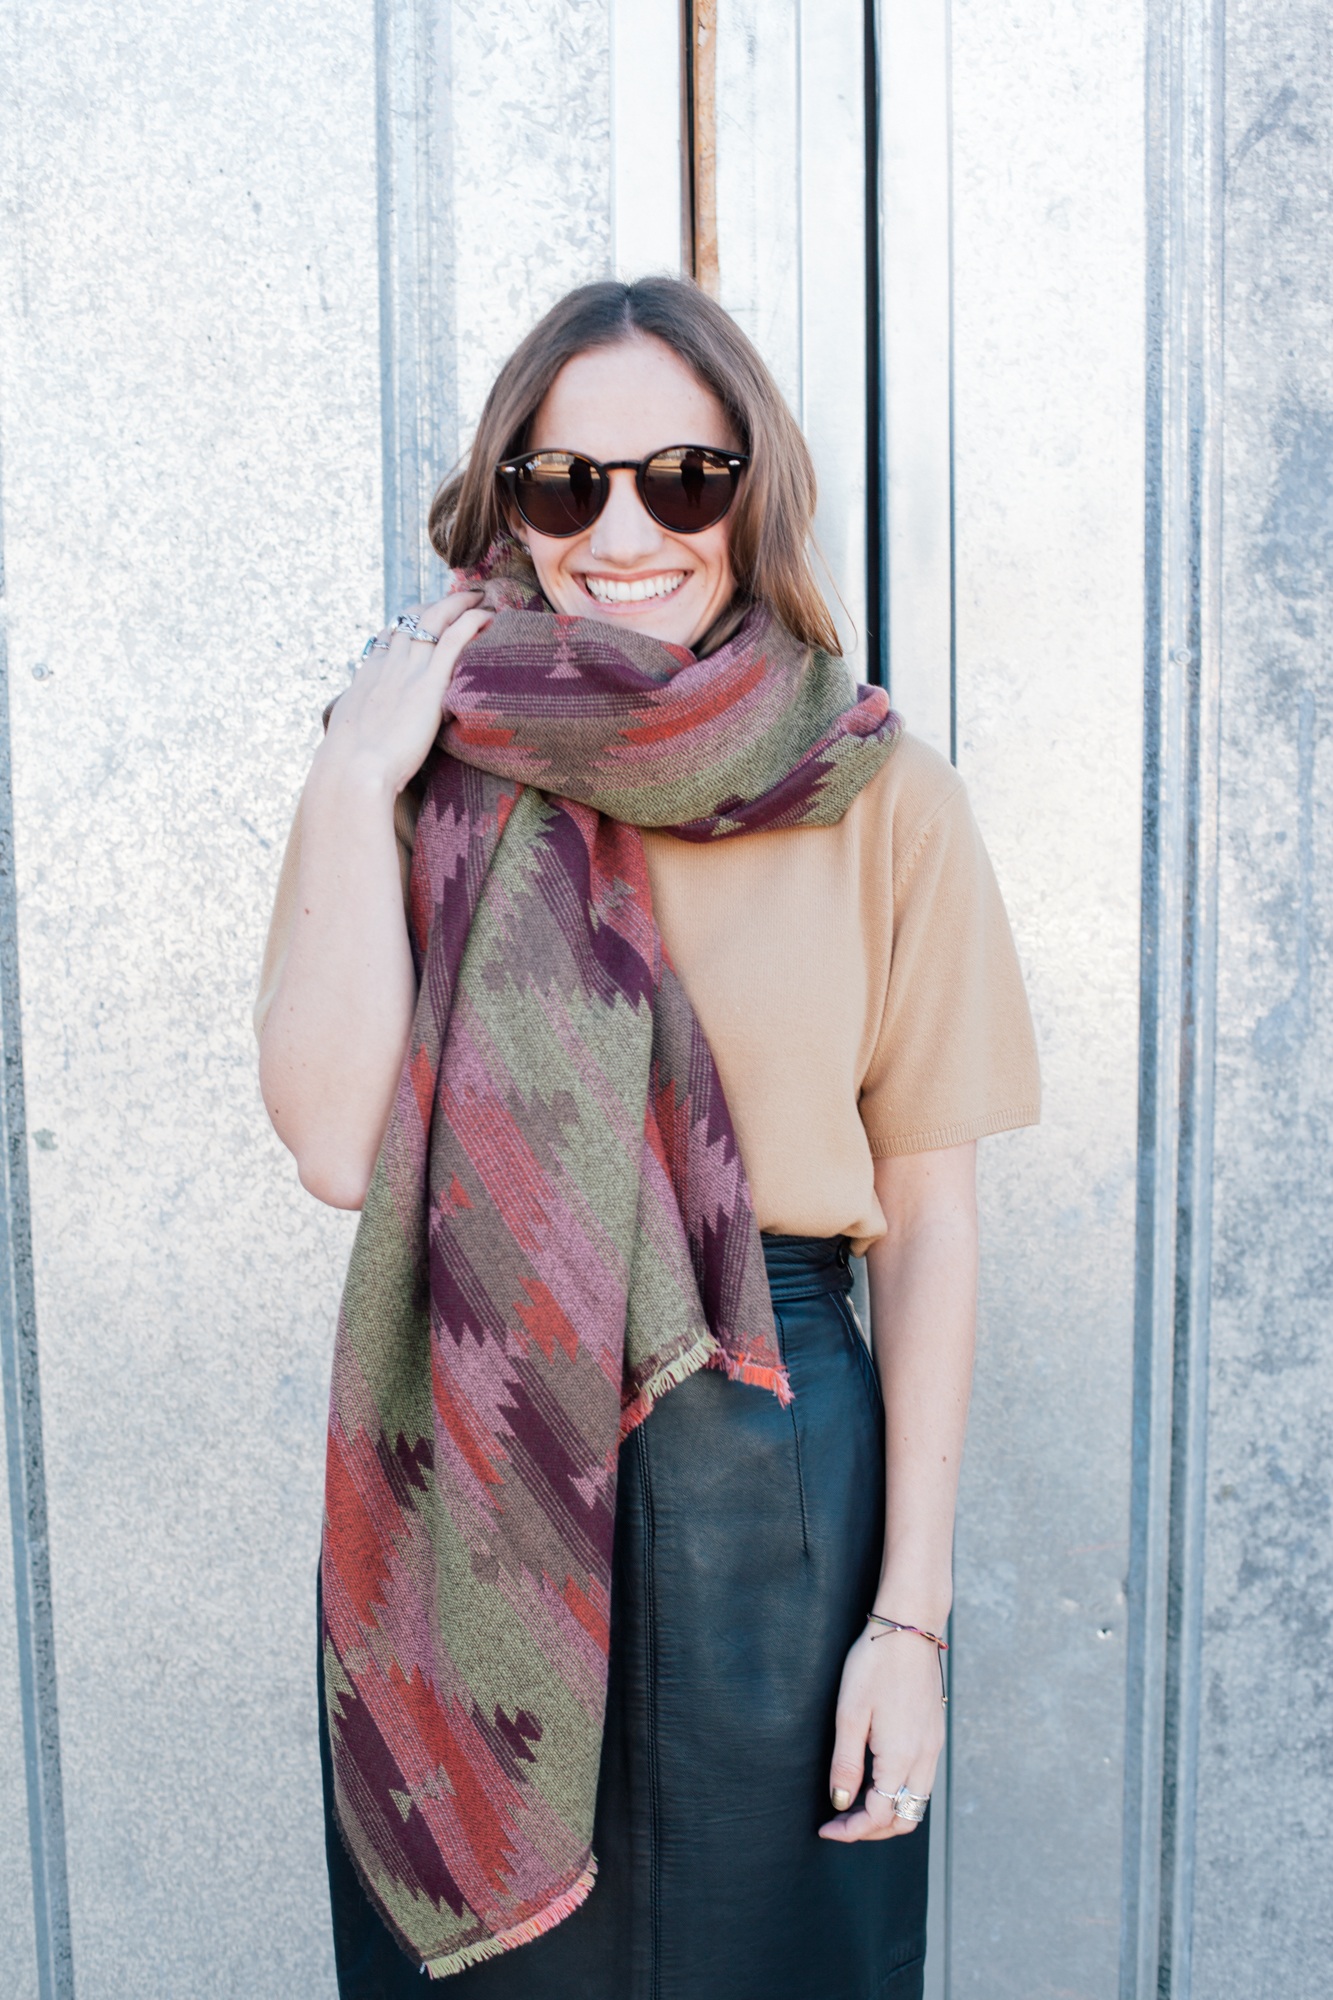
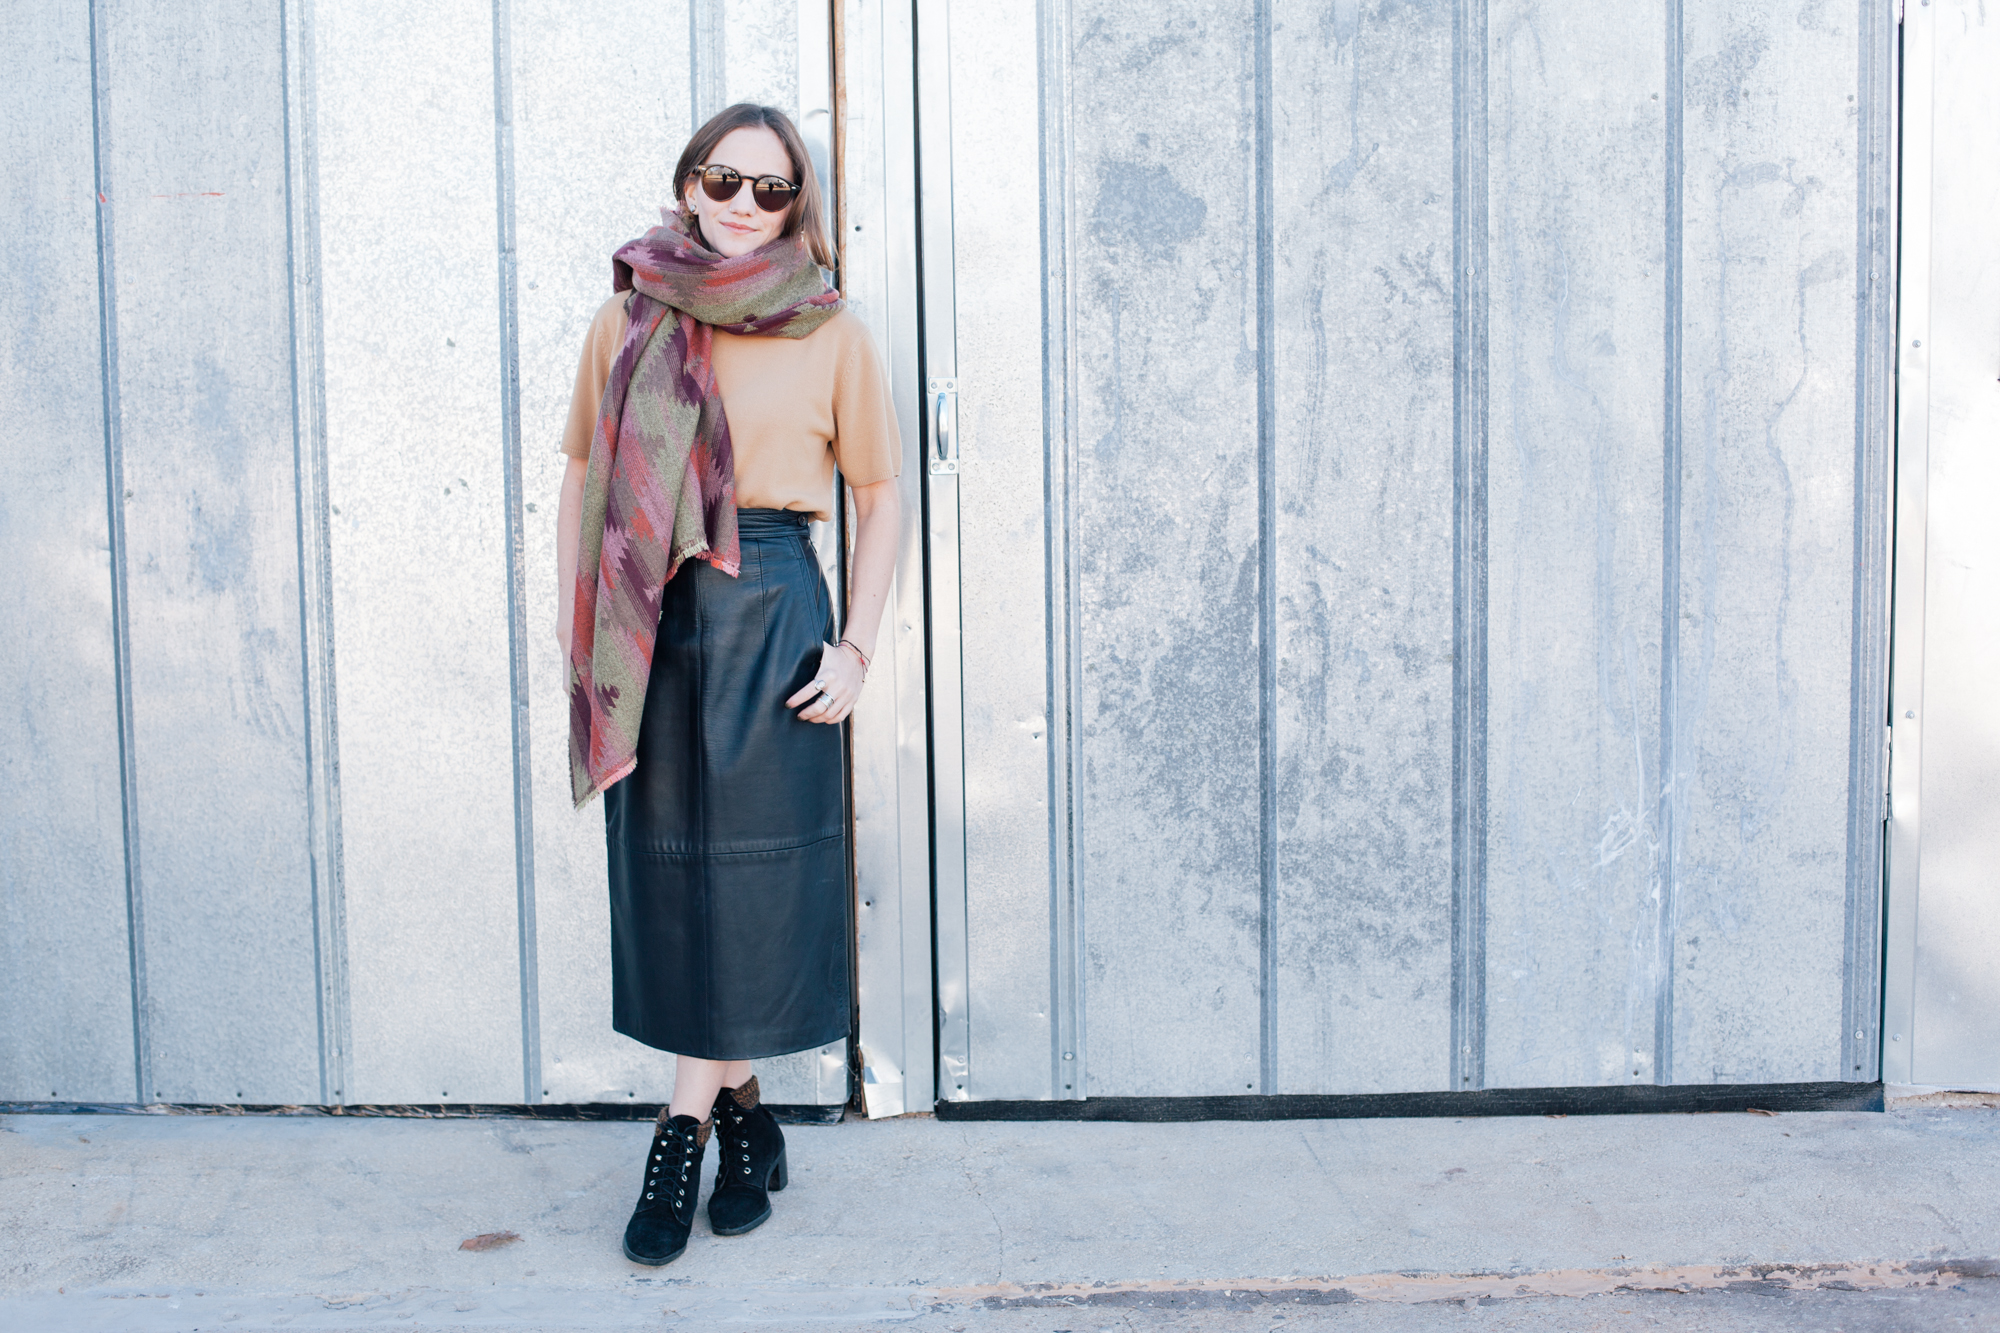
I asked Chelsea to help me style up a big ole blanket scarf from my beloved Interlaced Goods and we had so much fun doing it! Honestly, when I bought this scarf I had a really hard time trying to figure out how to style it. I'm a pretty small person and blanket scarves consist of A LOT of fabric. Seeing these photos has definitely shown me that I can in fact wear a blanket scarf without it looking completely ridiculous. And guess what? I'm here to show you that you can too! Seriously, if my 4'11 self can wear one of these, you can definitely rock one as well. Here's how I like to style my blanket scarf four different ways!

1) As A Shawl

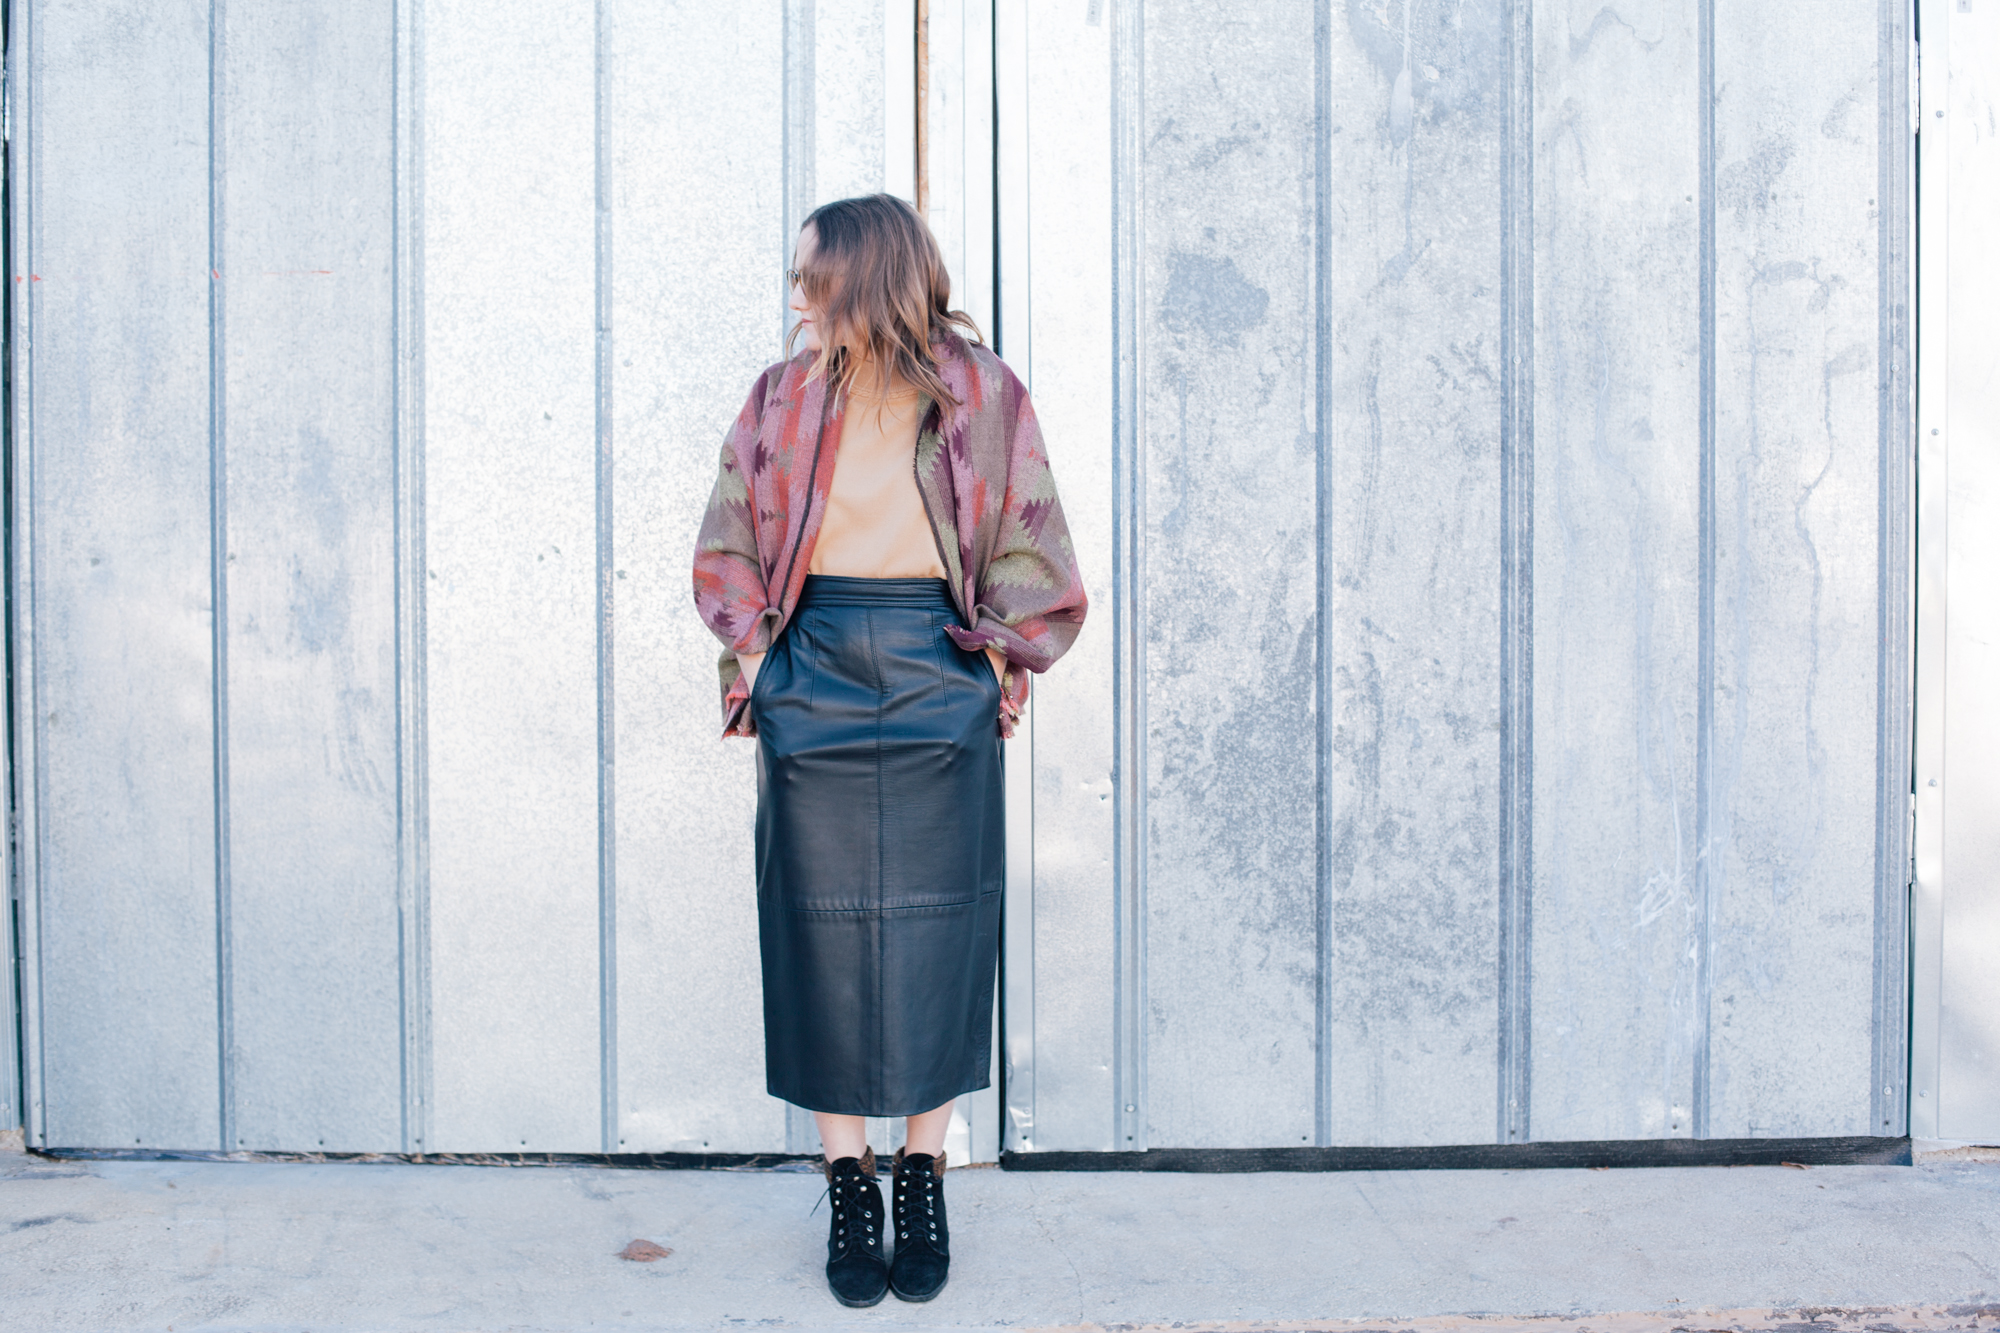
Scarf4Ways_1 Scarf4Ways_2 Scarf4Ways_3
For this one you literally just fold up your scarf, throw it over your back, then tuck it under your arms. Probably the easiest of the four ways!

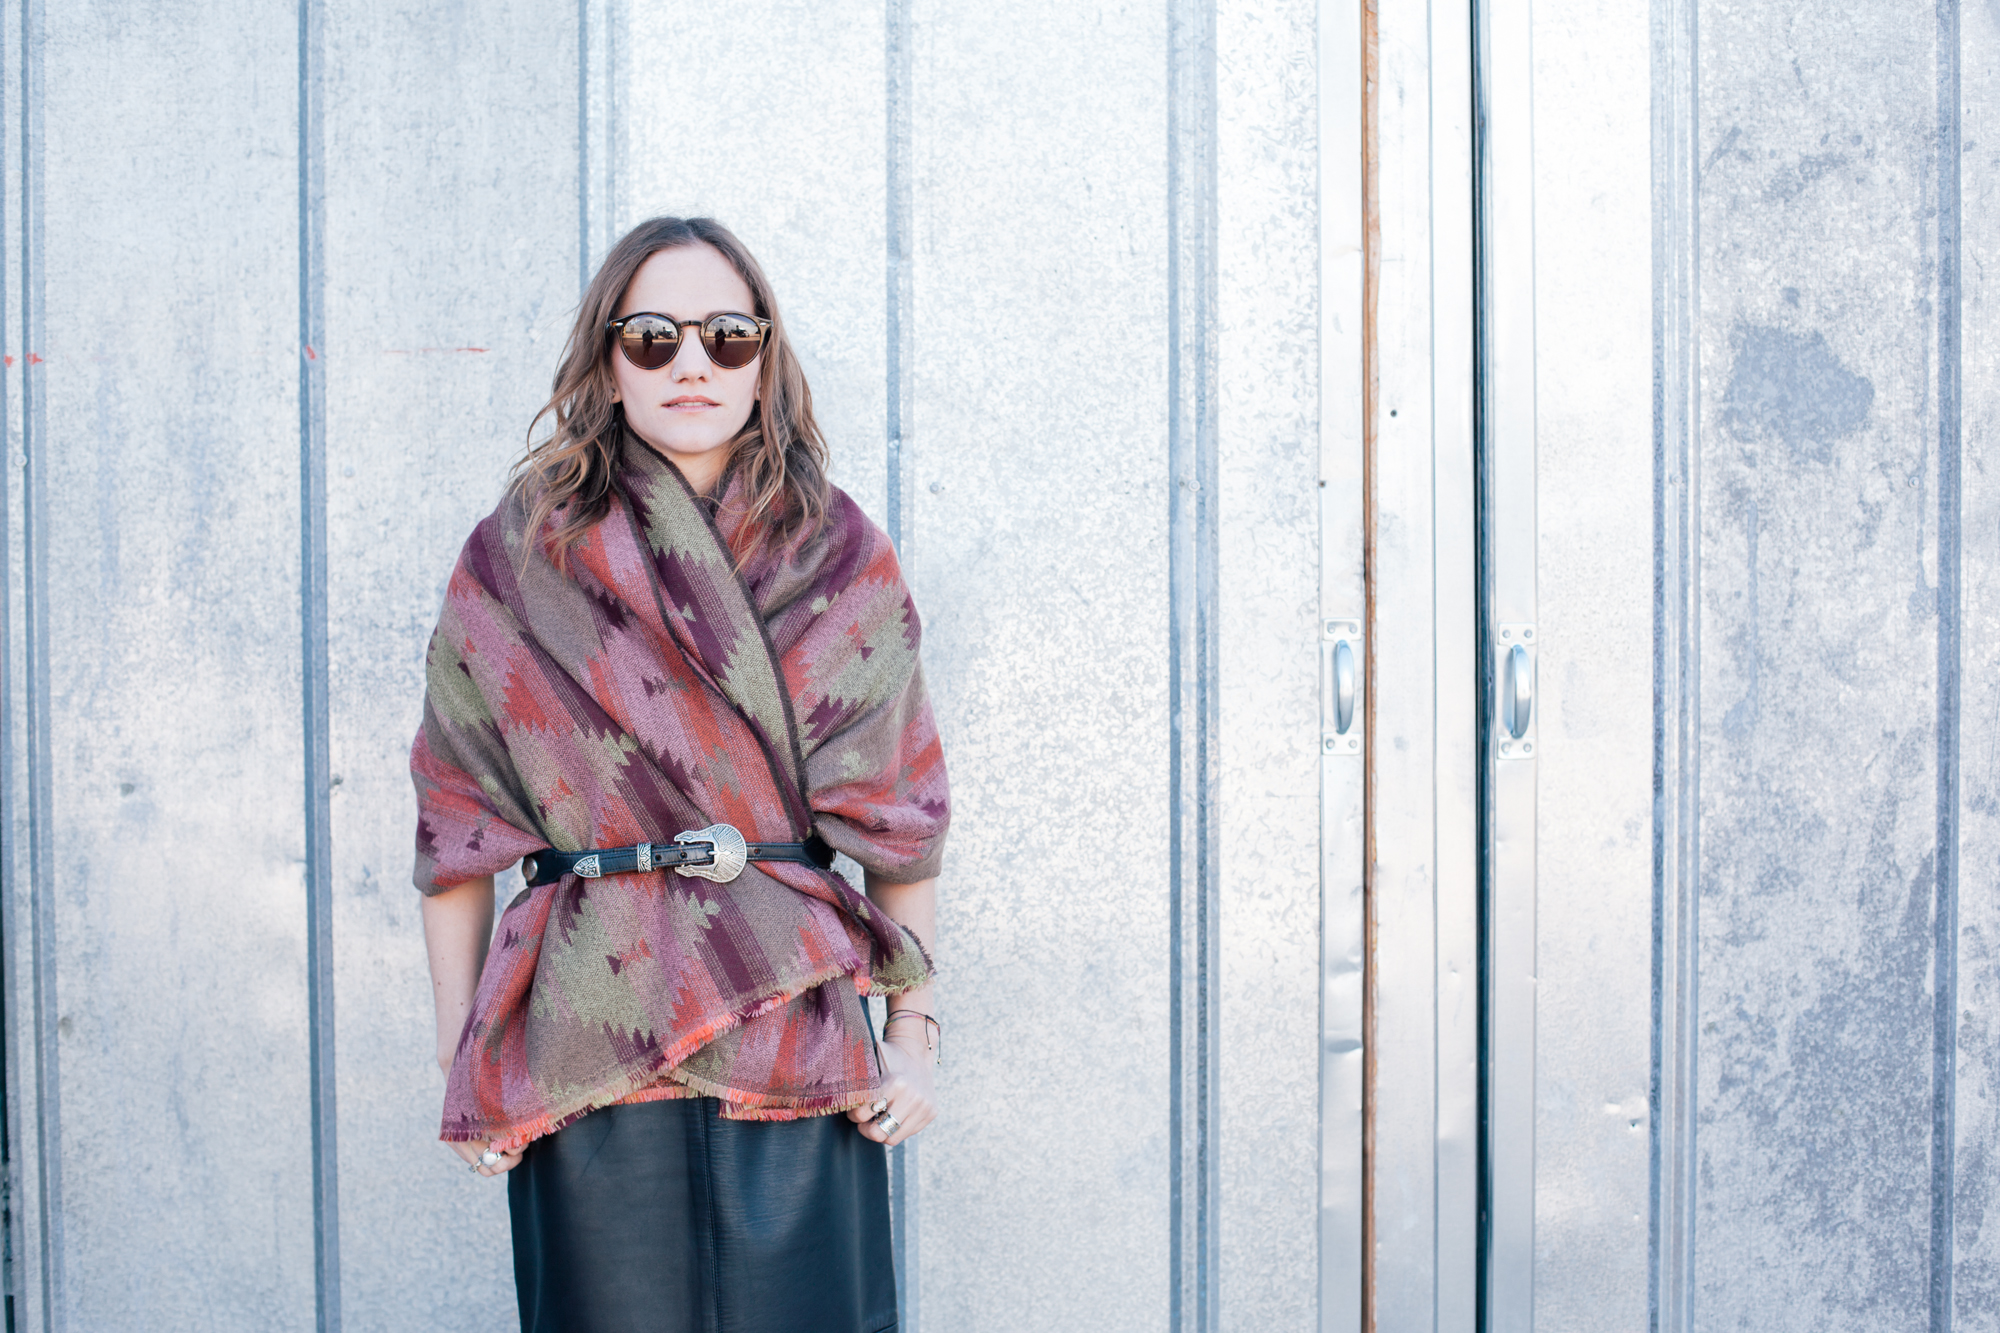
2) Belted
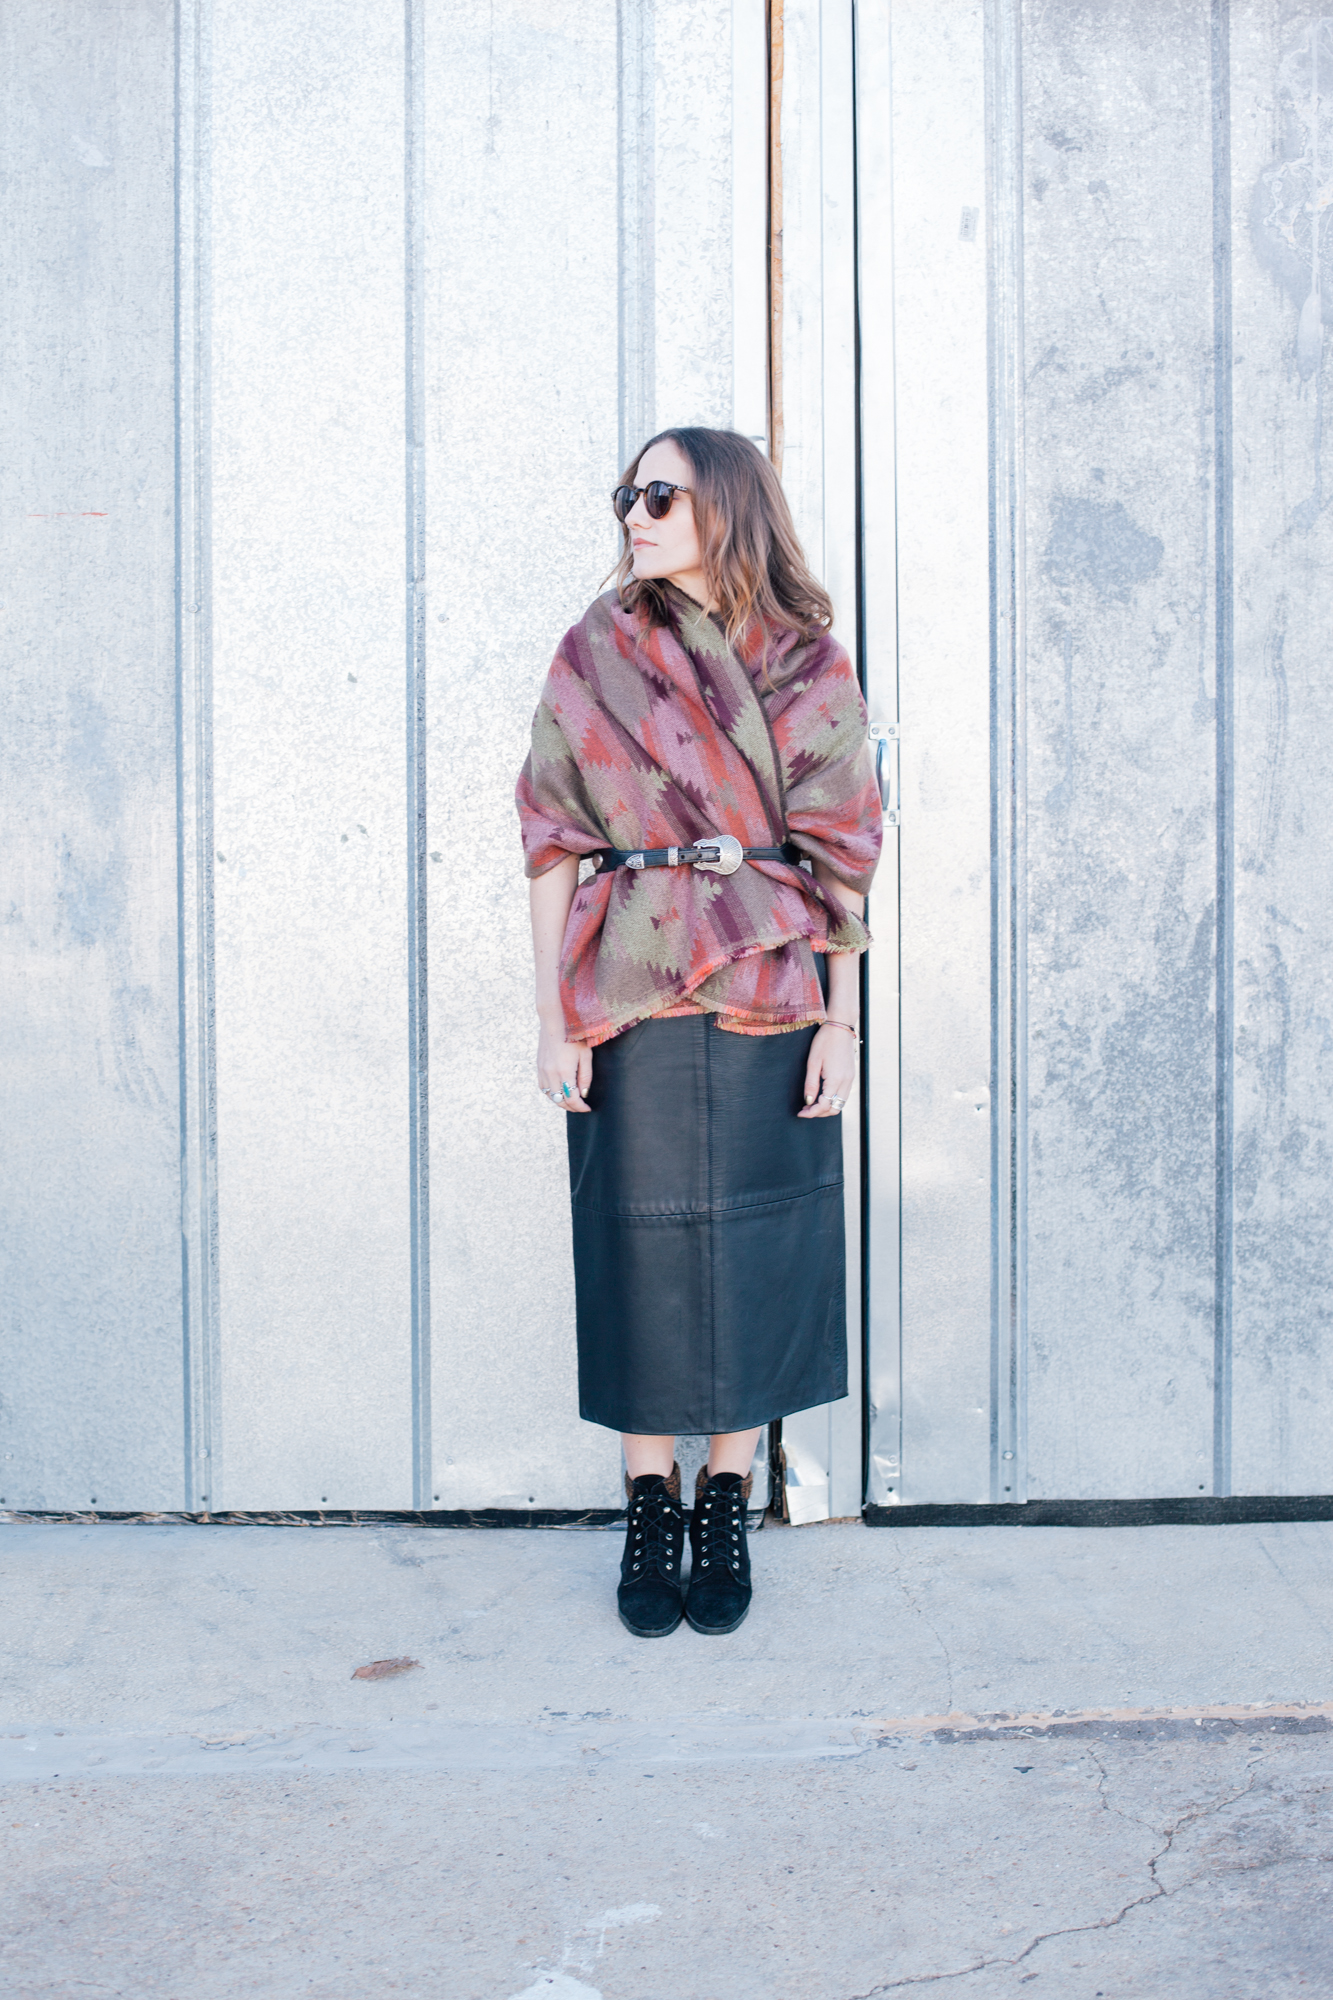
Scarf4Ways_4 Scarf4Ways_5 Scarf4Ways_6
For the belted look wrap your scarf the same way you would when you're wearing it as a shawl then buckle a belt around it. I thought this one might be restricting but it's not at all! Just make sure not to buckle your belt too tight so your arms have room to move.

3) Like Lenny
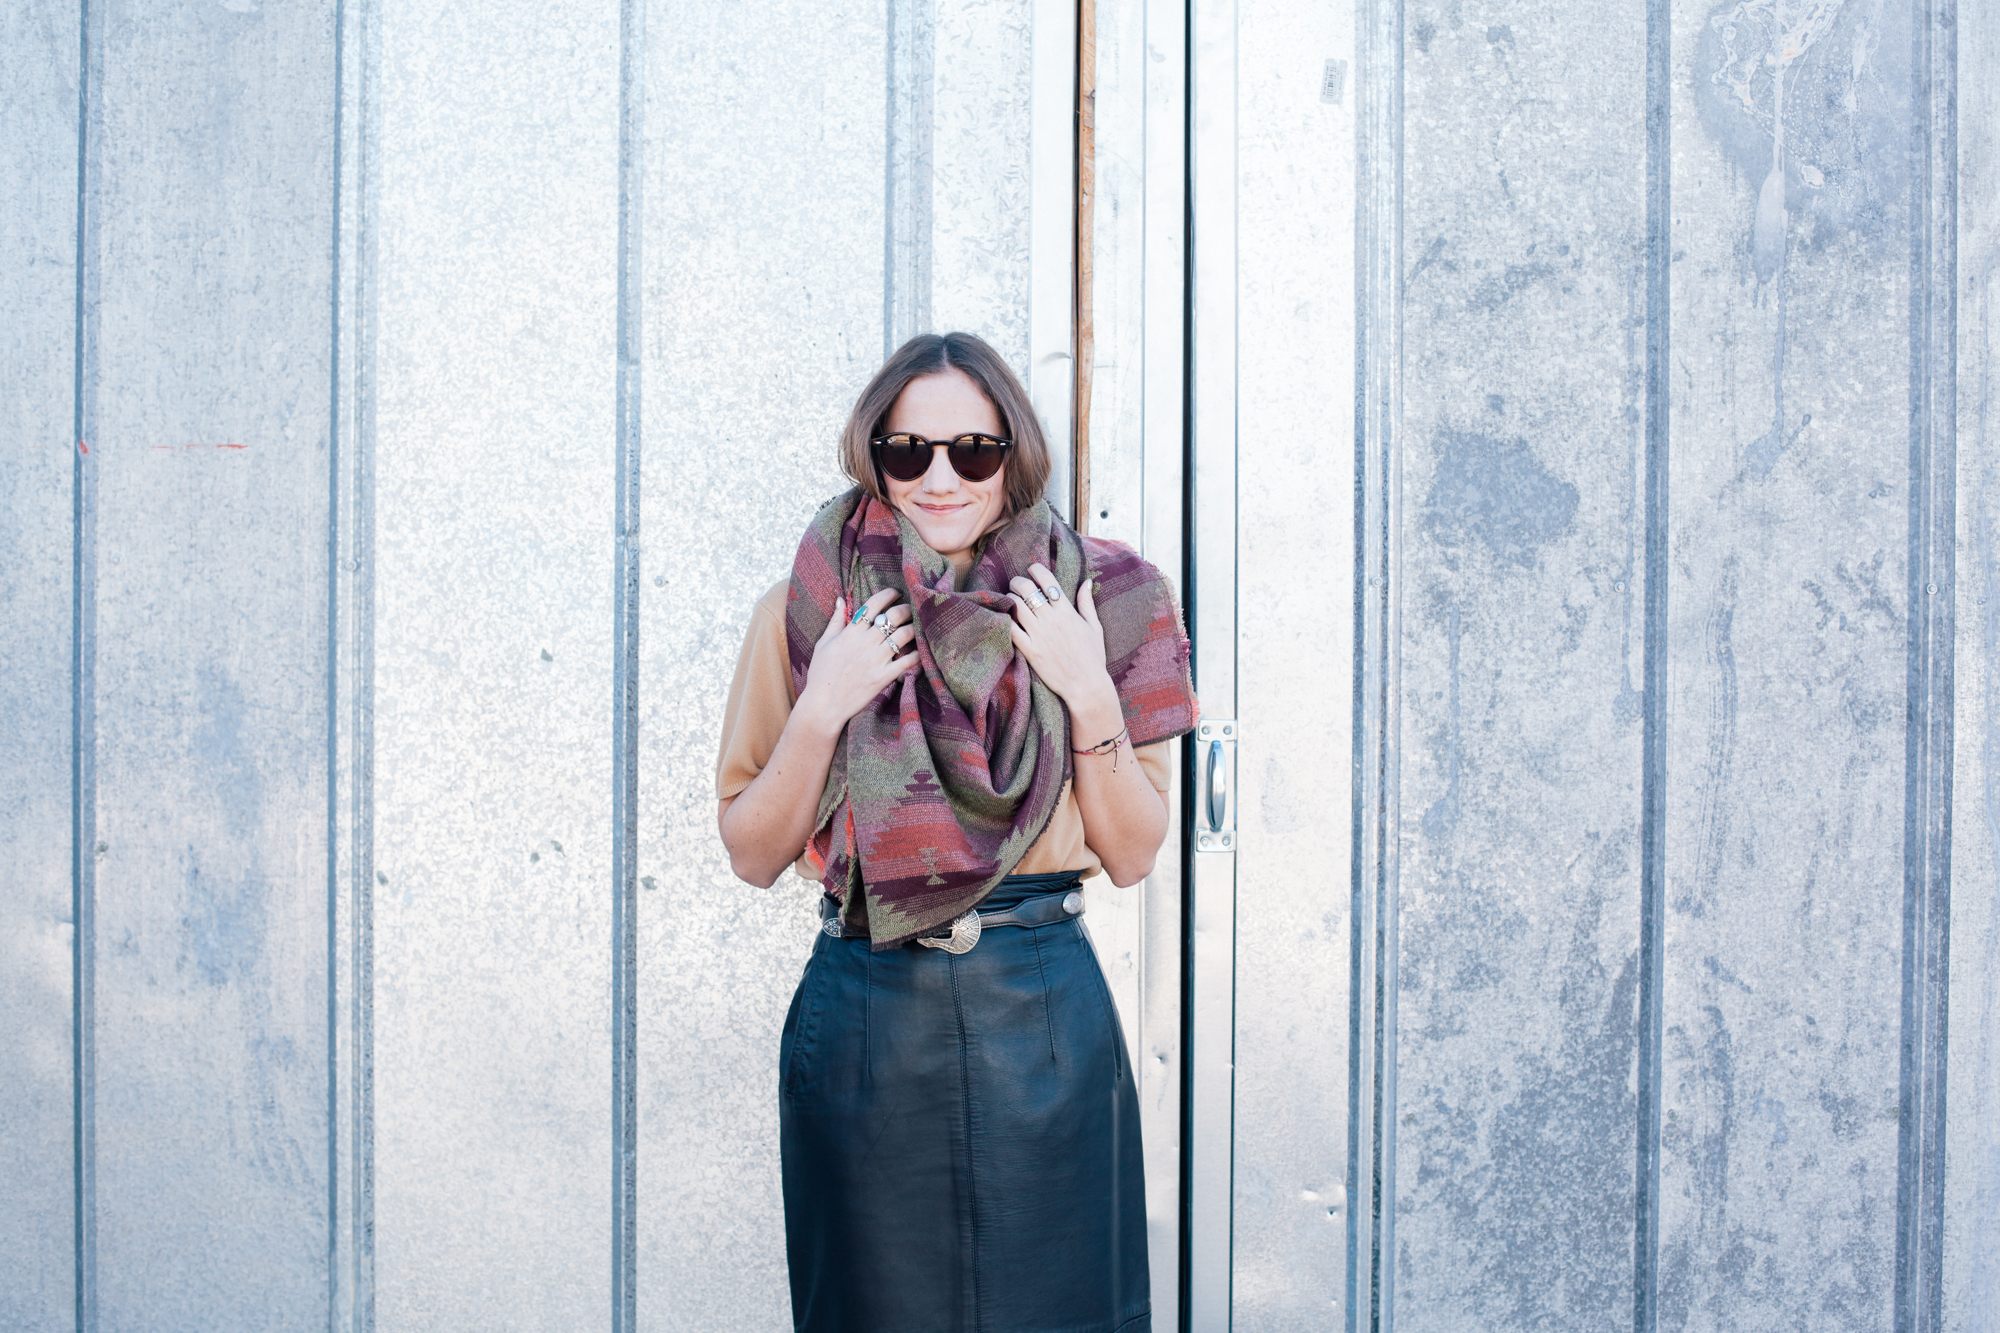
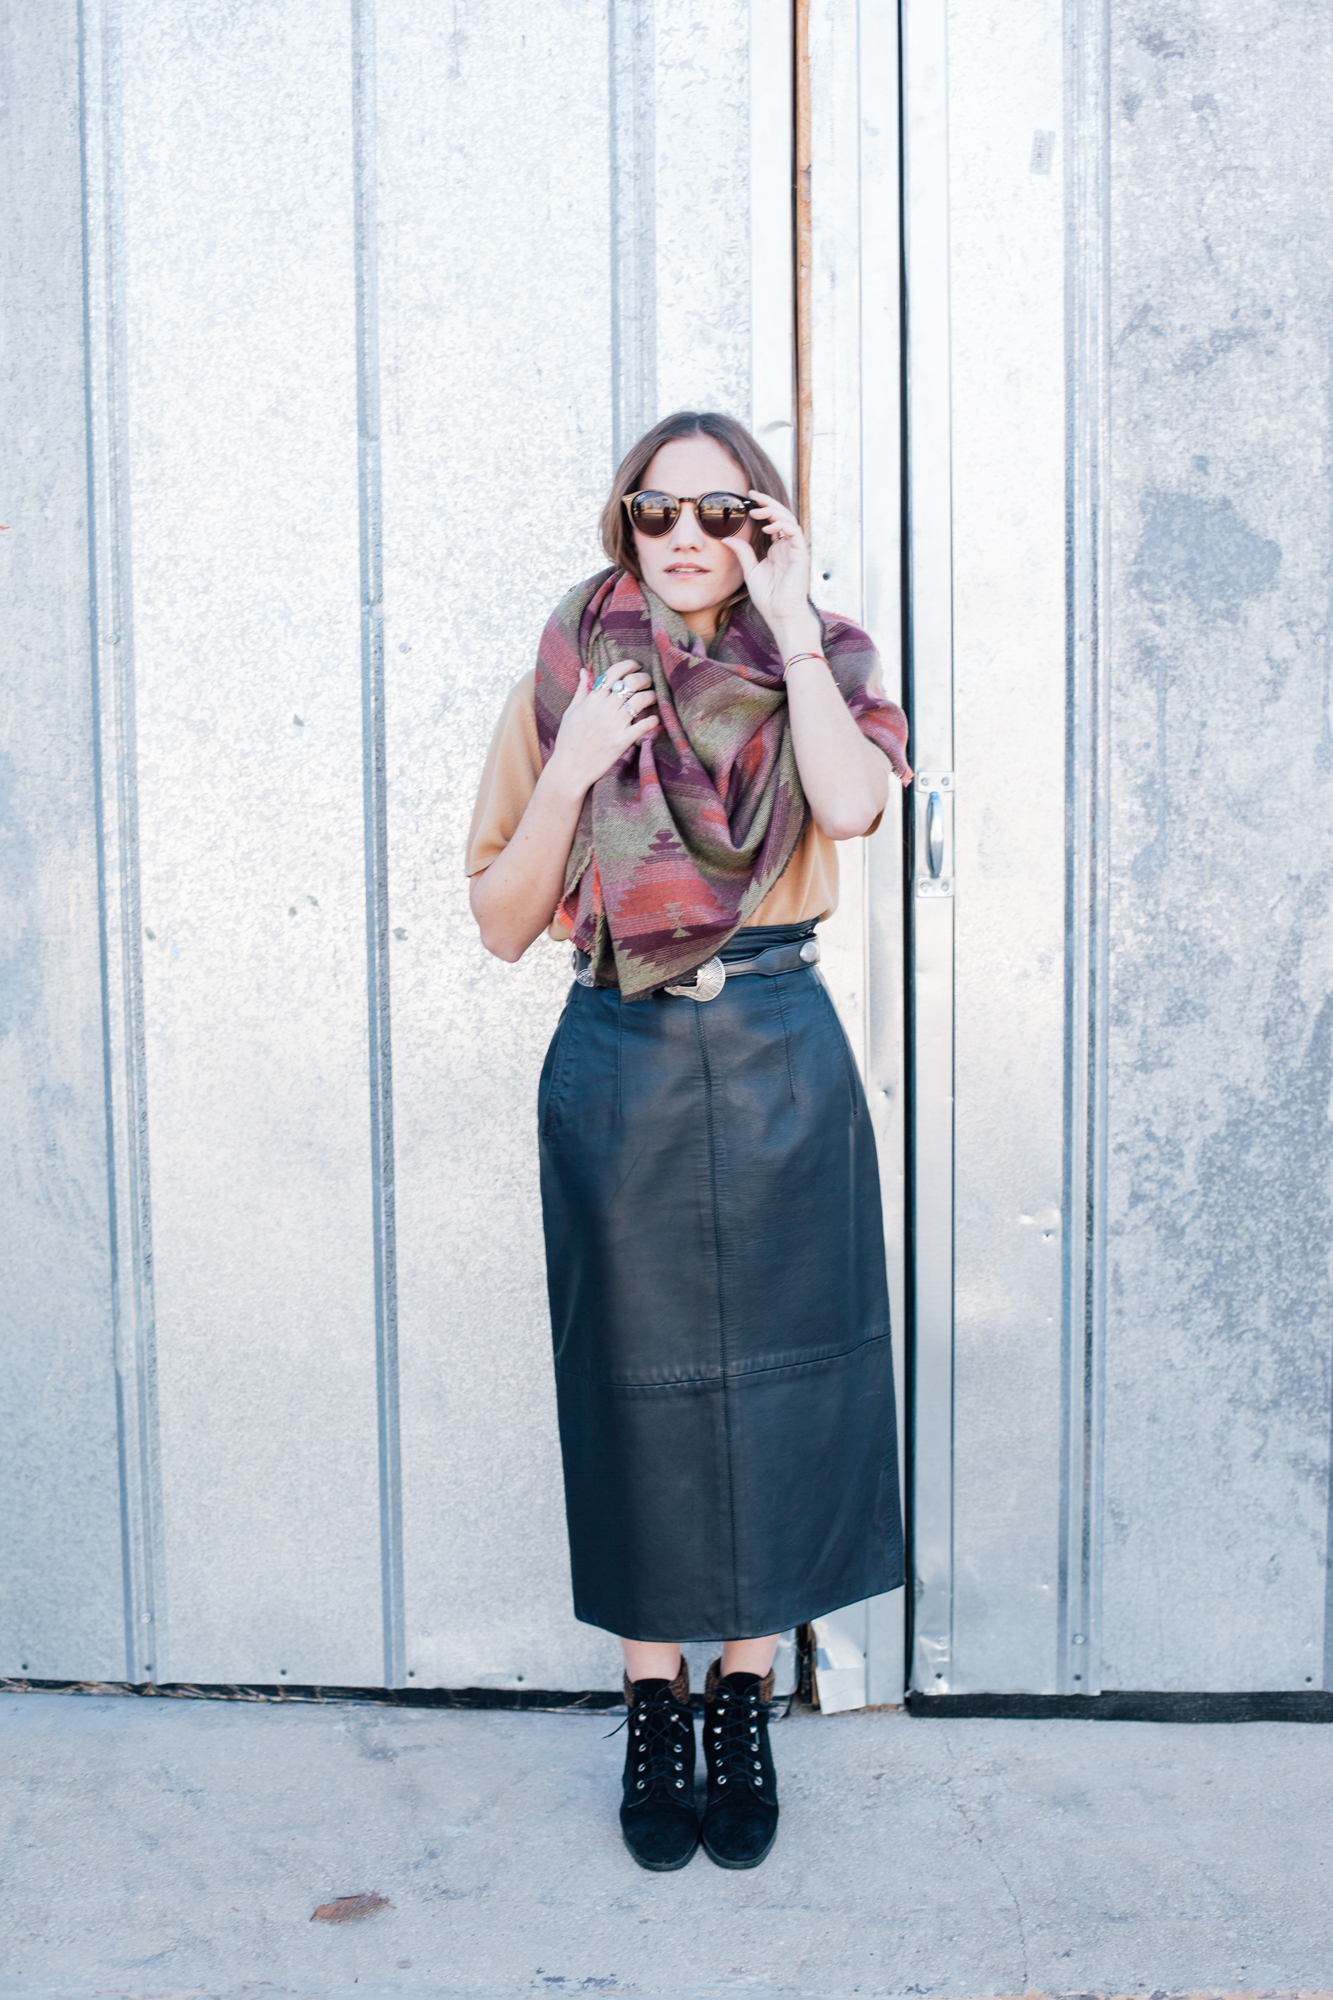
Scarf4Ways_9 Scarf4Ways_8 Scarf4Ways_7
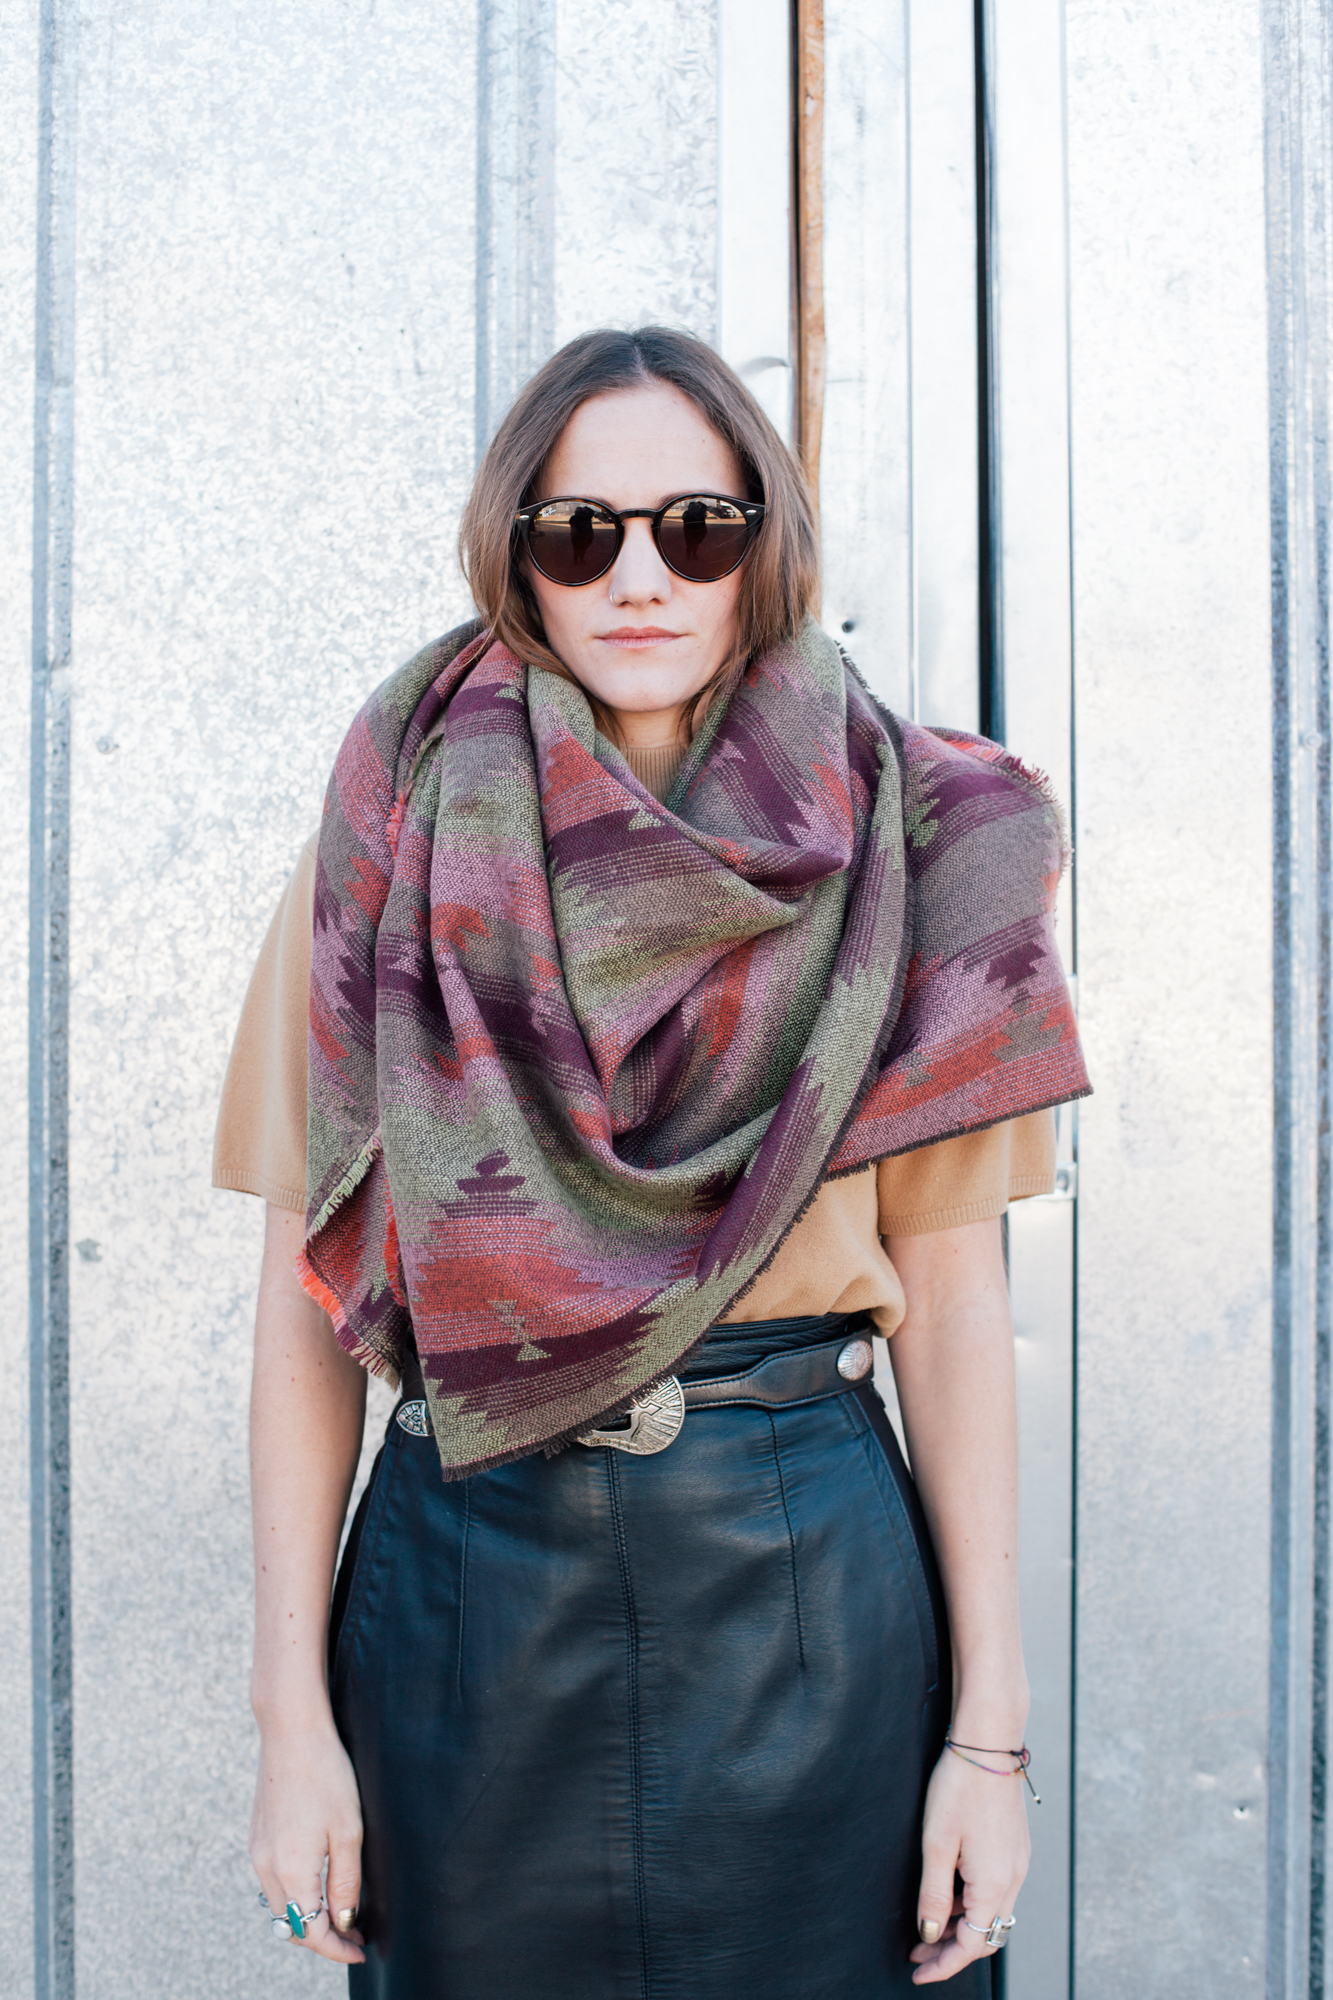
As we styled this third look Chelsea asked me if I'd ever seen the famous photo of Lenny Kravitz wearing what looked like an actual blanket as a scarf. I hadn't but googled it later... HA! So, this is my VERY subtle interpretation of that. For this cool kid look fold the scarf up in a sort of makeshift triangle and wrap it all the way around your neck making sure the tip of the fold is close to front and center like you see here. Doesn't have to be perfect. The Lenny looks much better a little bit messy.

4) Tossed Over One Shoulder
Scarf4Ways_11 Scarf4Ways_12 Scarf4Ways_10
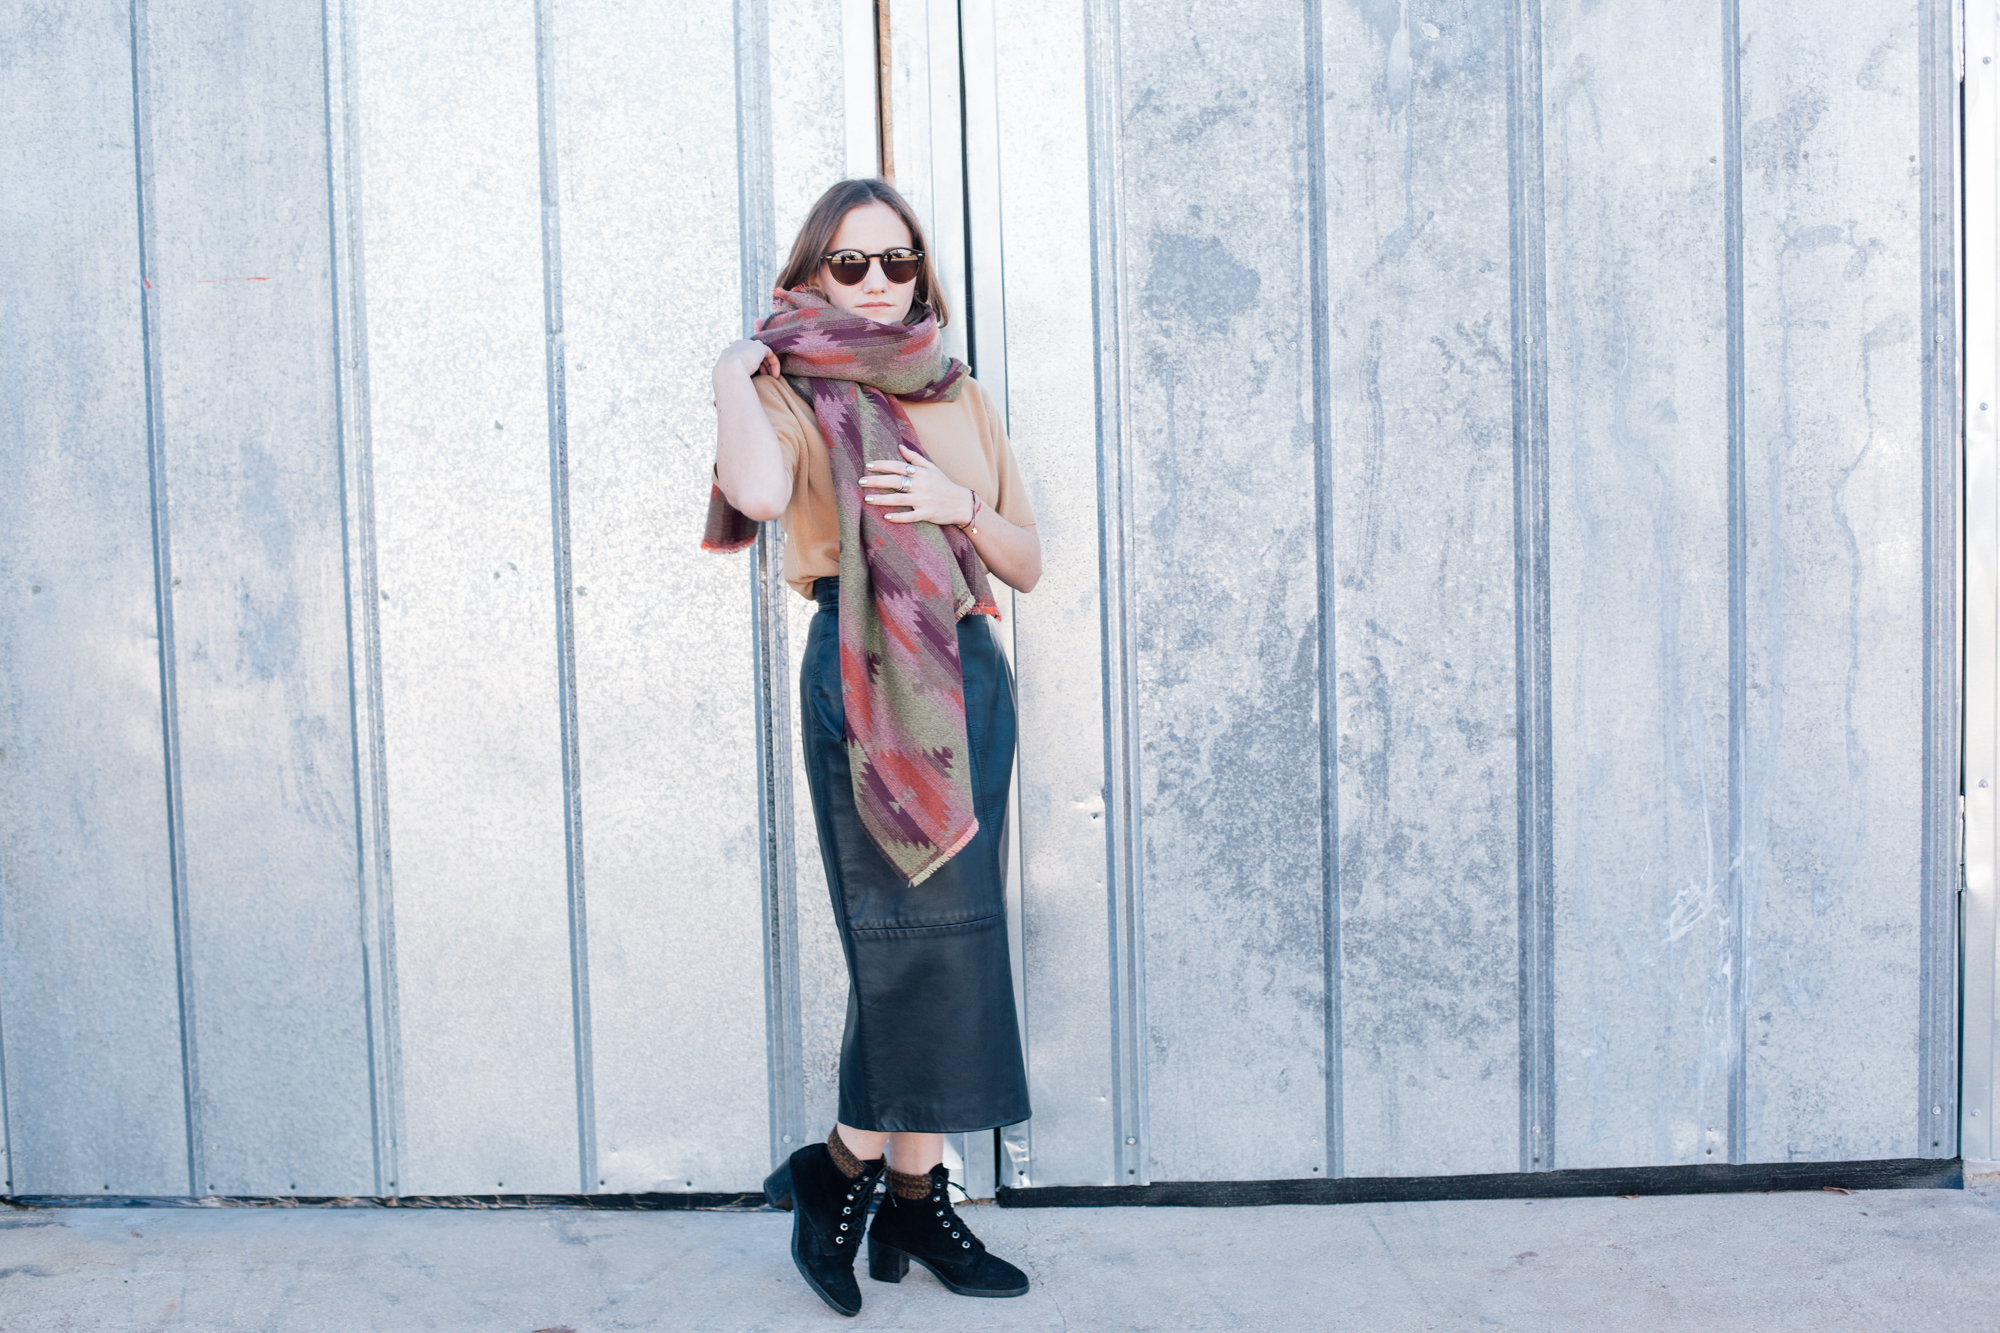
I didn't think I would like this look as much as I do now that I see it in photos. Throwing one side of the scarf around your should might even be easier than the shawl look!

And my award for personal favorite way to wear a blanket scarf goes to... The belted look!

Scarf4Ways_13
Interlaced Goods Blanket Scarf, Top via Pieceology Vintage, Skirt via Top Drawer Thrift (similar), Belt and Shoes via Charm School Vintage, Ray-Ban Sunglasses

How do you like to wear your blanket scarf? I'd love to try out some other ways. Let me know in the comments!

Friday, January 8, 2016

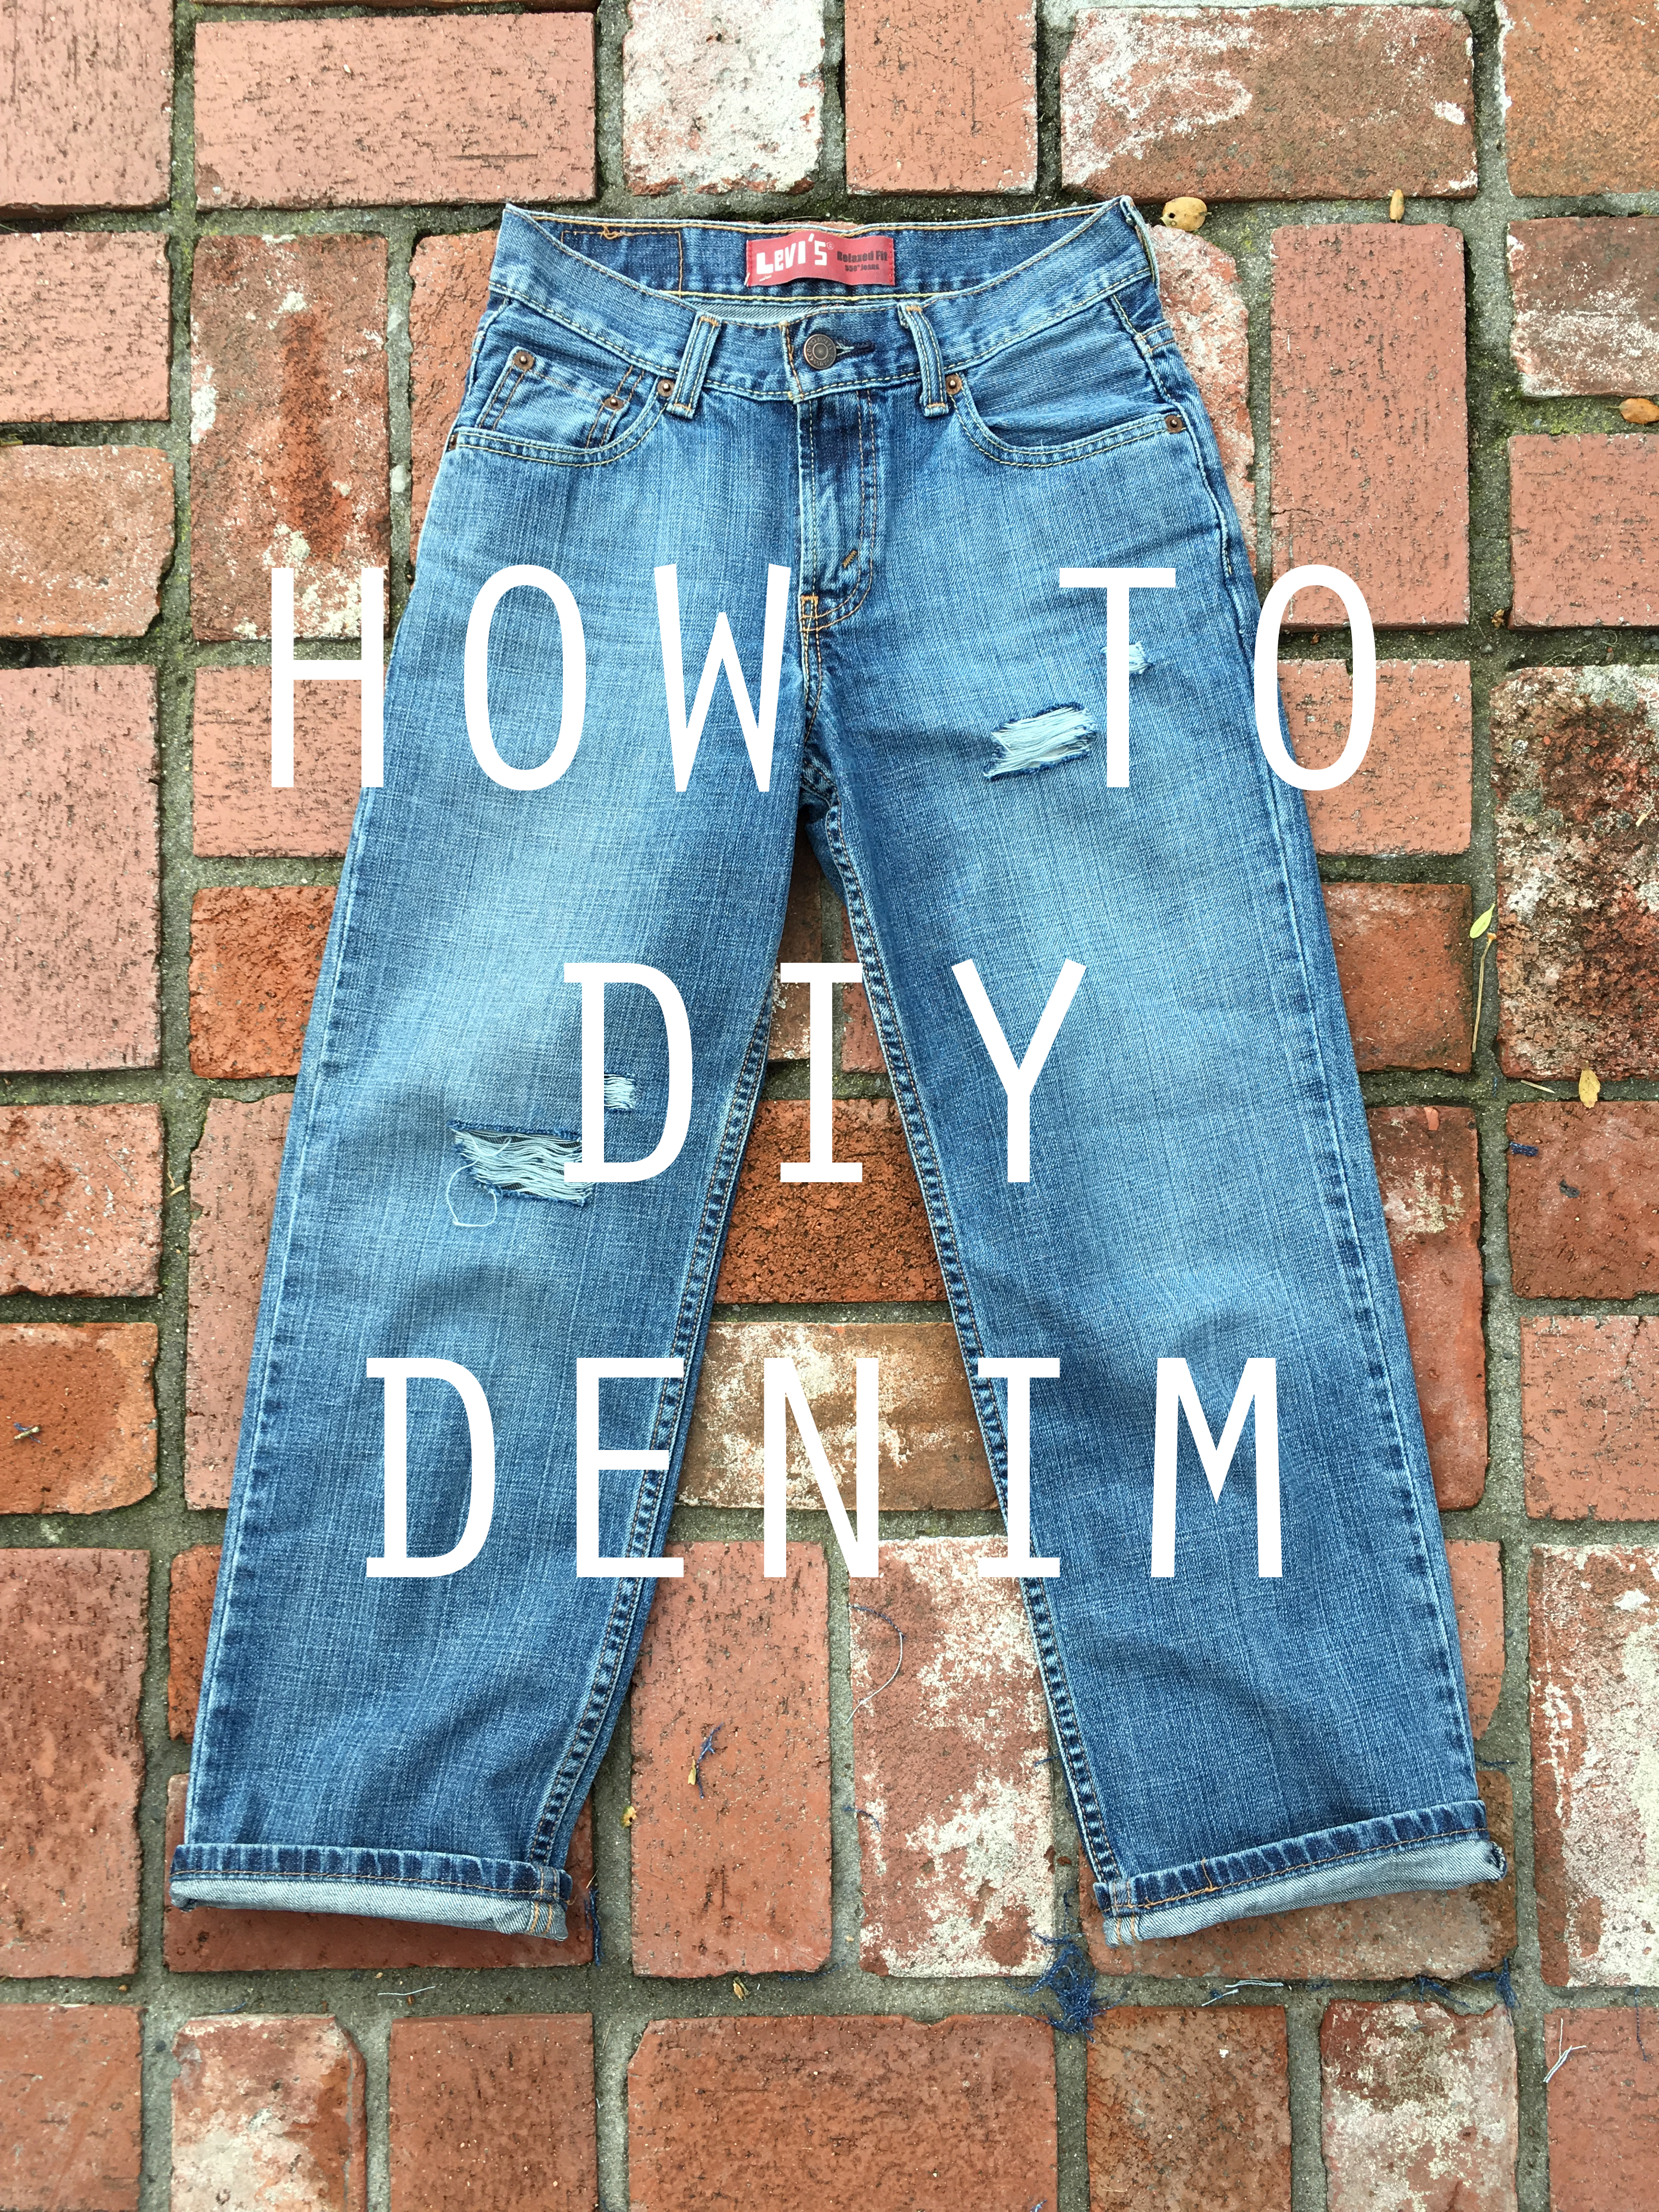
How To: DIY Denim

HOWTO_DIY_DENIM_1

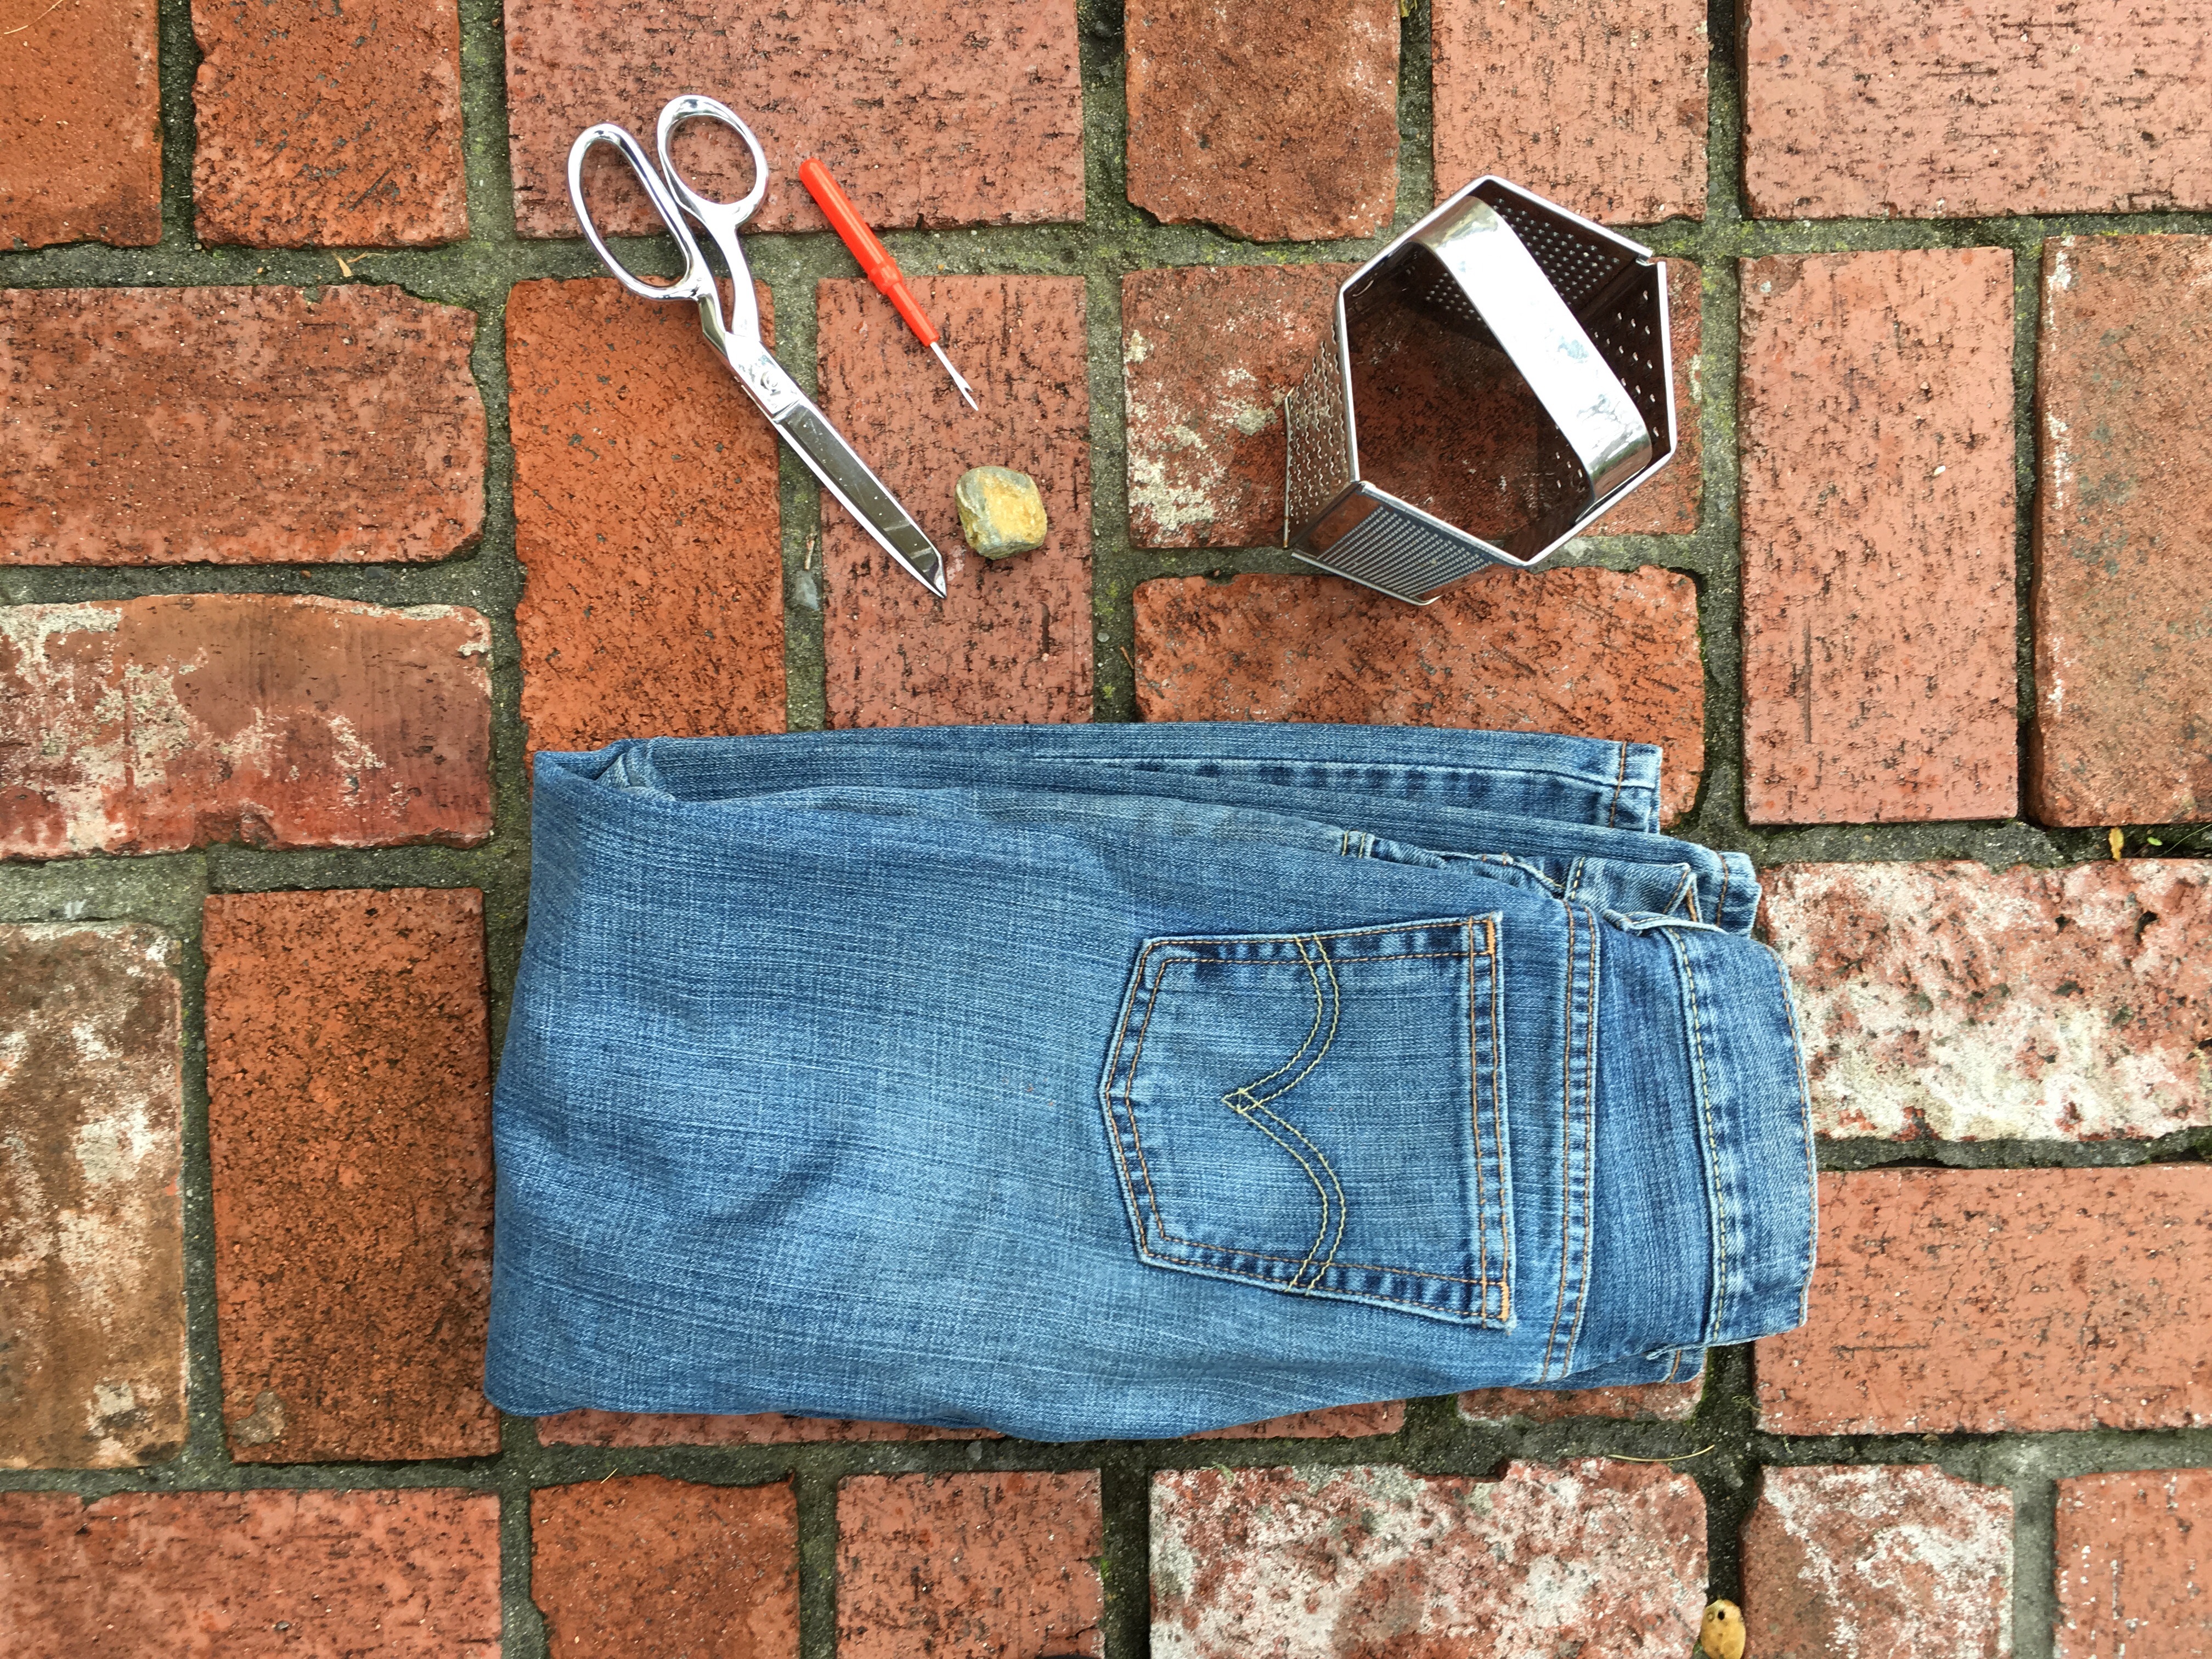
 While I was in California last month I found some great new denim (for myself and for the shop) but sometimes jeans can be a lot more fun when given a little extra character. I asked my friend Gina, the thrifting/DIY/vintage queen herself, to teach me how to DIY my denim I find while I'm out scouring the thrift shops. And don't worry, the risk is low if you mess up. Just hit up your local thrift like I do for great deals. I got this pair of Levi's for just $5!

HOWTO_DIYDENIM_0  
What you'll need:
thrifted jeans (non-stretch denim is best), a rock (or cheese grater), fabric scissors (or regular ones), seam ripper (or tweezers)

HOWTO_DIYDENIM_1  
Step 1: Try on your jeans to see where you'll want the holes to go.

HOWTO_DIYDENIM_2  
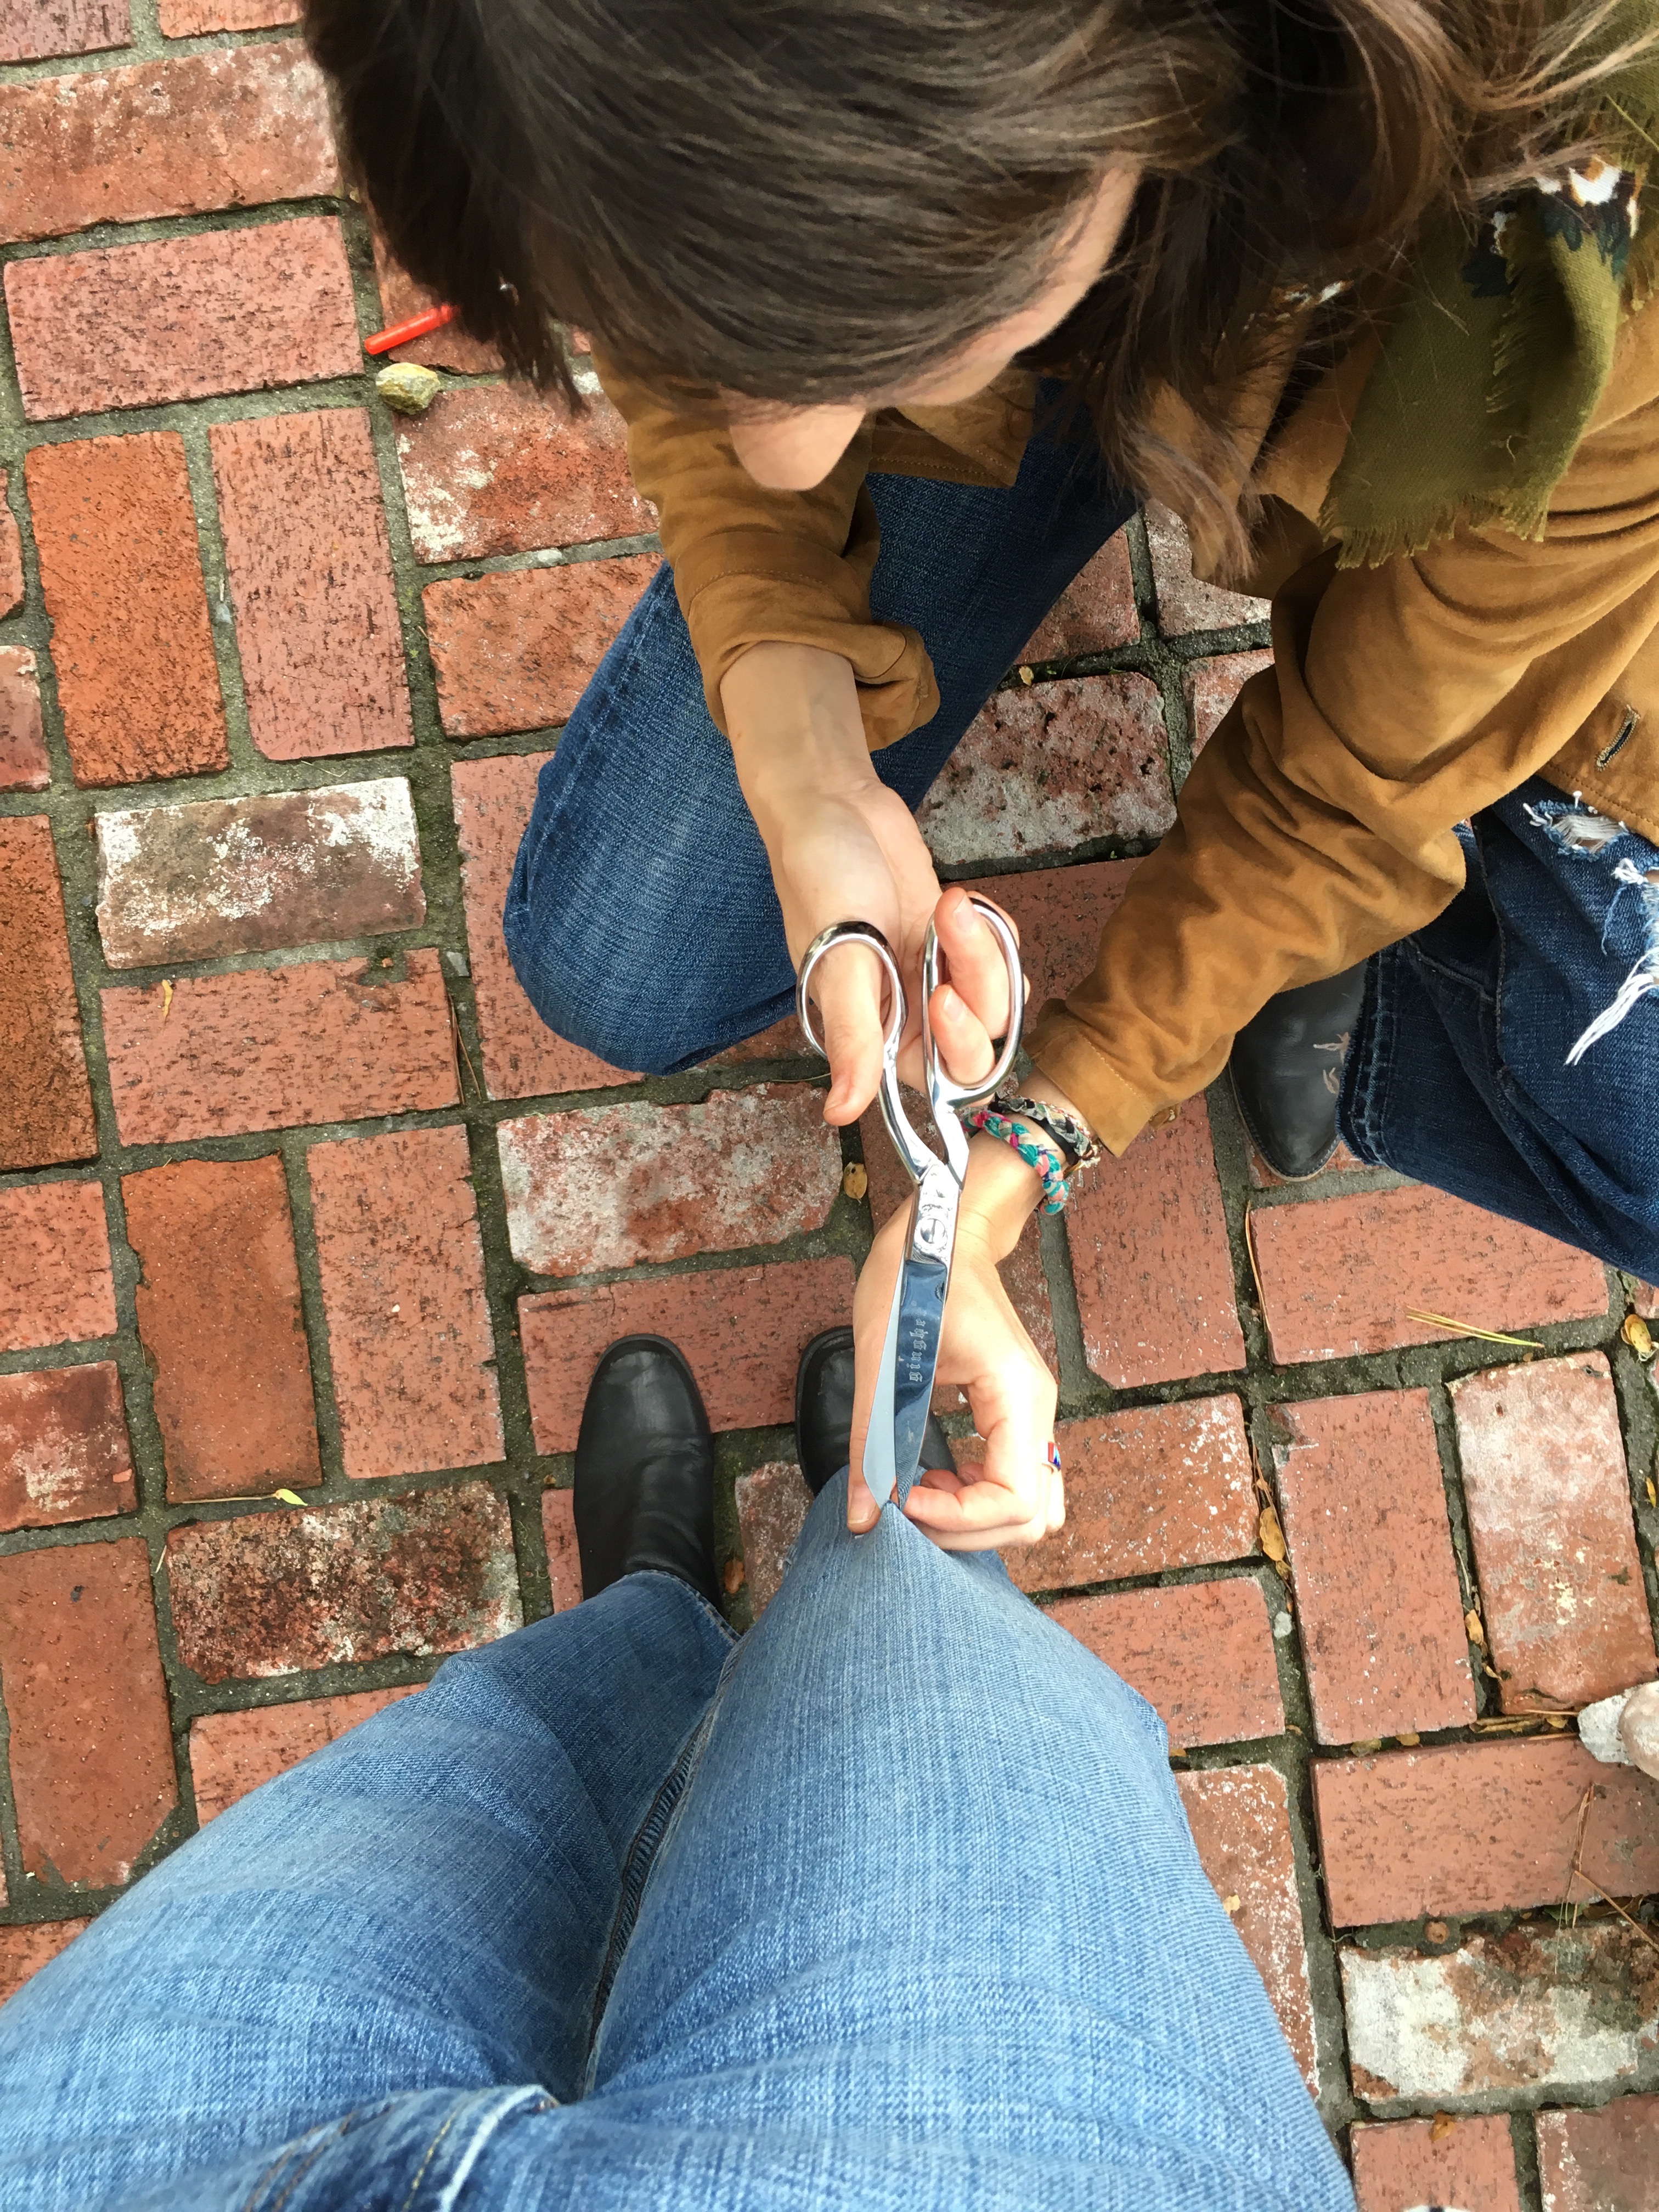
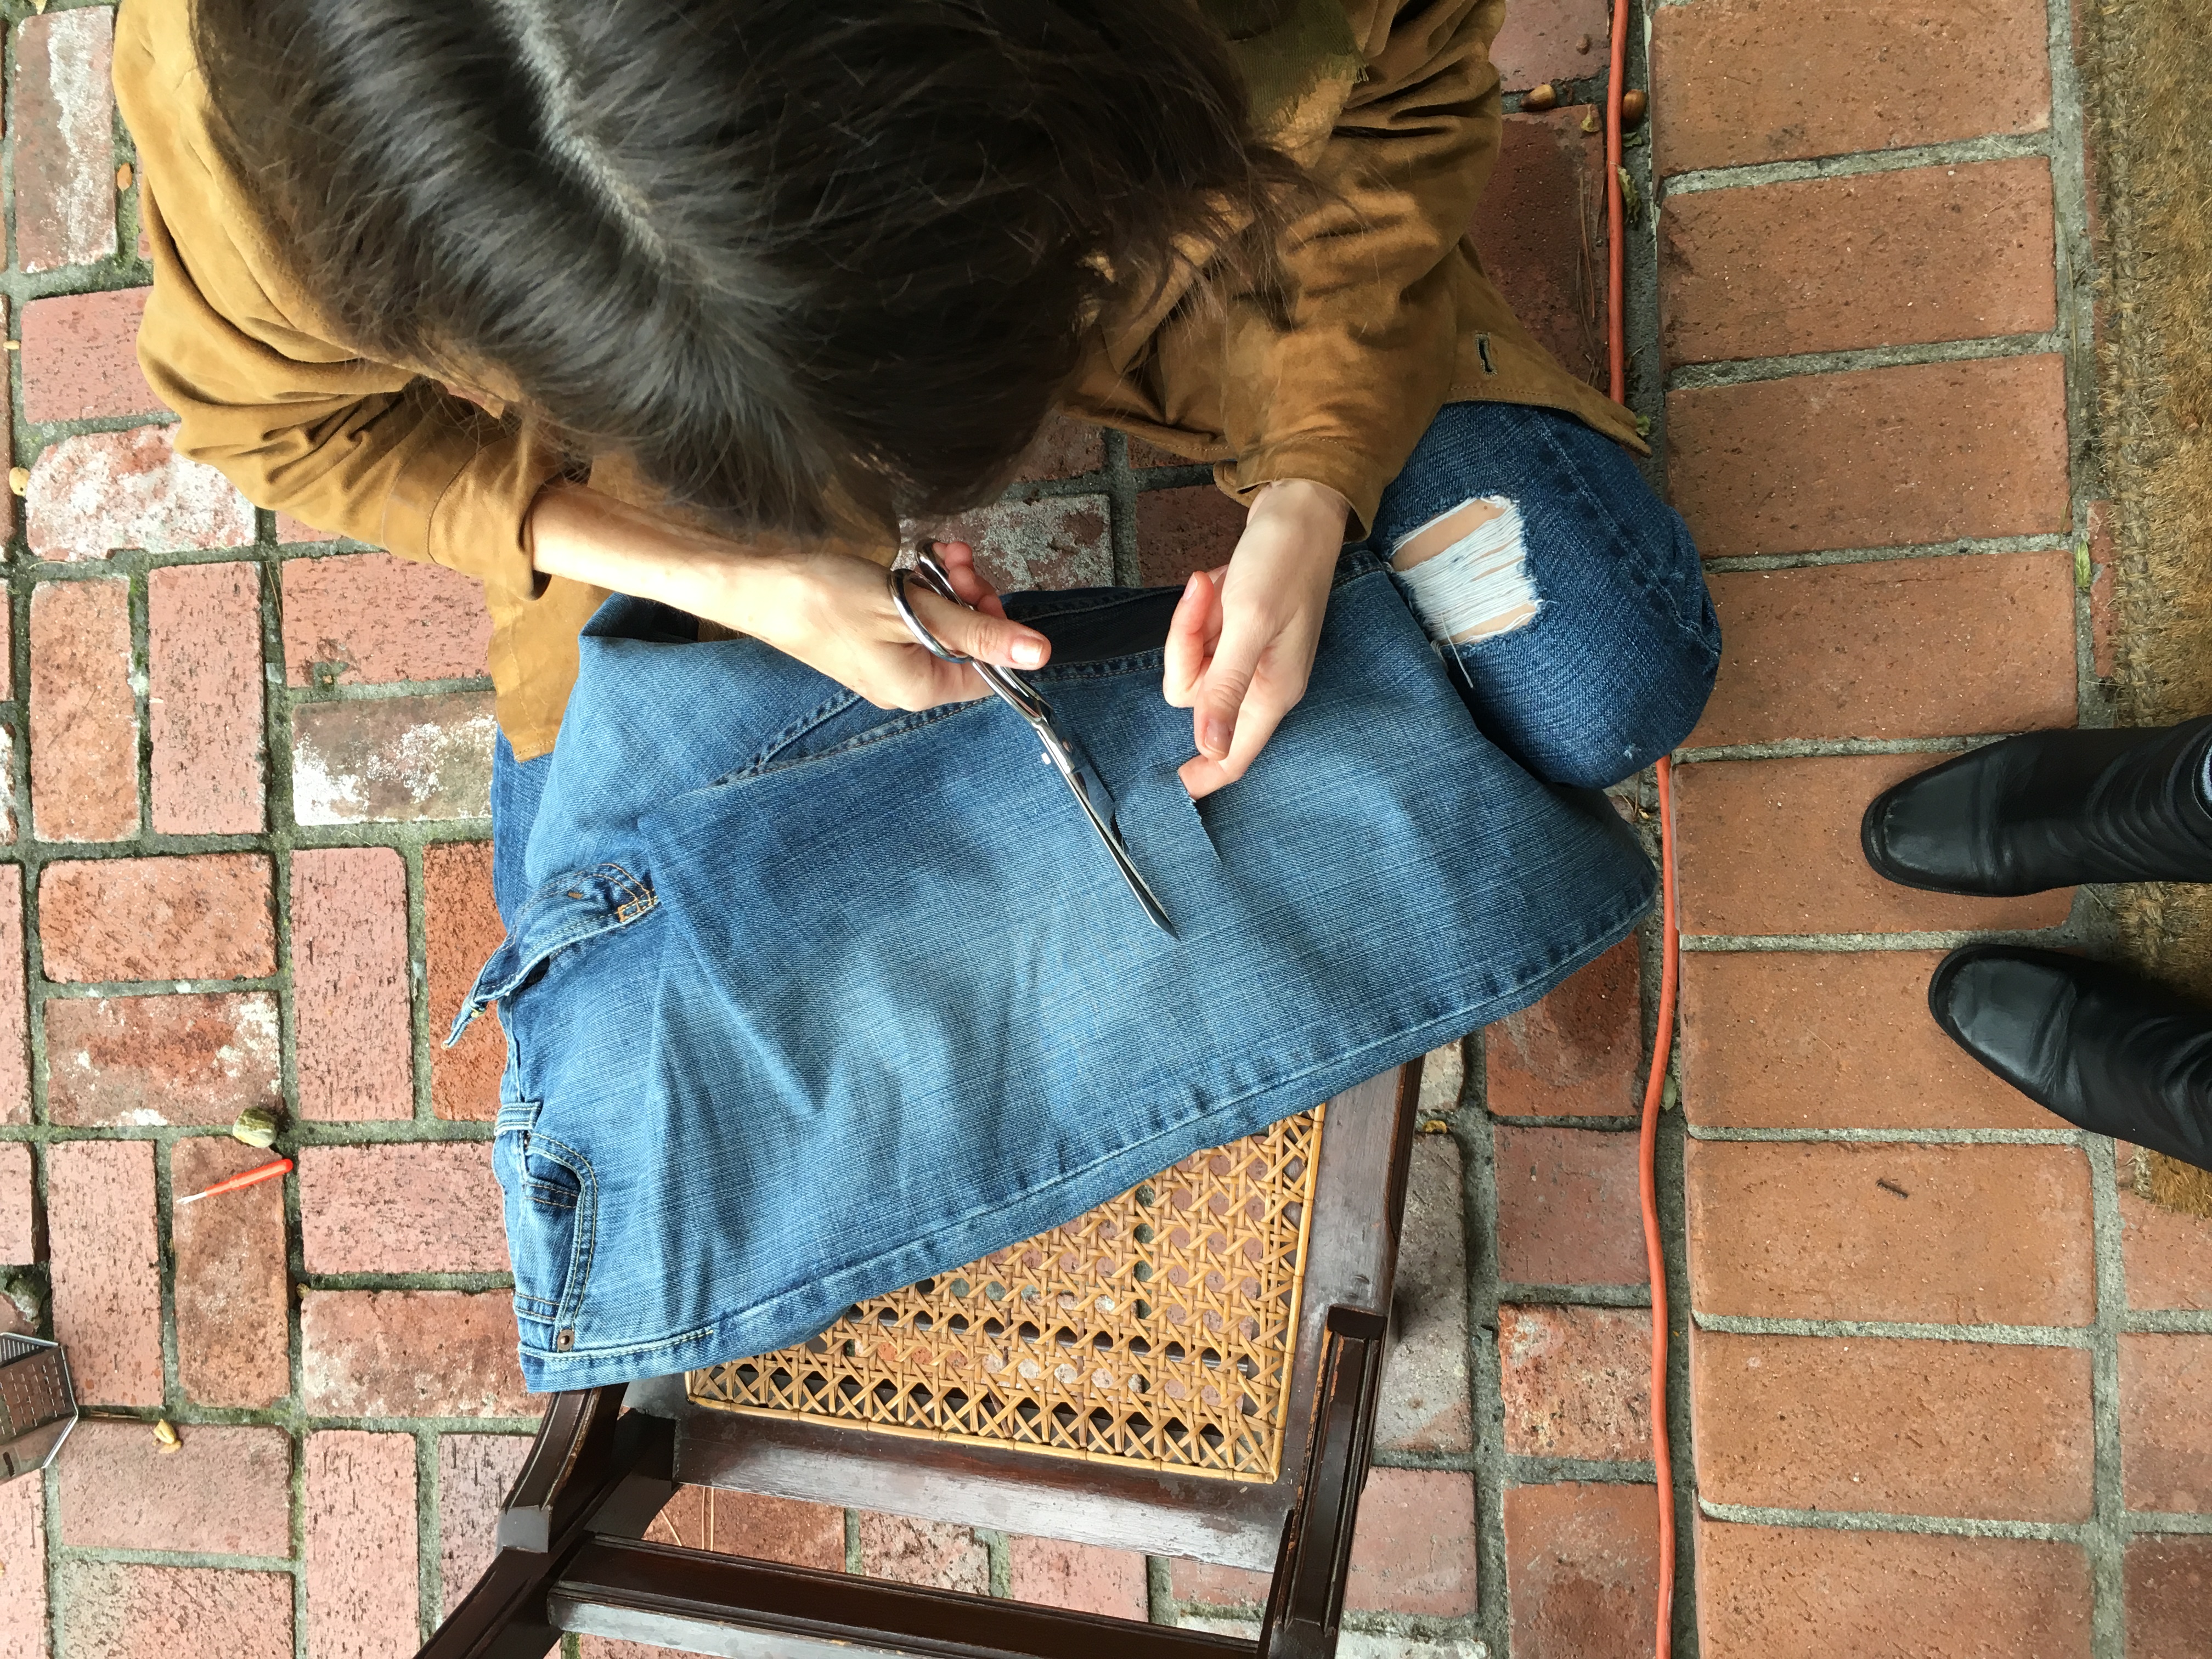
Step 2: Cut two parallel lines wherever you want your holes. The fabric in between the cuts will be where you will do your thread ripping. 

HOWTO_DIYDENIM_3-1
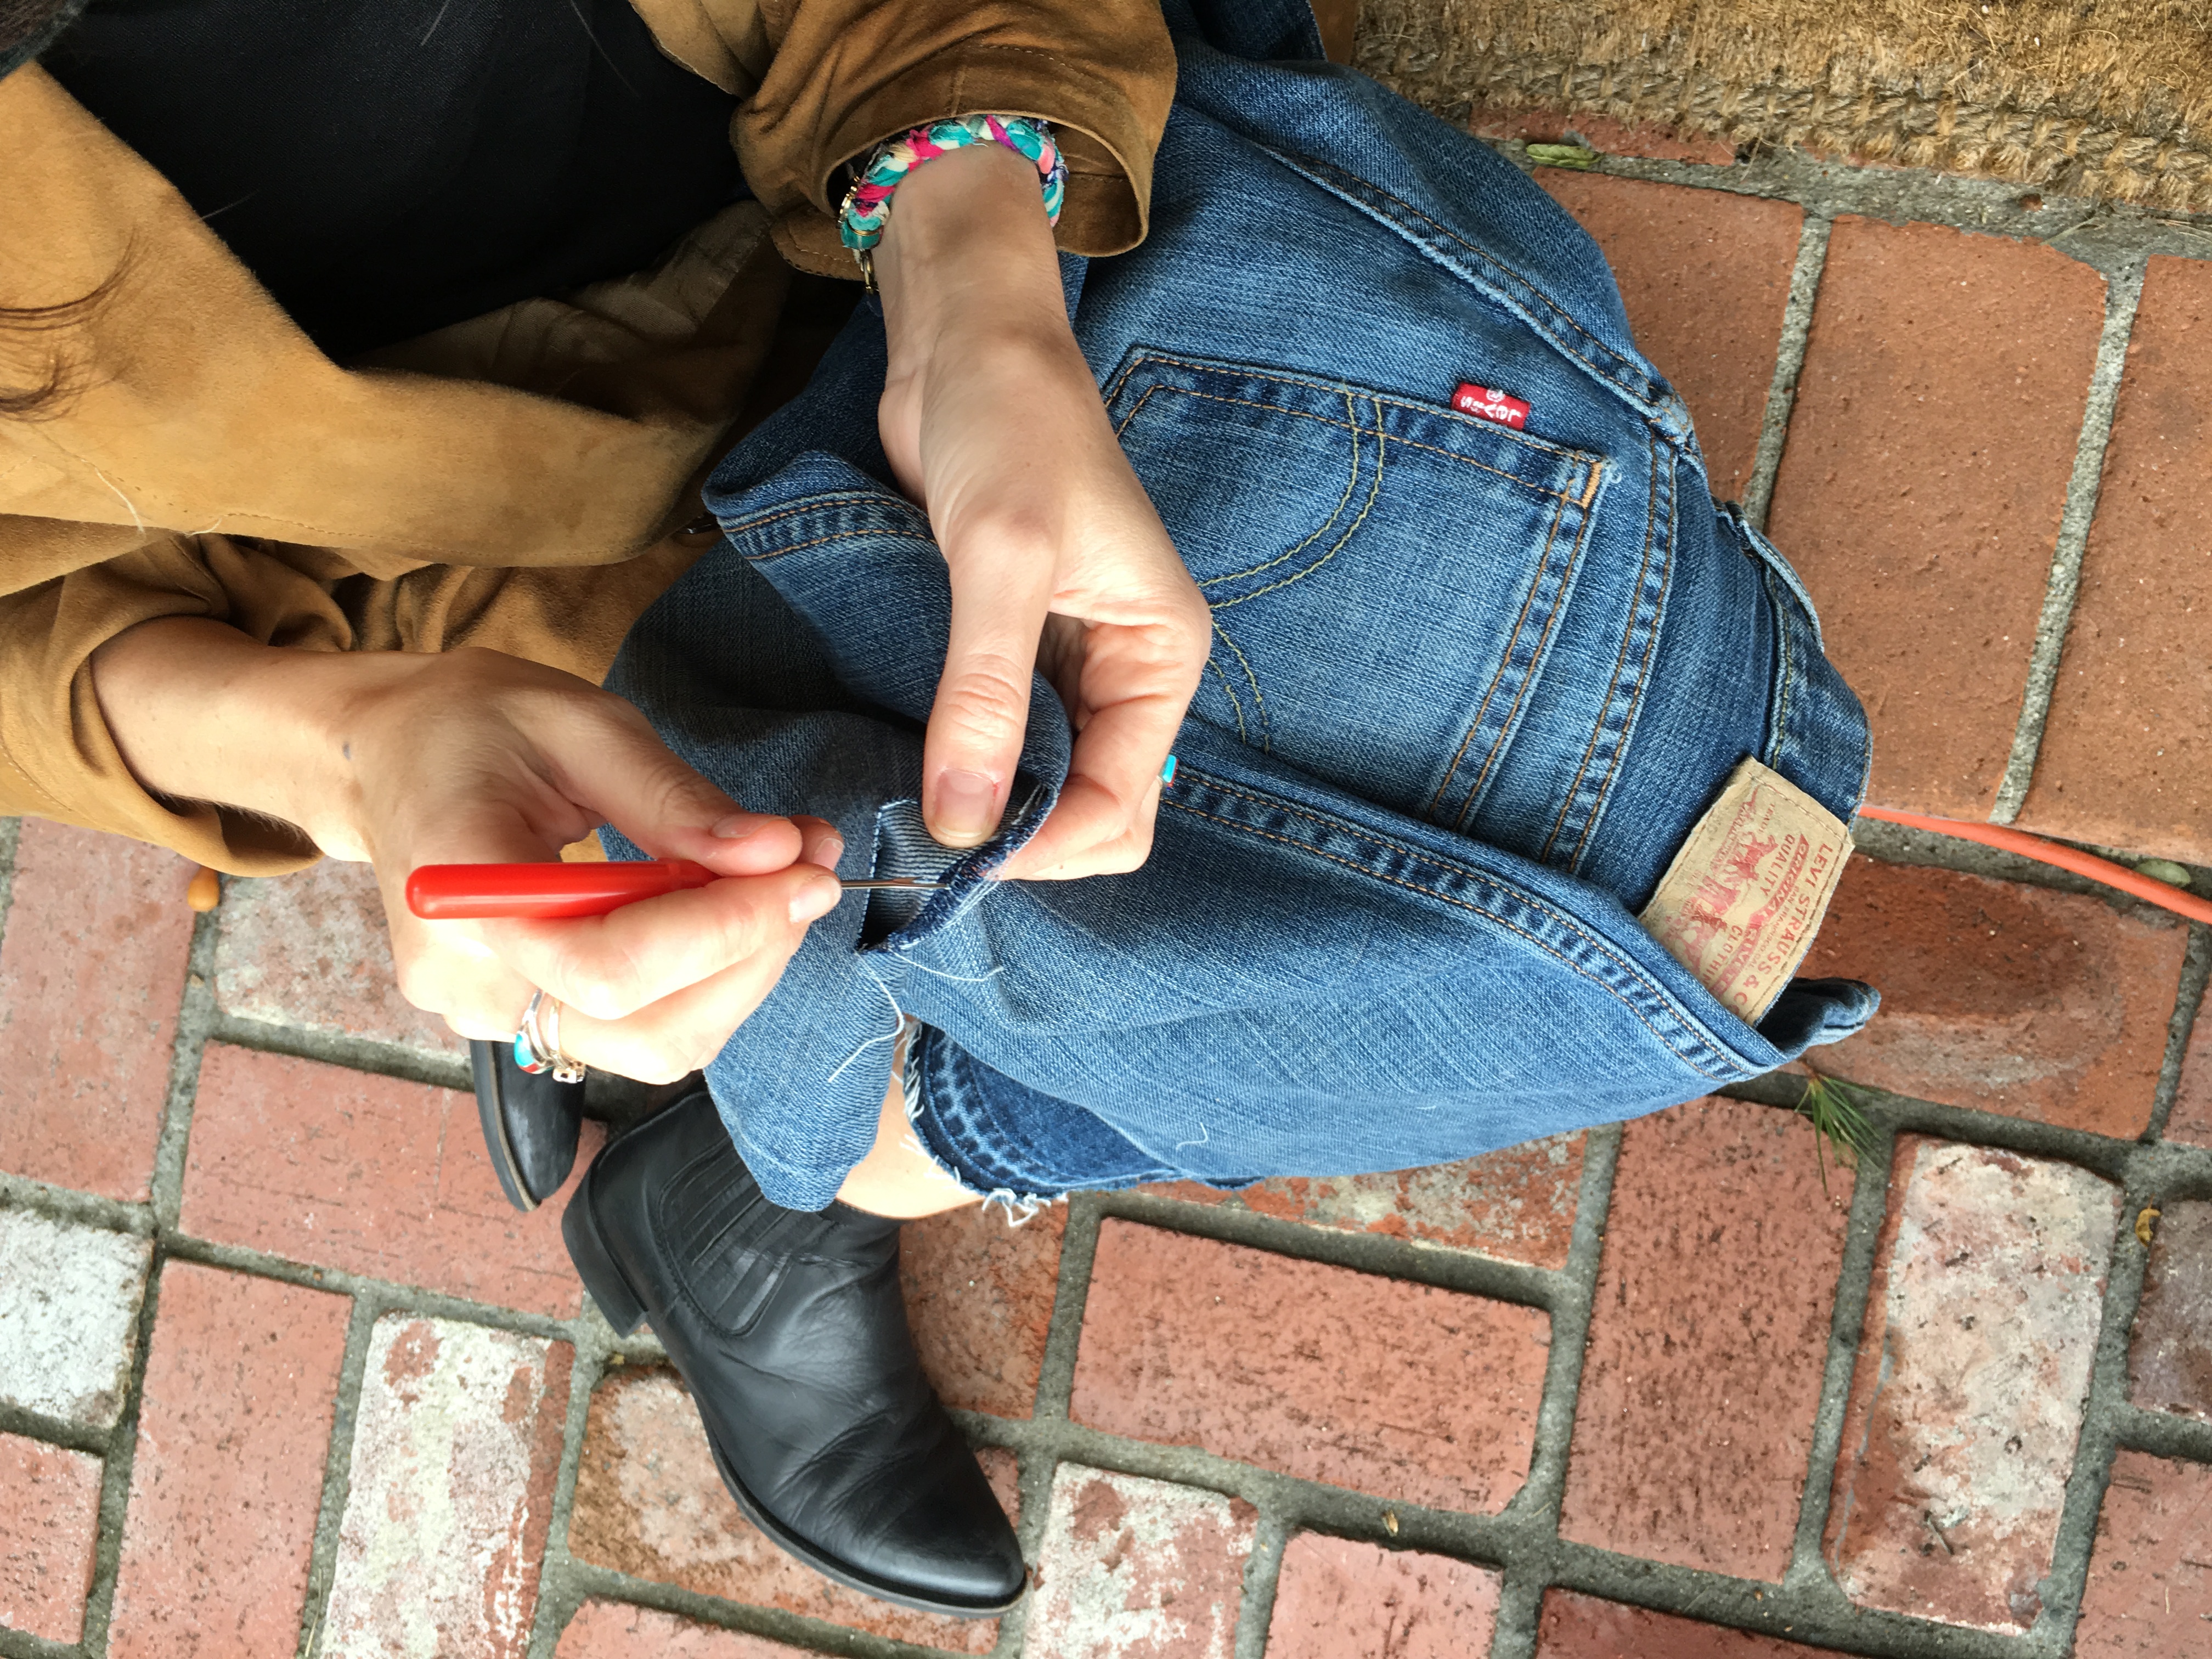
HOWTO_DIYDENIM_3-2
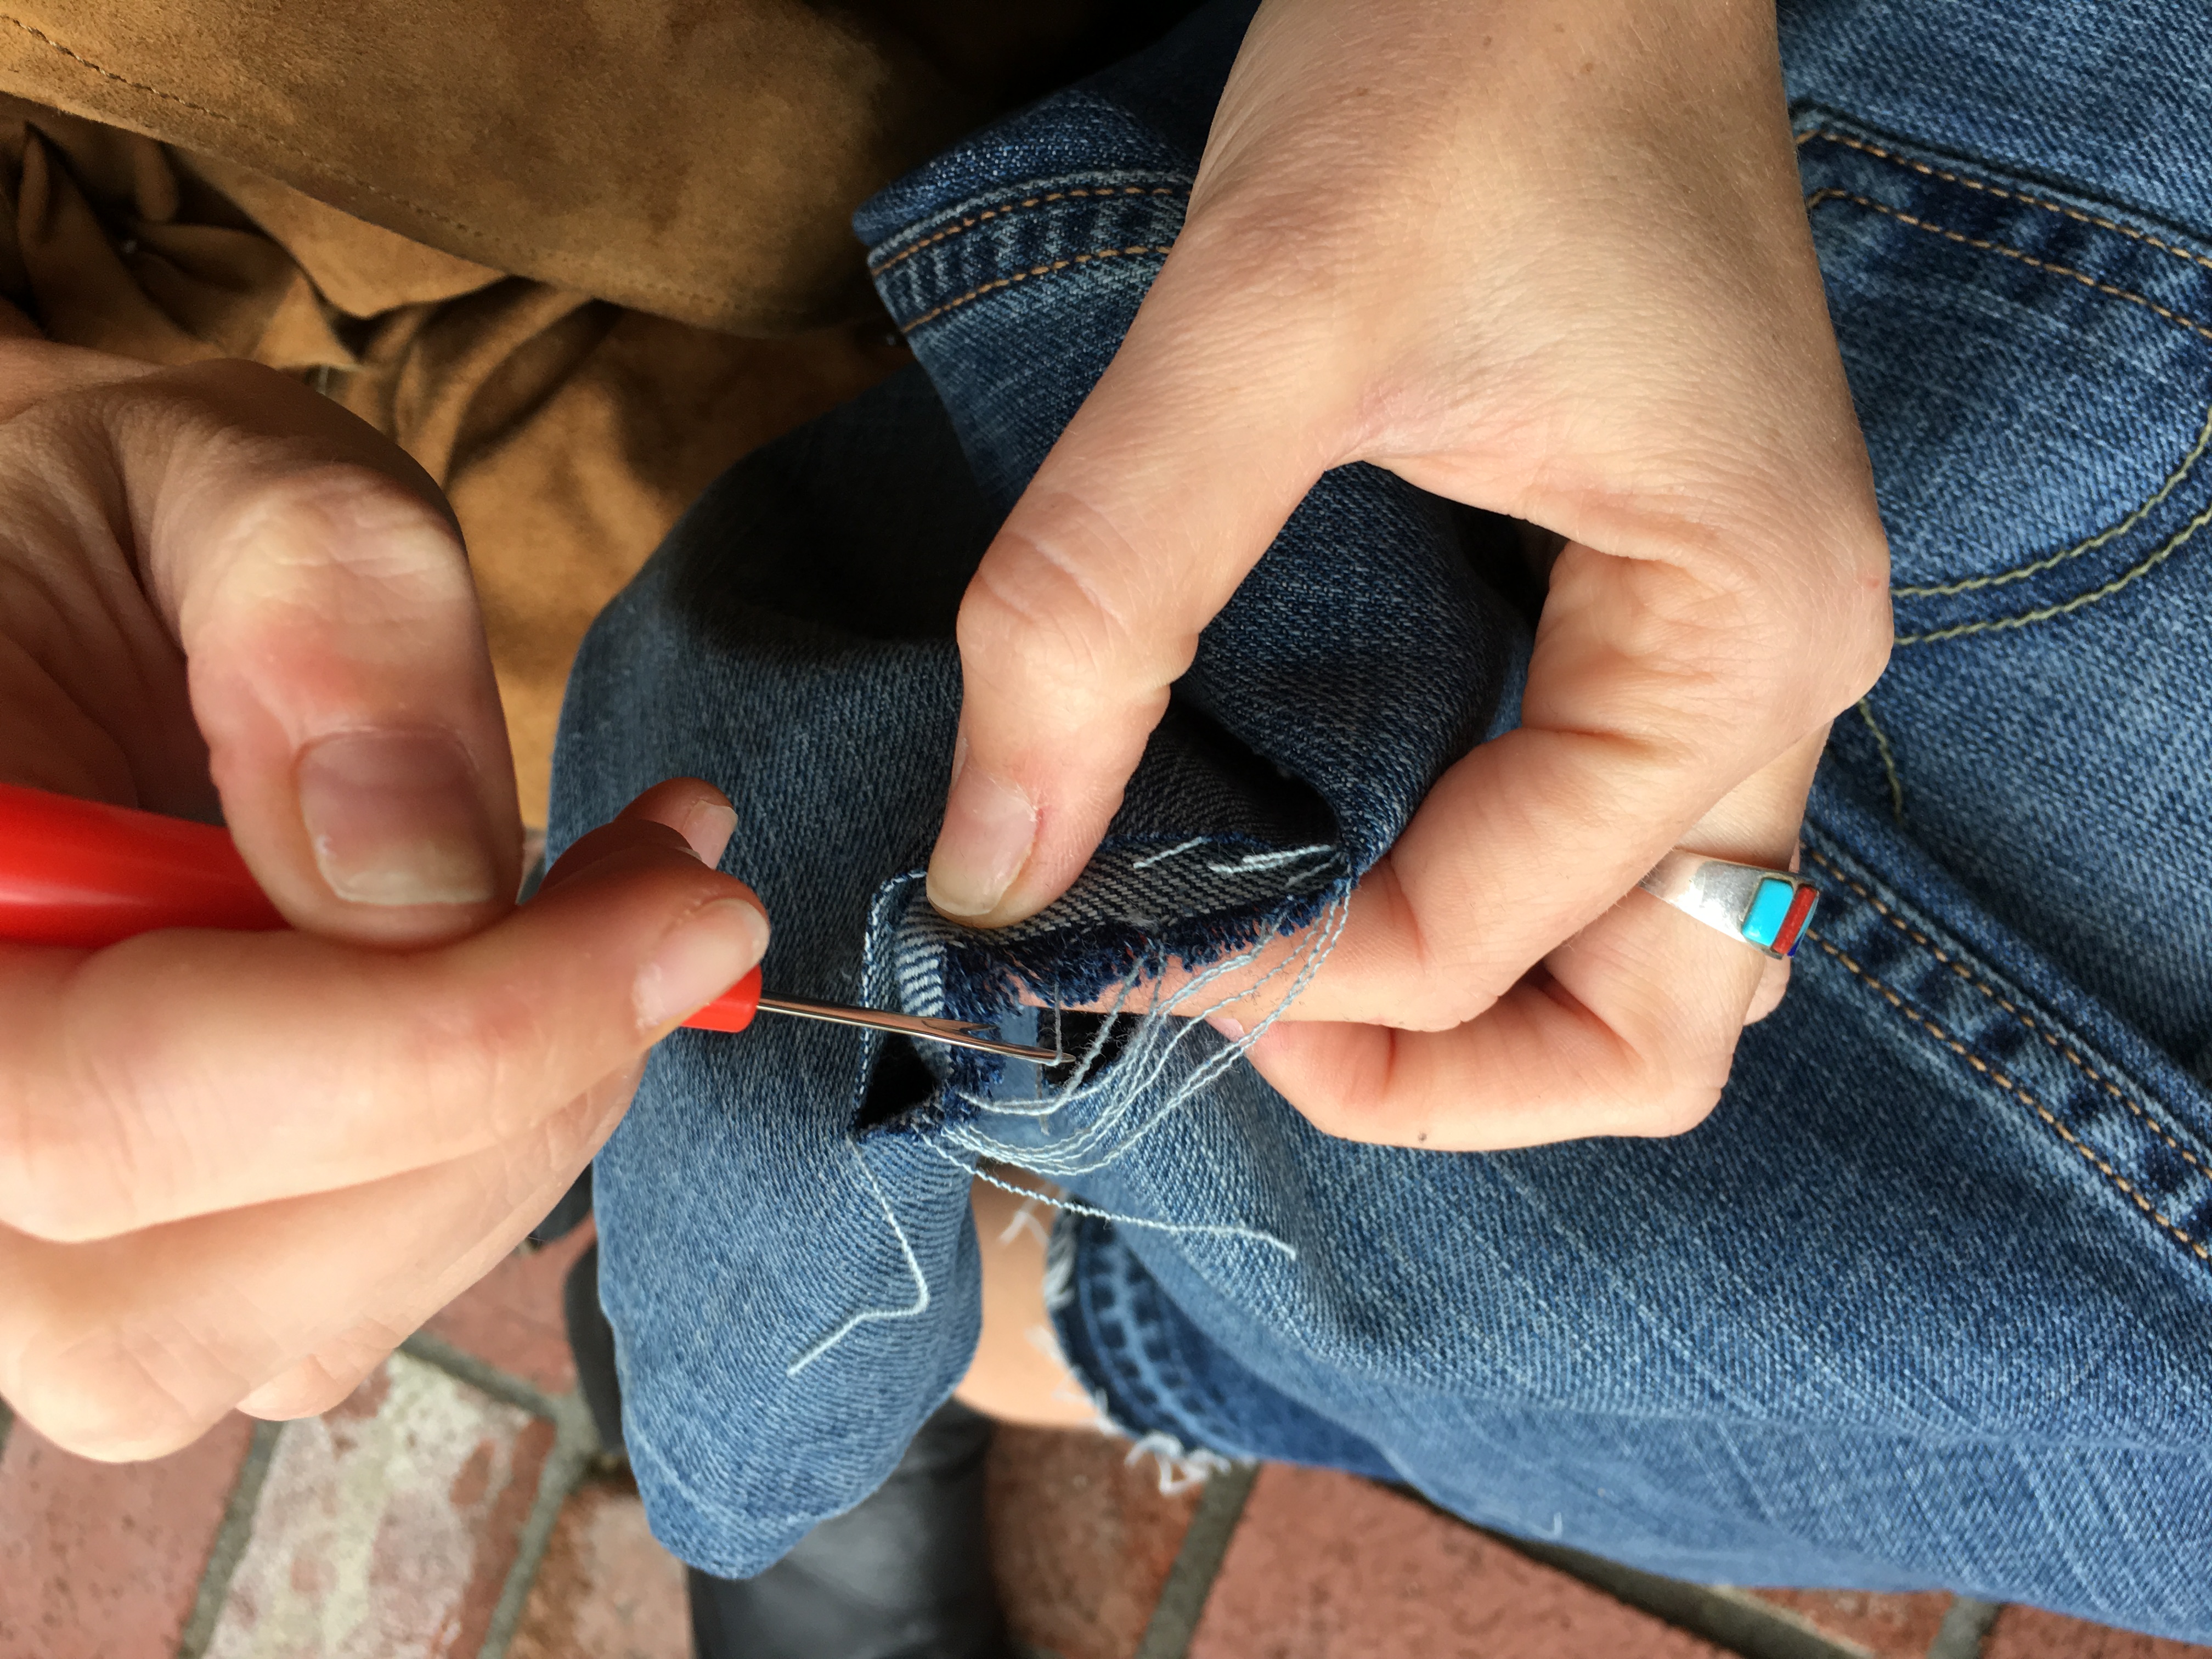
Step 3: Now it's time for your seam ripper! Do this part with the backside of the ripper not the front, sharp edge of it. Start pulling from the inside upward to get the white threads separated from the blue threads. This will unweave the blue threads from the white.


Step 4: Once you get it loose enough start ripping the blue threads out by hand (or with tweezers).

 
Repeat Steps 3 & 4 until all of the blue threads have been removed.

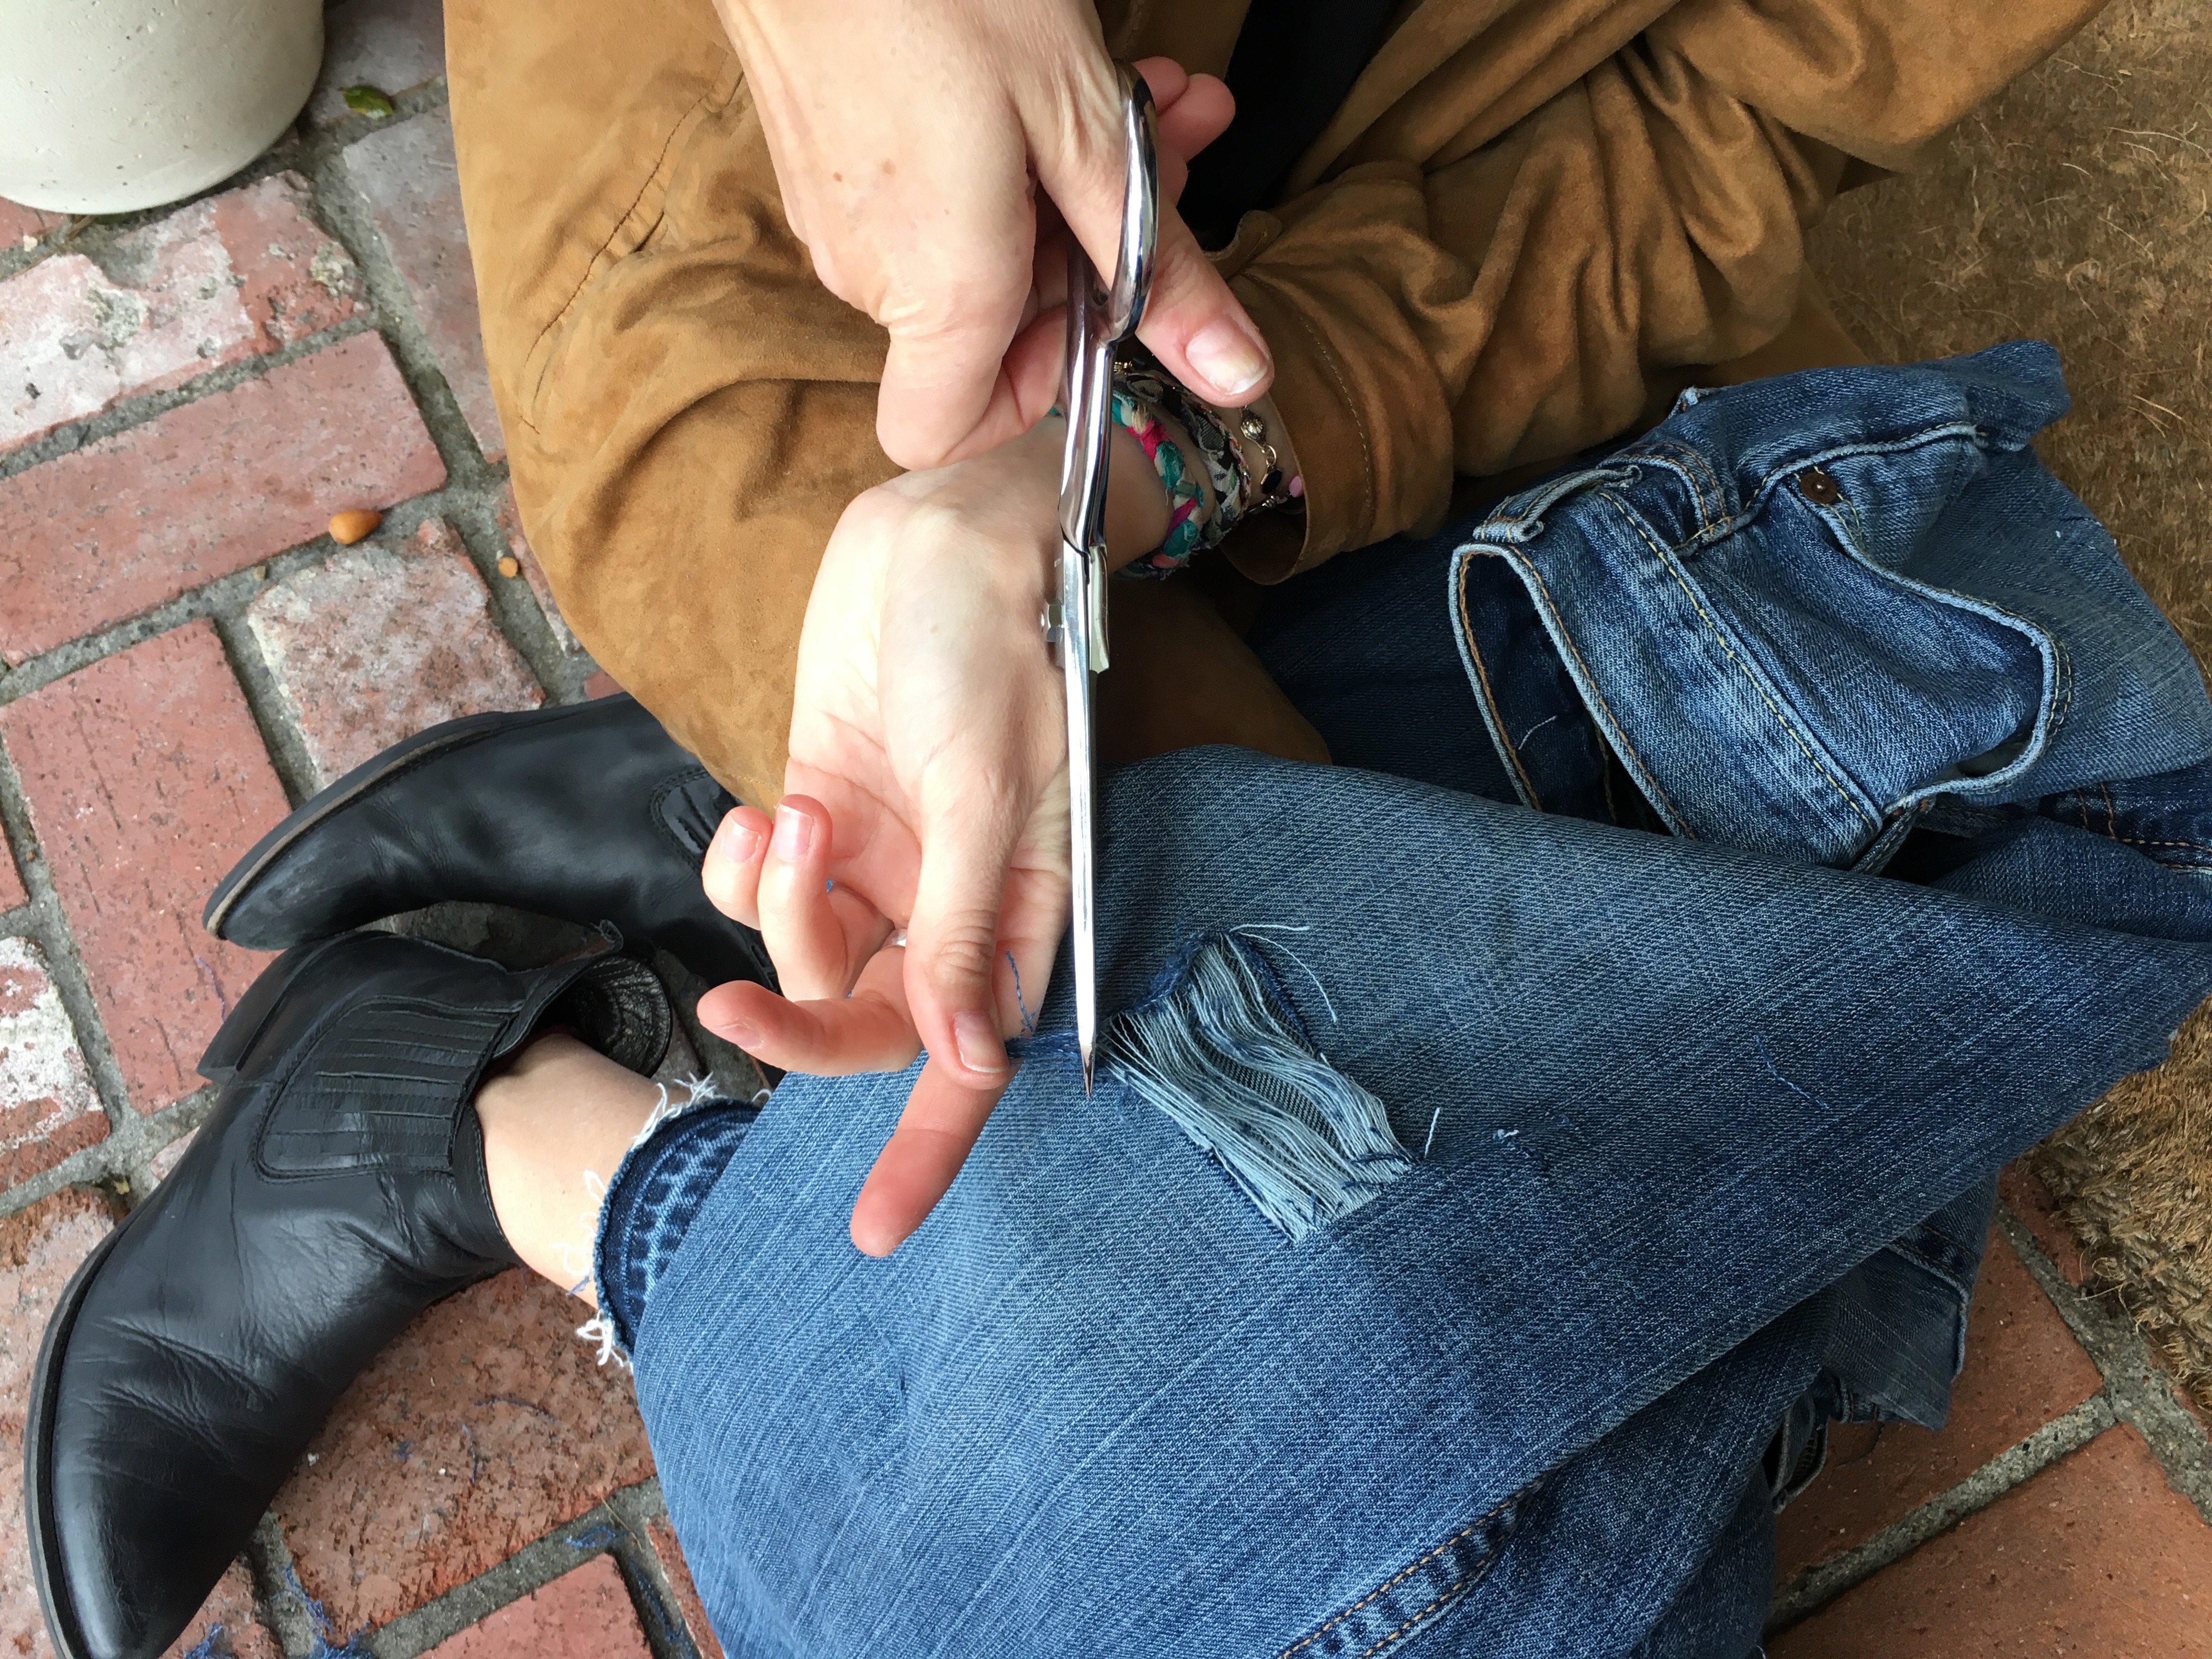
HOWTO_DIYDENIM_5
Step 5: Cut off the excess blue threads.

HOWTO_DIYDENIM_6
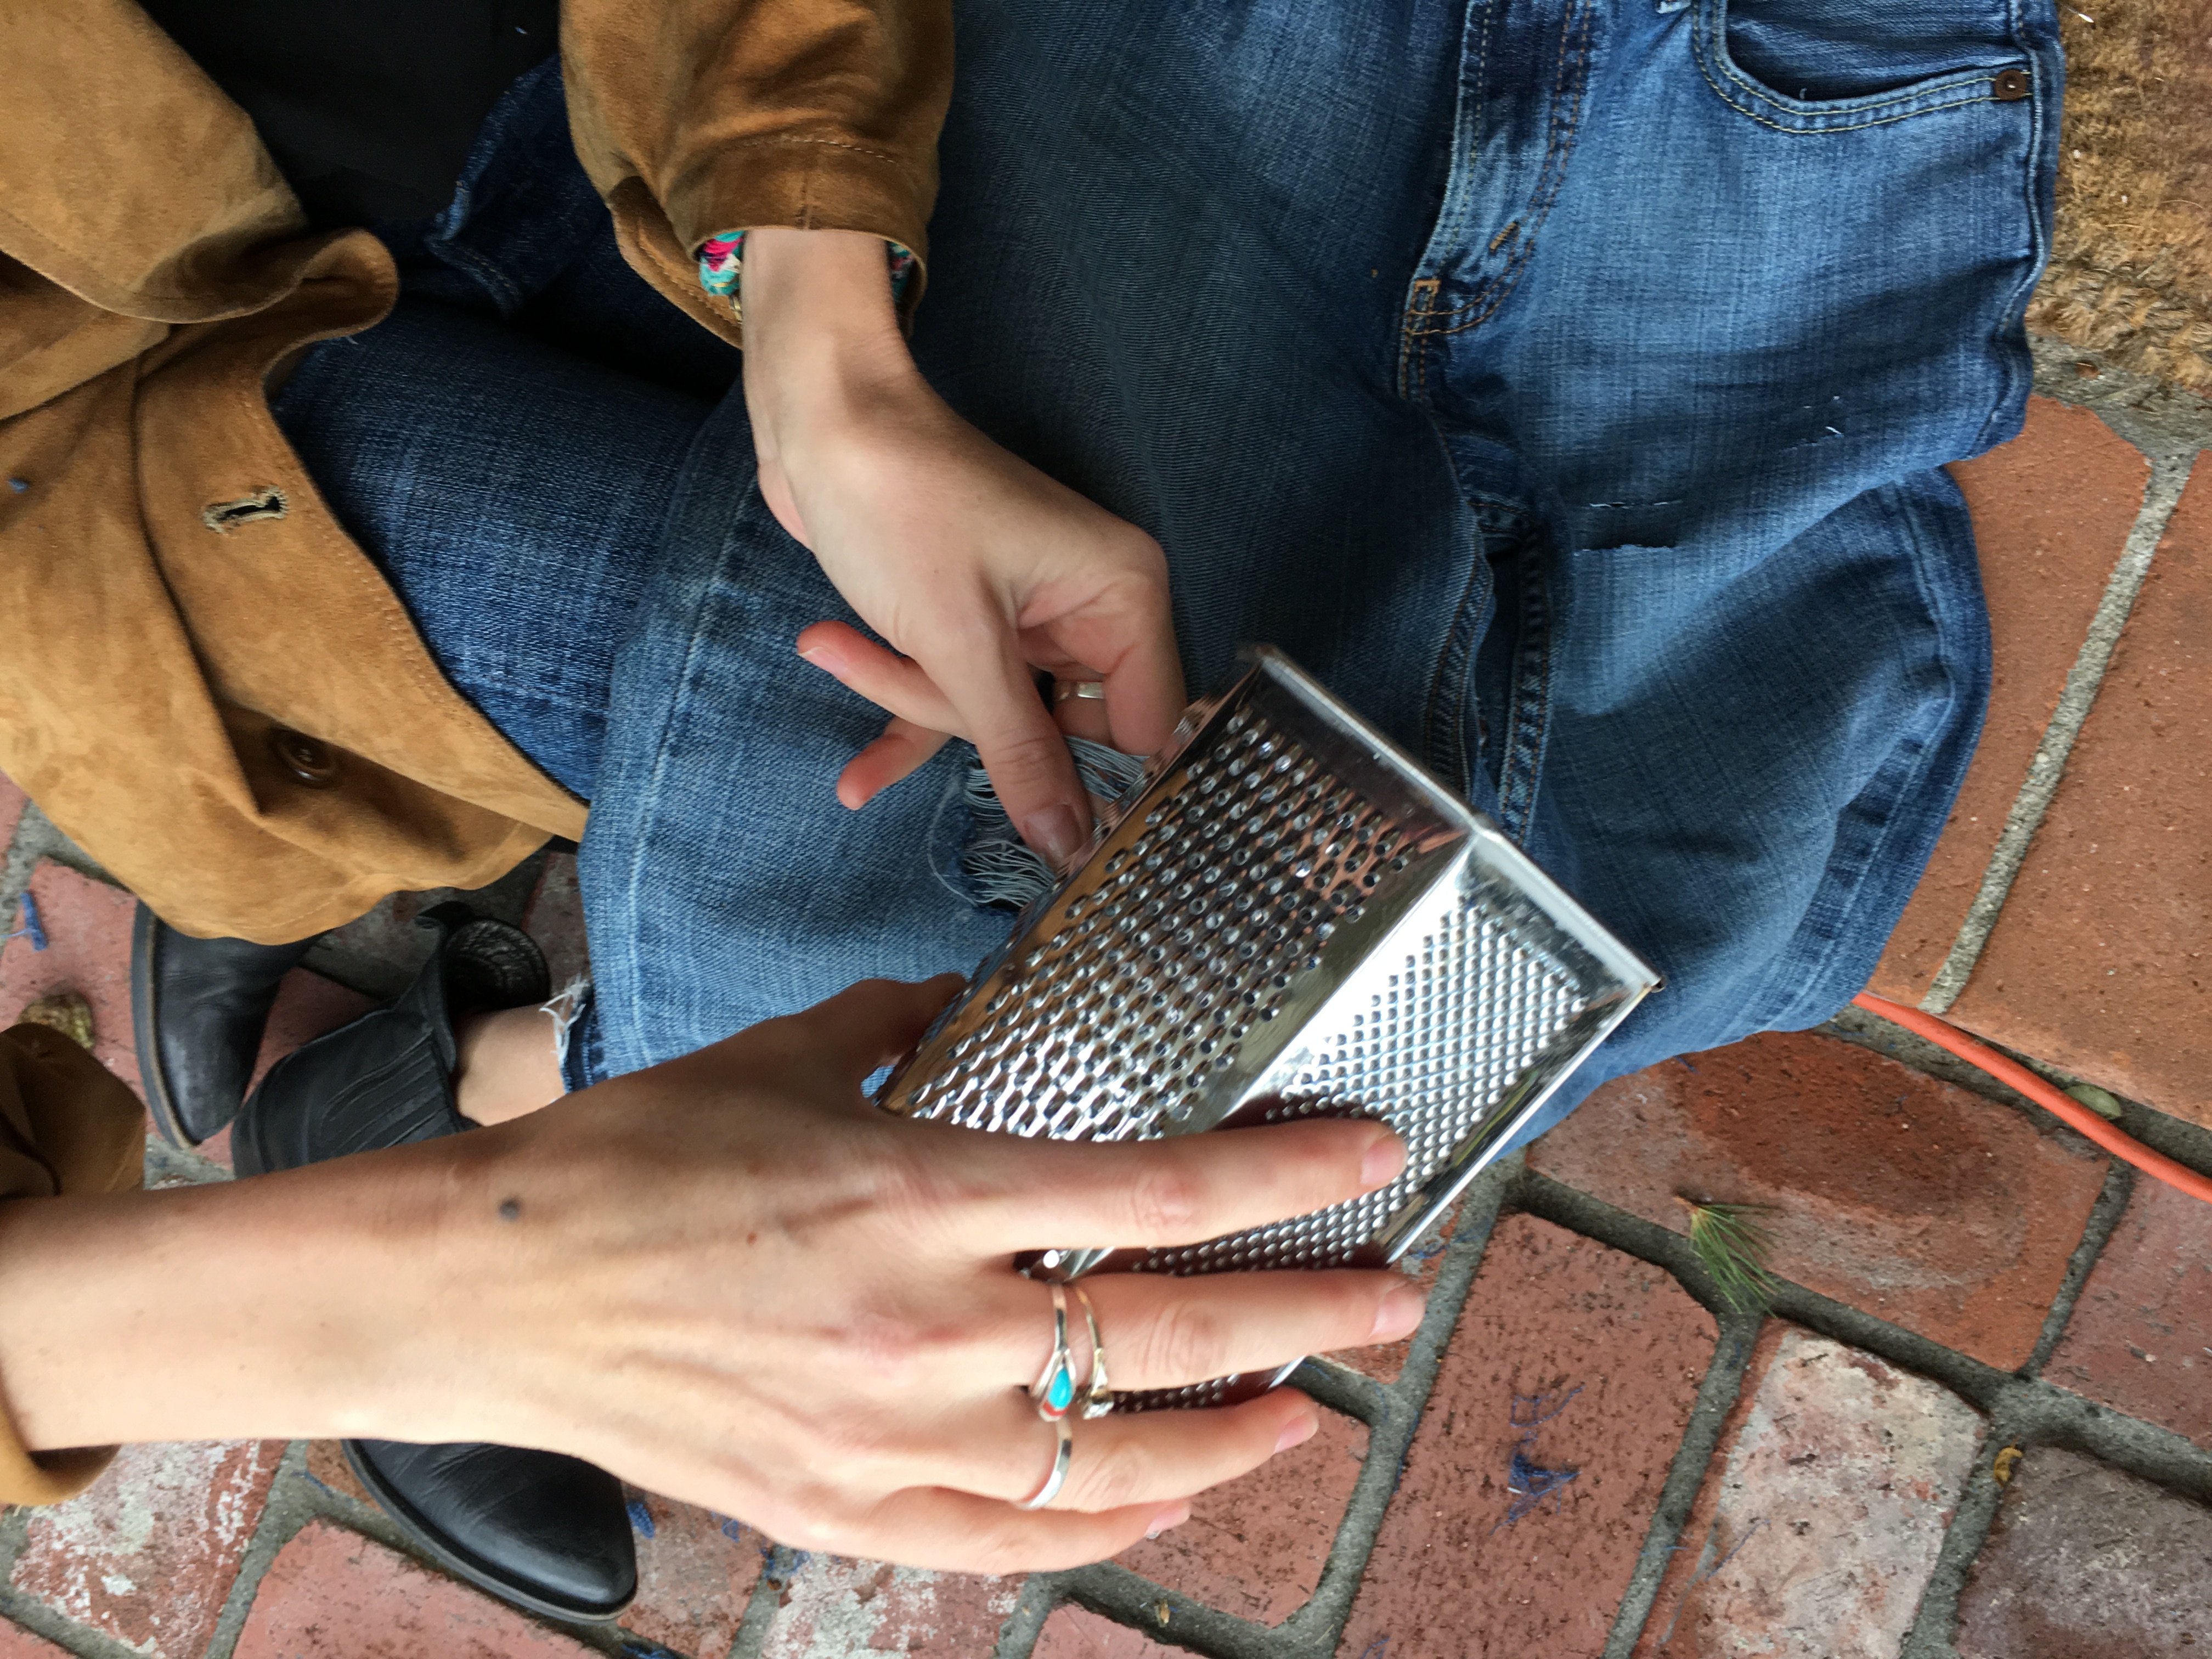
Step 6: Cheese grate (or use a rock) around the cotton to rough up your newly ripped holes. It's best to use a hand grater but we didn't have one!

HOWTO_DIYDENIM_OUTFIT
Step 7: Throw them in the wash to get that extra frayed look. And of course, the more you wear them, the more worn in they'll become!

There you go! Not a lot to it, right? The process of getting all the threads unraveled is a bit time consuming but I think it's super therapeutic. This pair probably took around 30 minutes from start to finish. Do it while watching TV or when you're stressed. I promise it's relaxing. Let me know in the comments if you're going to try this out and/or have any questions. Have a great weekend, y'all!

Wednesday, July 3, 2013

Sneak Peek: Setting Up a Bar at Home


Happy Hump Day! I wanted to give y'all a sneak peek at my bar I just finished setting up. I'll do a more detailed post probably next week but I just couldn't wait to show you the end result. I'm currently setting up for a Pre-Fourth of July party my roomie and I are having at our apartment tonight. Exciting stuff! 

Have a great 4th and I'll be doing a special post tomorrow that is semi-Fourth related and something I've never done on the blog before so check back then :)

Follow on Bloglovin
UA-43004570-1