Tuesday, April 19, 2016

Jimmy Page and Denim Jackets

denim_jacket1 denim_jacket2 denim_jacket3 denim_jacket4 denim_jacket5 denim_jacket7 denim_jacket8 denim_jacket9
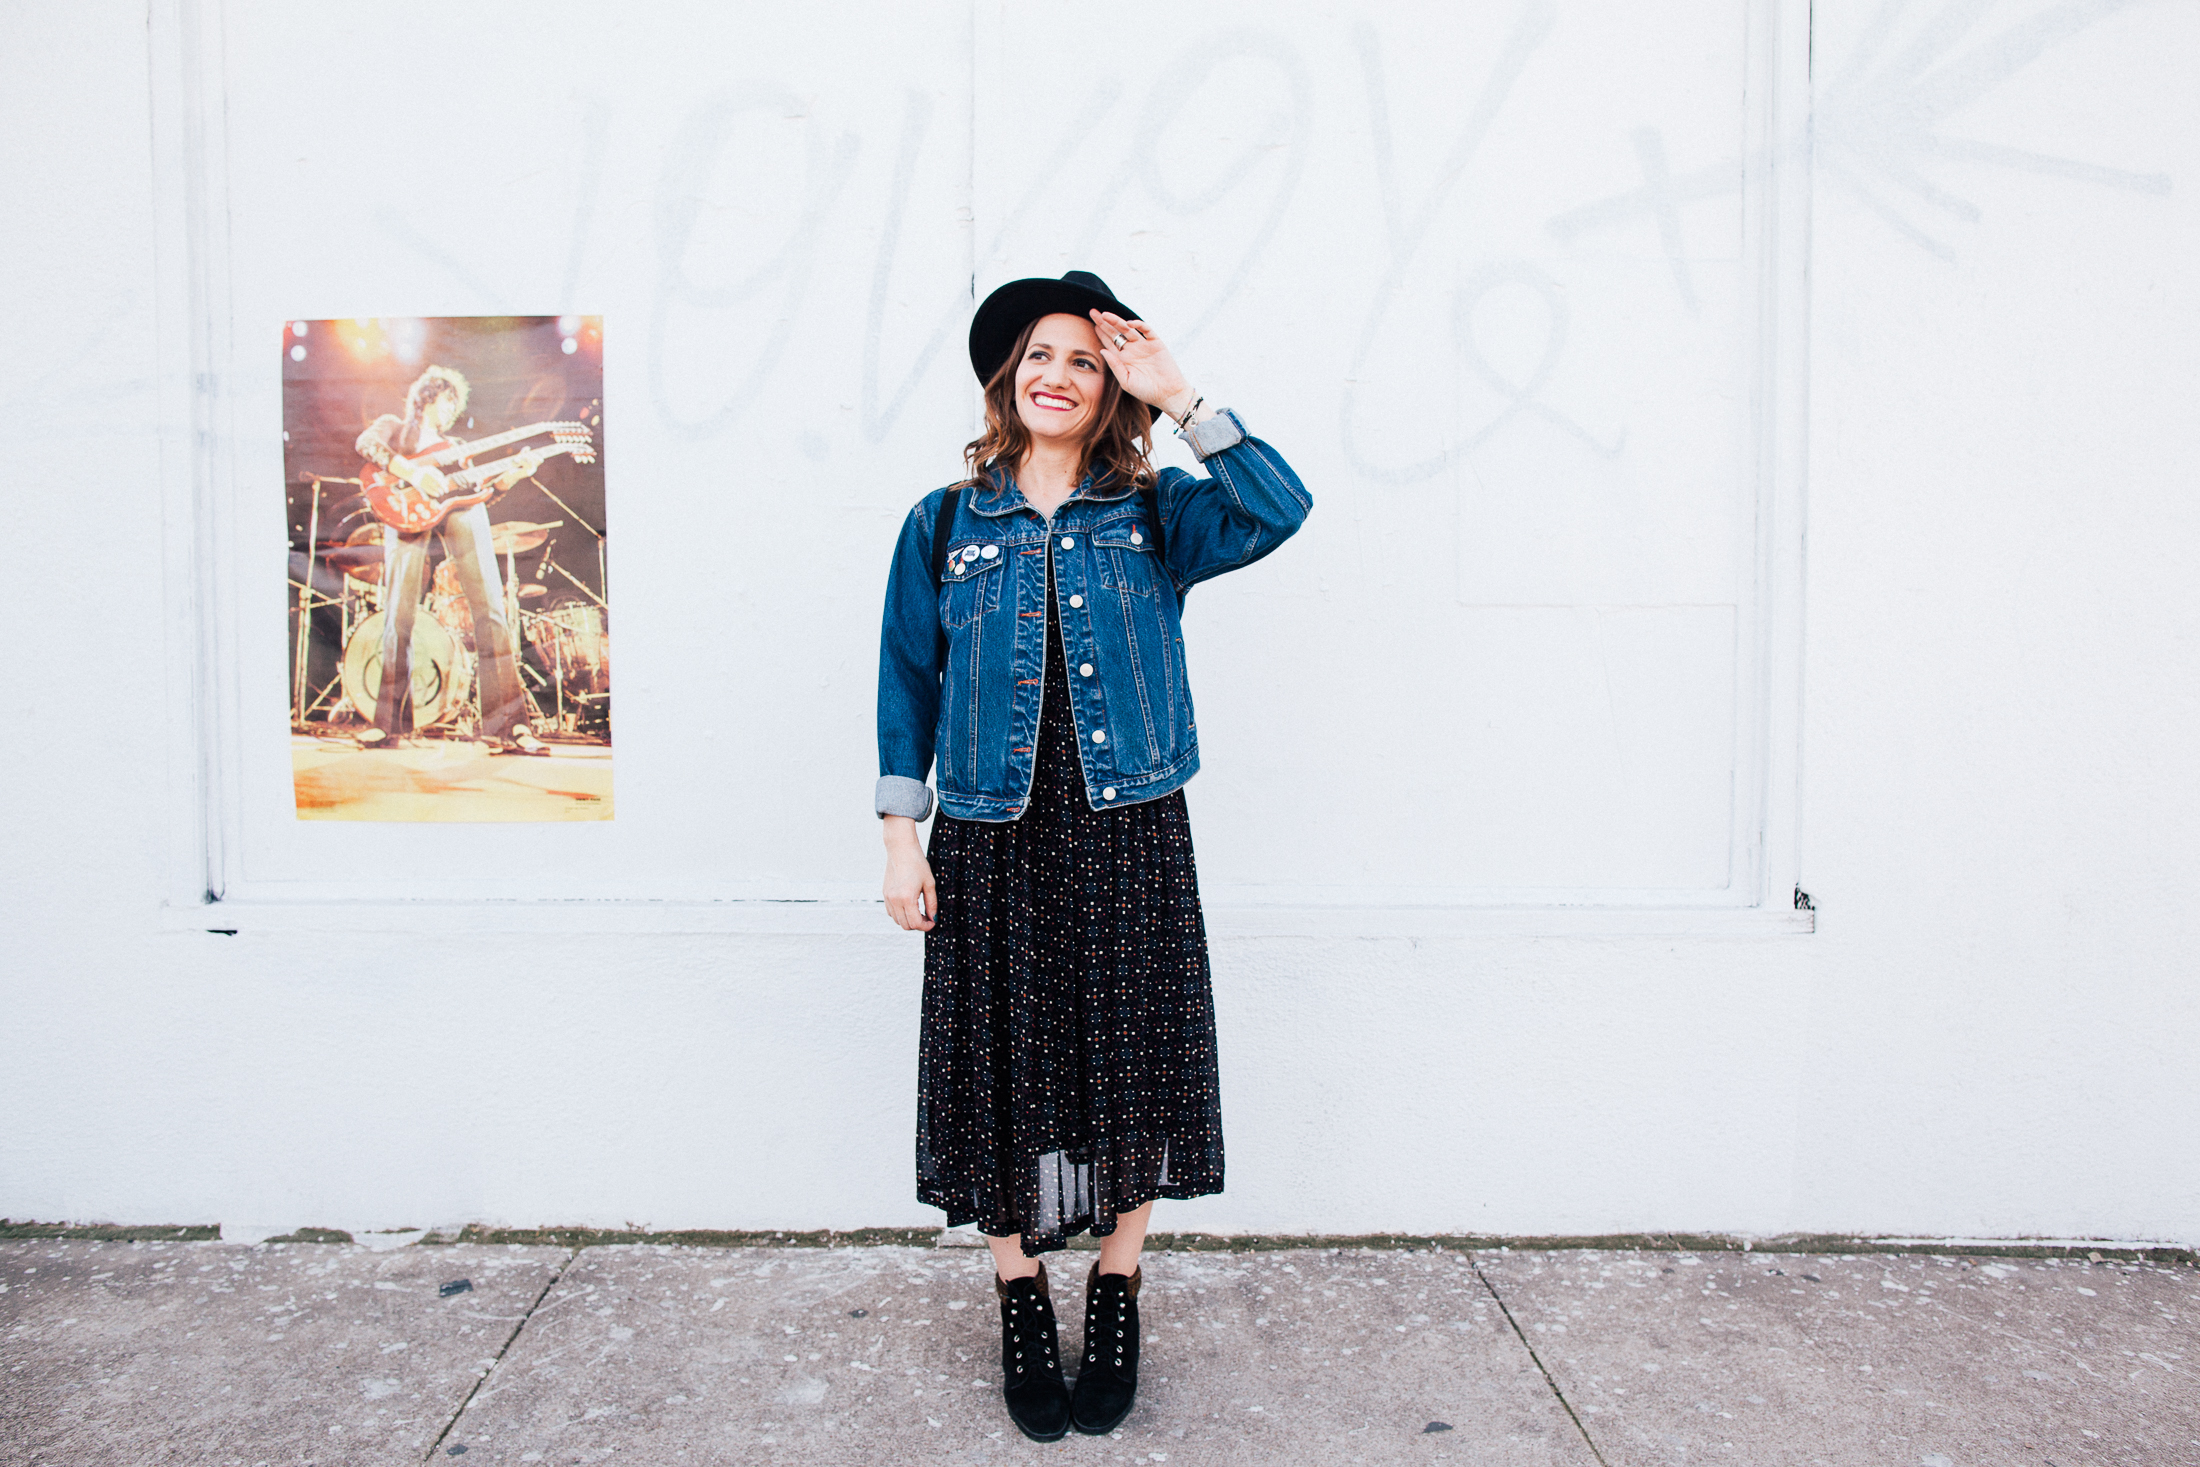
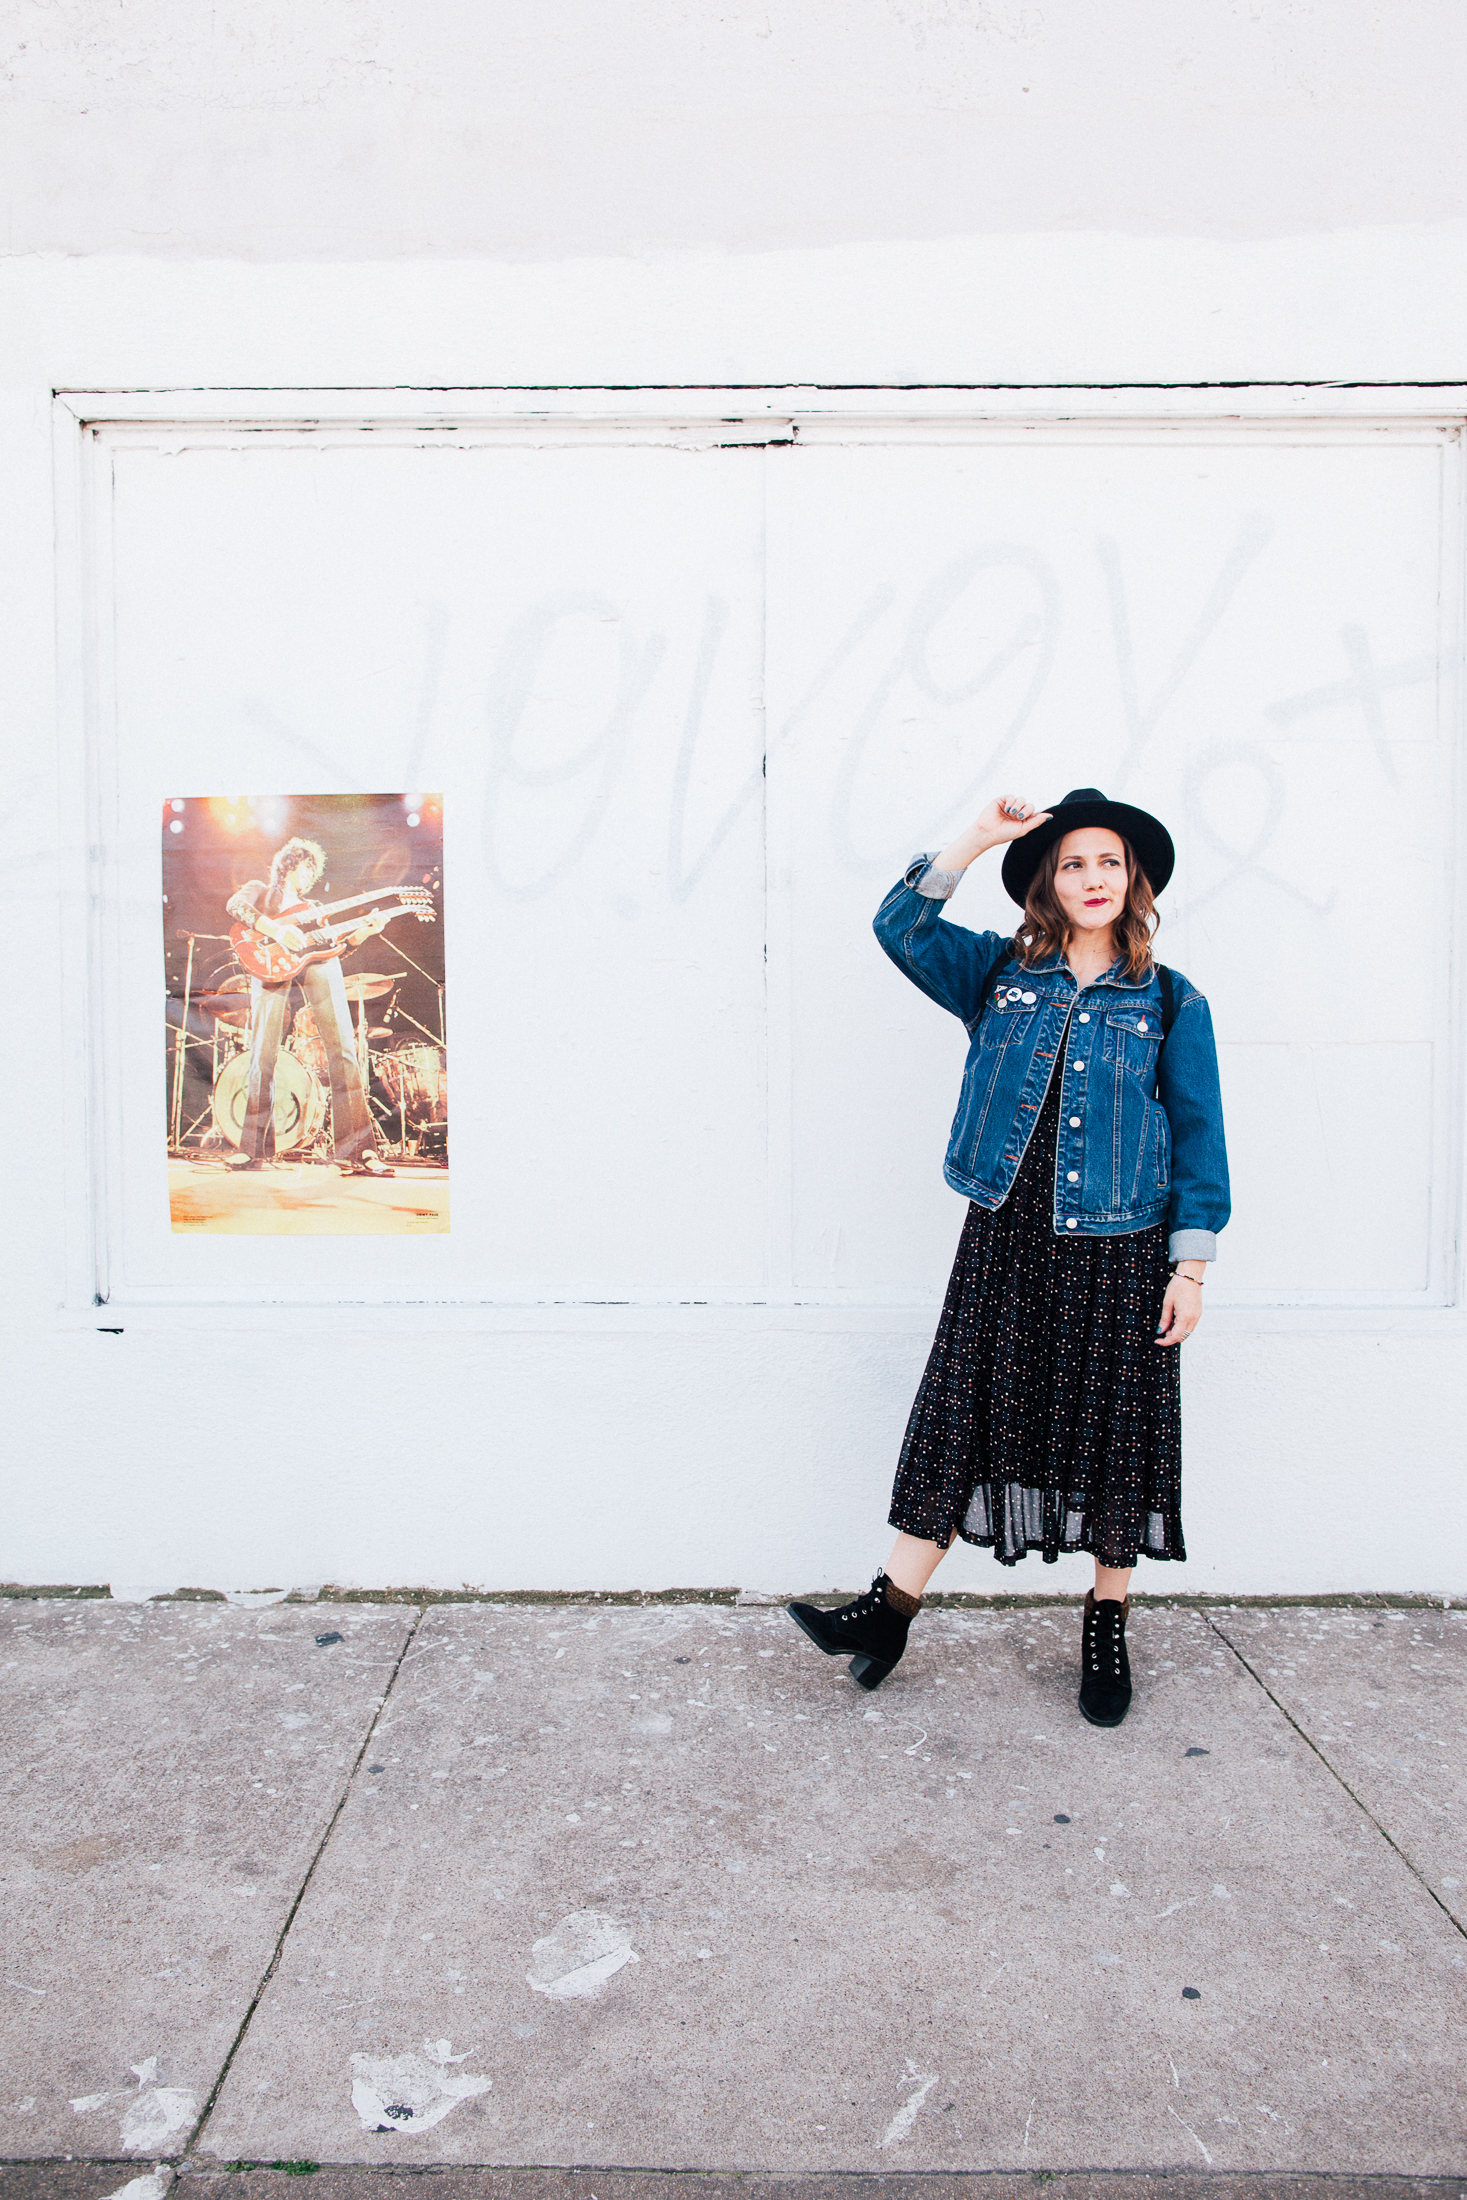
Dress & Shoes via Charm School Vintage, Thrifted Jacket & Backpack, Brixton Hat

Photos by Chelsea Laine Francis

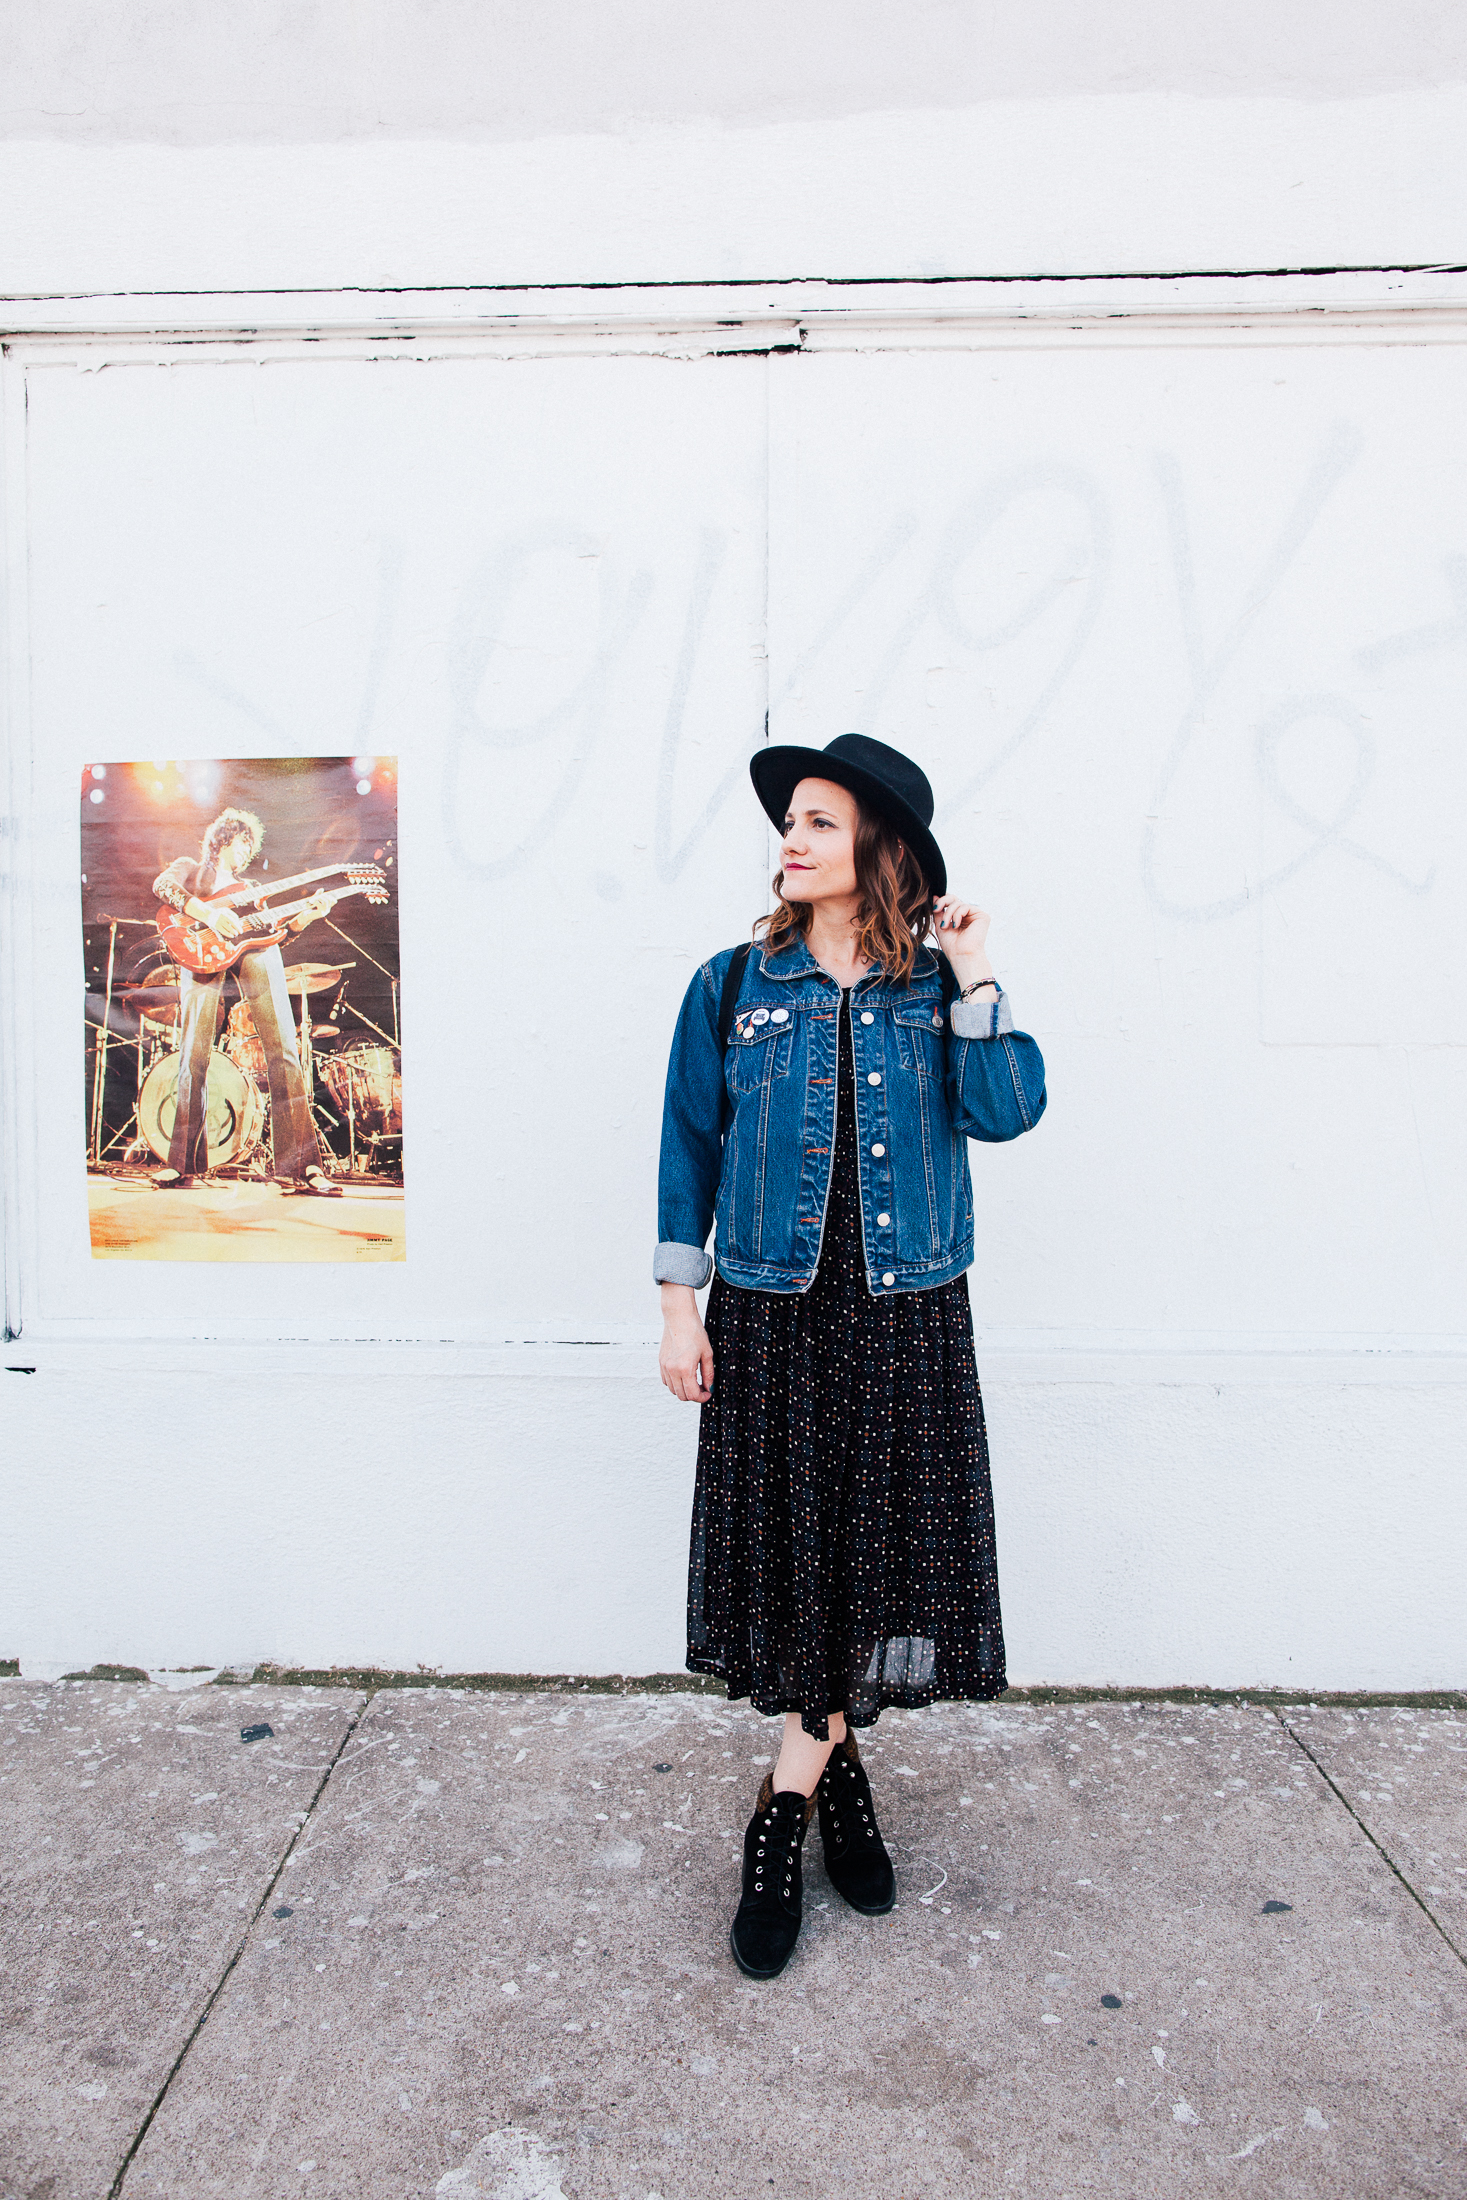
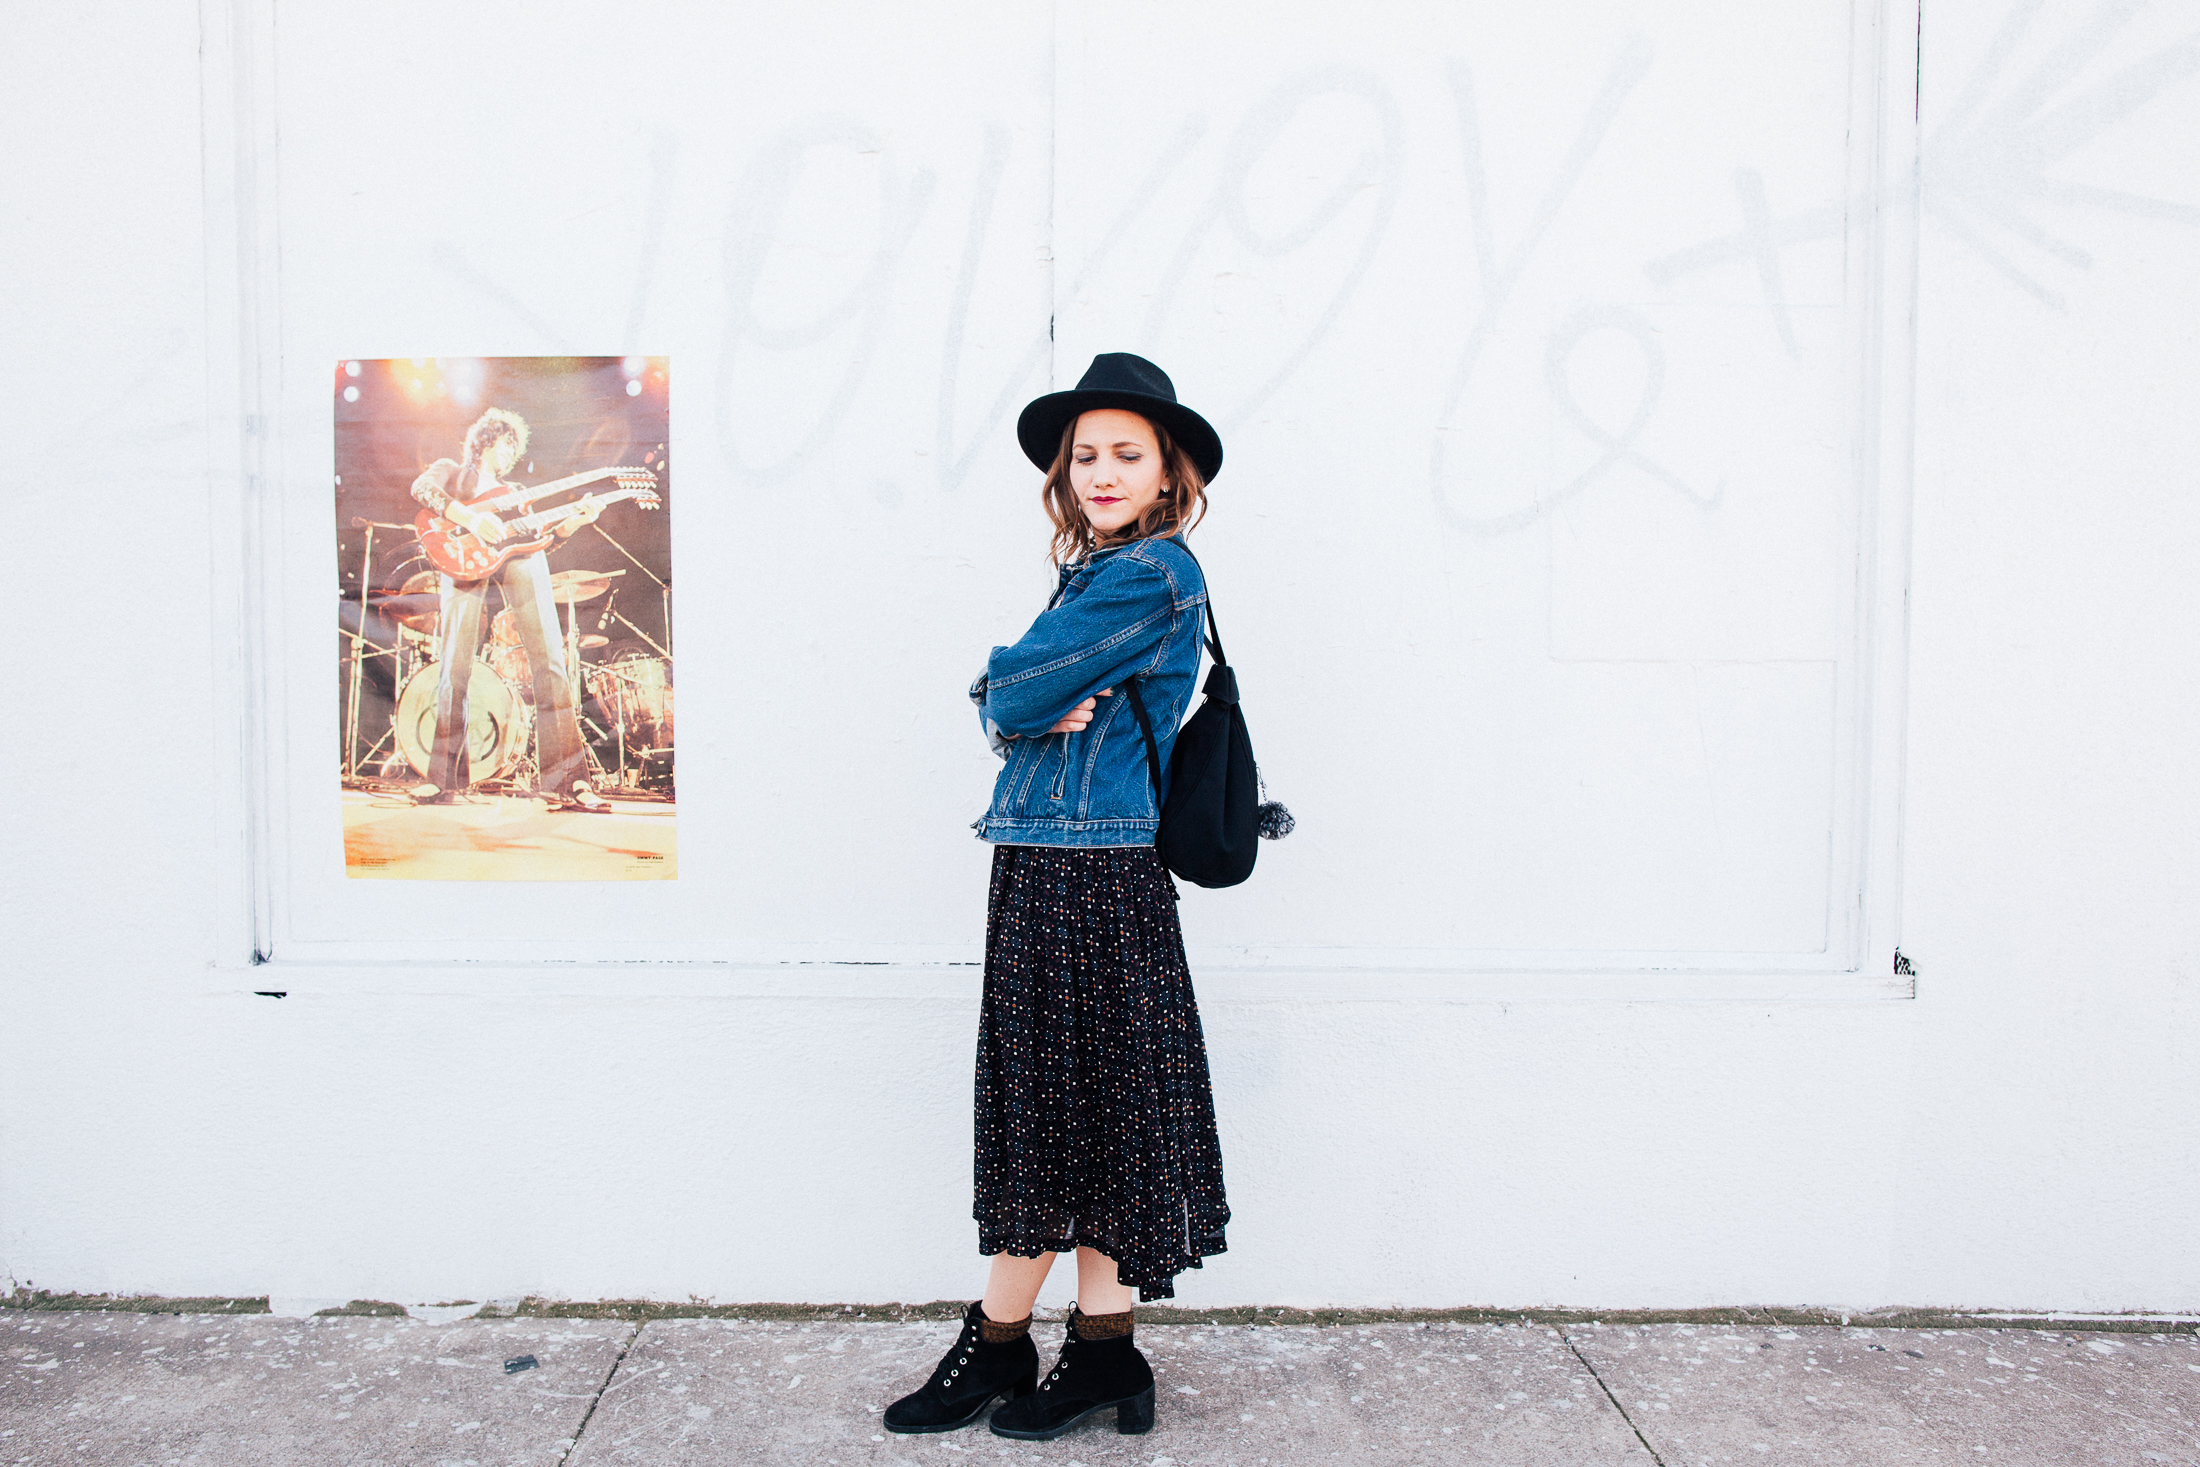
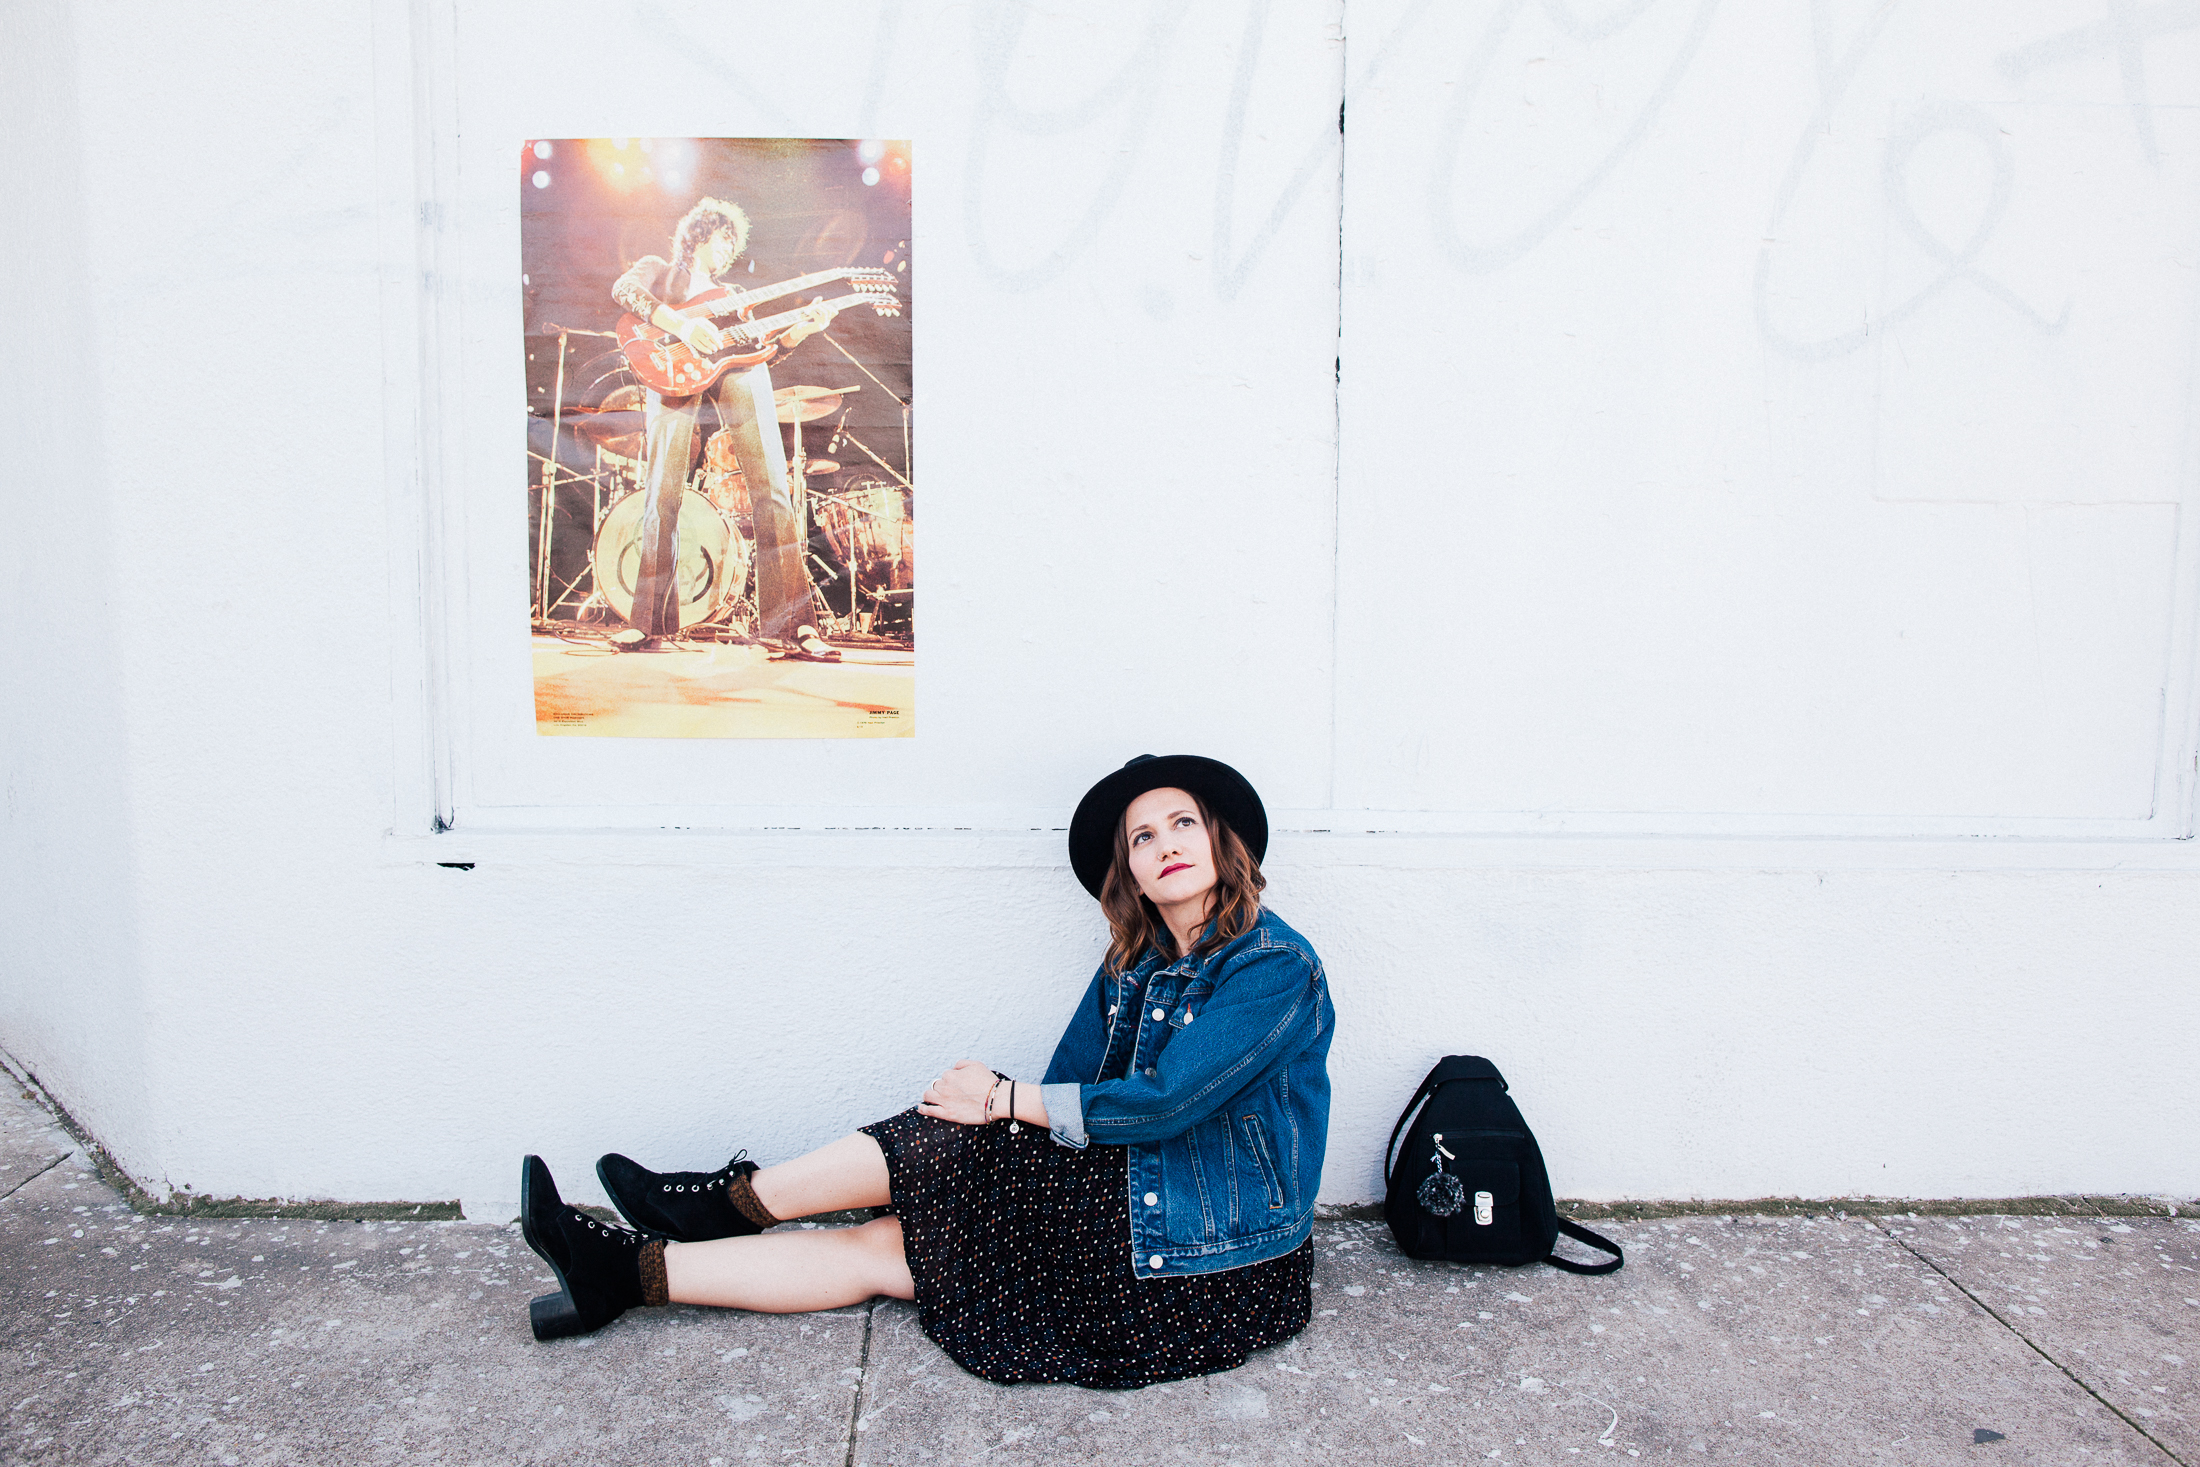
Seriously, how perfect is this location in East Austin? Chelsea saw that Jimmy Page poster and immediately knew we had to shoot in front of it and I'm so glad we did. I feel like kinda of the coolest in these photos. But, really, Chelsea always makes me feel like the coolest when we get together to shoot.

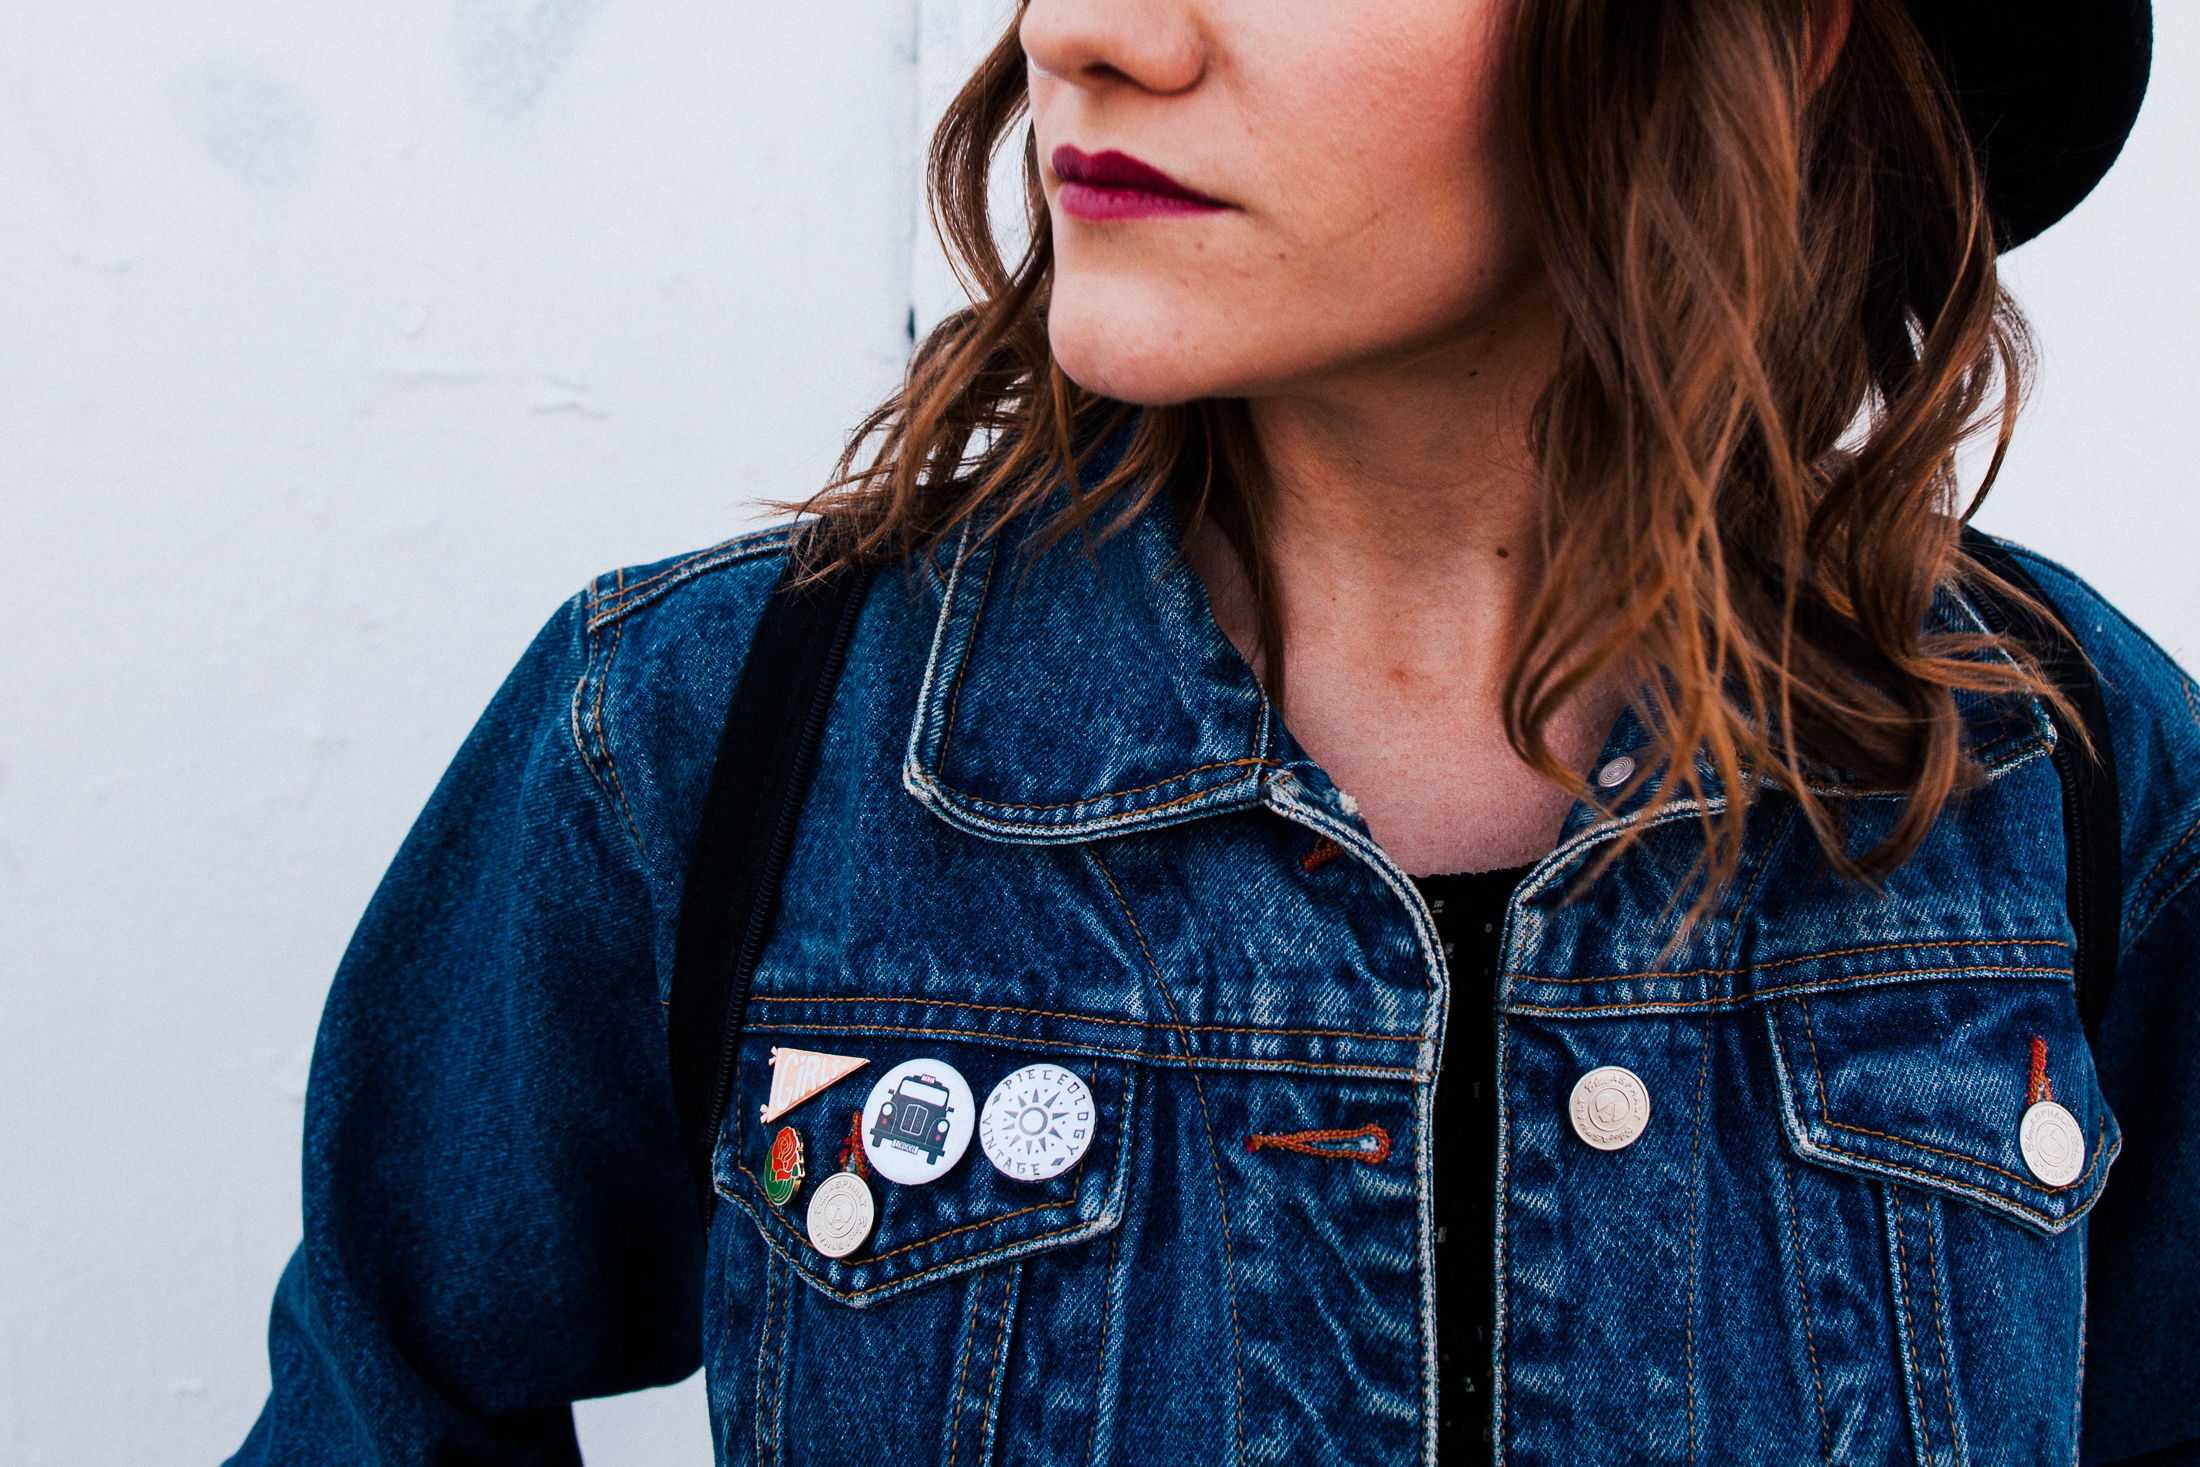
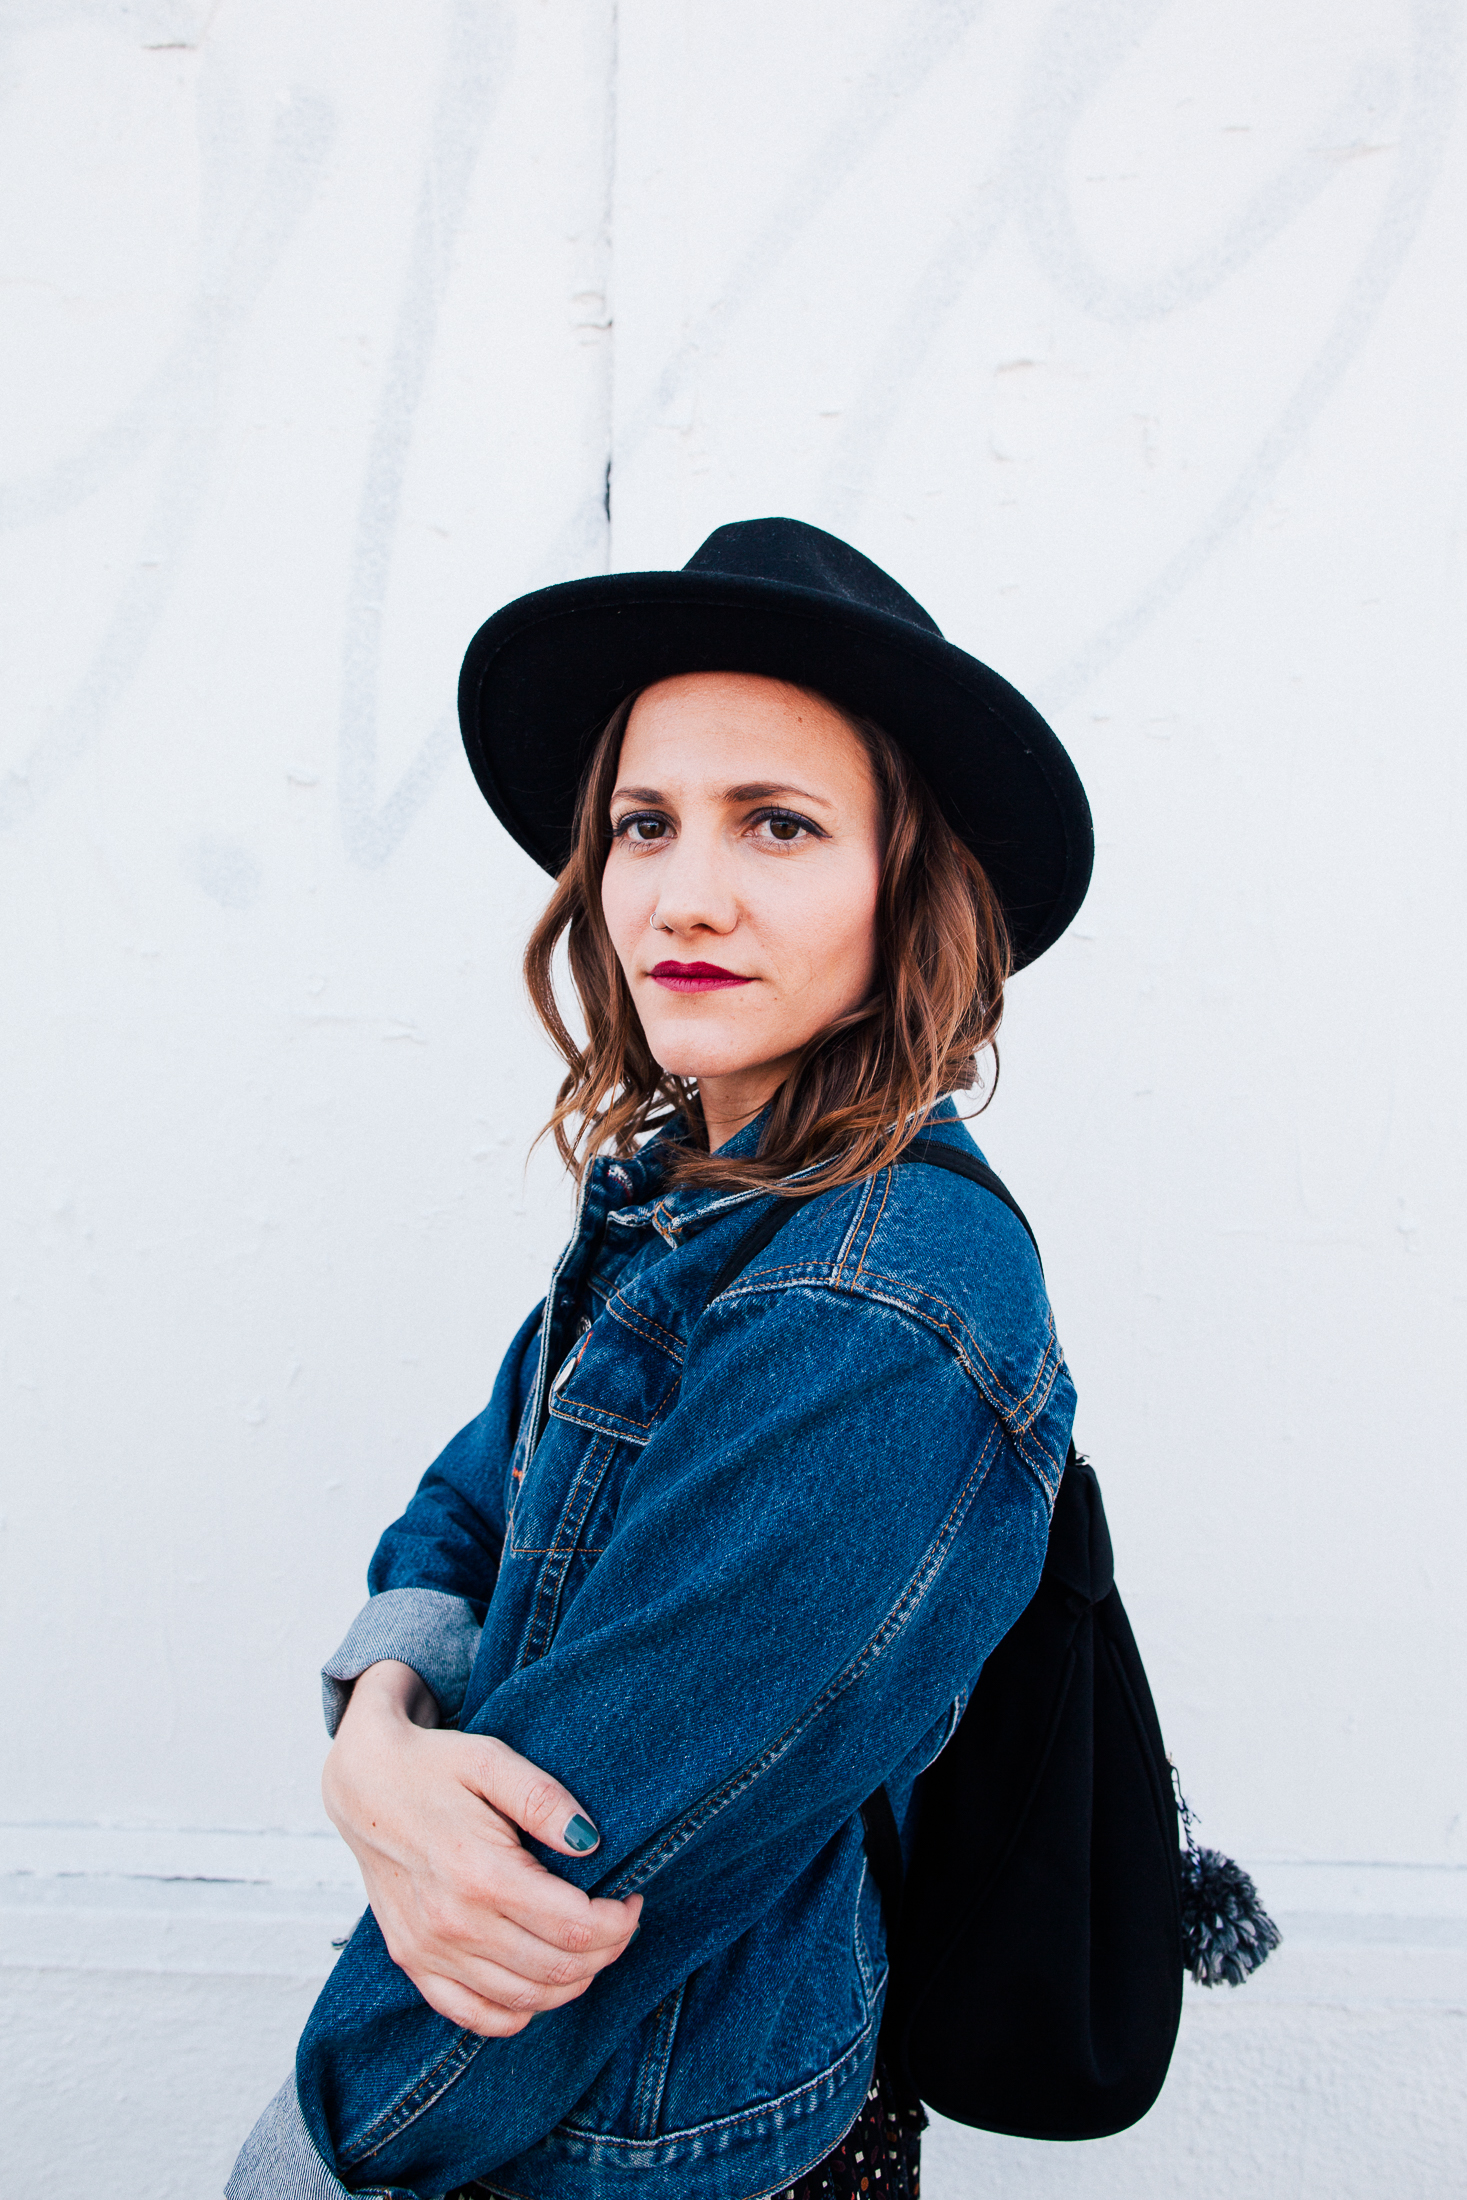
Also, let me geek out for a minute about this awesome denim jacket. I found it when I was out thrifting back in December while in California on a buying trip for Pieceology Vintage. It's nice to take a detour from time to time to shop for myself instead of the shop, although I have to say, both are equally exciting. The thrill of the hunt is real, y'all. Especially when you're looking for that one particular item and you actually find it. That was definitely the case with this jacket. I'm thinking of covering it in patches soon so it'll be ready for me once fall hits again.

Do you have a special thrifted piece that you were searching and searching for and then you finally found it and it was just the best? 

Friday, January 8, 2016

How To: DIY Denim

HOWTO_DIY_DENIM_1

 While I was in California last month I found some great new denim (for myself and for the shop) but sometimes jeans can be a lot more fun when given a little extra character. I asked my friend Gina, the thrifting/DIY/vintage queen herself, to teach me how to DIY my denim I find while I'm out scouring the thrift shops. And don't worry, the risk is low if you mess up. Just hit up your local thrift like I do for great deals. I got this pair of Levi's for just $5!

HOWTO_DIYDENIM_0  
What you'll need:
thrifted jeans (non-stretch denim is best), a rock (or cheese grater), fabric scissors (or regular ones), seam ripper (or tweezers)

HOWTO_DIYDENIM_1  
Step 1: Try on your jeans to see where you'll want the holes to go.

HOWTO_DIYDENIM_2  
Step 2: Cut two parallel lines wherever you want your holes. The fabric in between the cuts will be where you will do your thread ripping. 

HOWTO_DIYDENIM_3-1
HOWTO_DIYDENIM_3-2
Step 3: Now it's time for your seam ripper! Do this part with the backside of the ripper not the front, sharp edge of it. Start pulling from the inside upward to get the white threads separated from the blue threads. This will unweave the blue threads from the white.


Step 4: Once you get it loose enough start ripping the blue threads out by hand (or with tweezers).

 
Repeat Steps 3 & 4 until all of the blue threads have been removed.

HOWTO_DIYDENIM_5
Step 5: Cut off the excess blue threads.

HOWTO_DIYDENIM_6
Step 6: Cheese grate (or use a rock) around the cotton to rough up your newly ripped holes. It's best to use a hand grater but we didn't have one!

HOWTO_DIYDENIM_OUTFIT
Step 7: Throw them in the wash to get that extra frayed look. And of course, the more you wear them, the more worn in they'll become!

There you go! Not a lot to it, right? The process of getting all the threads unraveled is a bit time consuming but I think it's super therapeutic. This pair probably took around 30 minutes from start to finish. Do it while watching TV or when you're stressed. I promise it's relaxing. Let me know in the comments if you're going to try this out and/or have any questions. Have a great weekend, y'all!

UA-43004570-1